FlexiGels Vivid - Color And ExposureUpdated 3 months ago
With the FlexiGels Vivid pack, you can easily add vibrant color to your subject or scene without the hassle of traditional gels.
These 8 patented, reusable rubber gels for the FJ800 and FJ400 strobes slide securely over the glass dome, no gaff tape or clips required. This set is perfect for enhancing skin tones, adding bold color to your background, and more. Gelling your flash with a light modifier is easier than ever.
Different colored FlexiGels will absorb different amounts of light.
Below is a comparison of each gel and its f-stop difference.
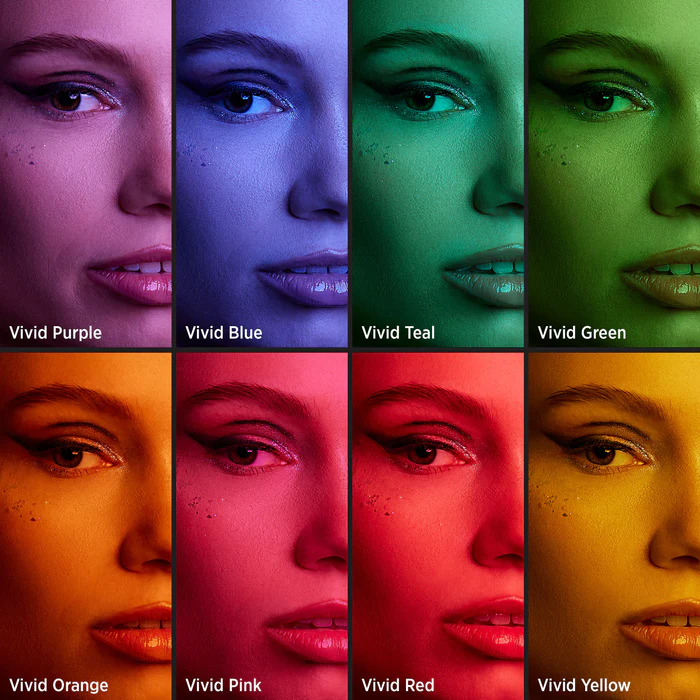
Using an FJ400 II and the Beauty Dish Switch by Joel Grimes (24”) about 5 feet away
- 1/200 - F5.6 - ISO 100
 No Gel No Gel | 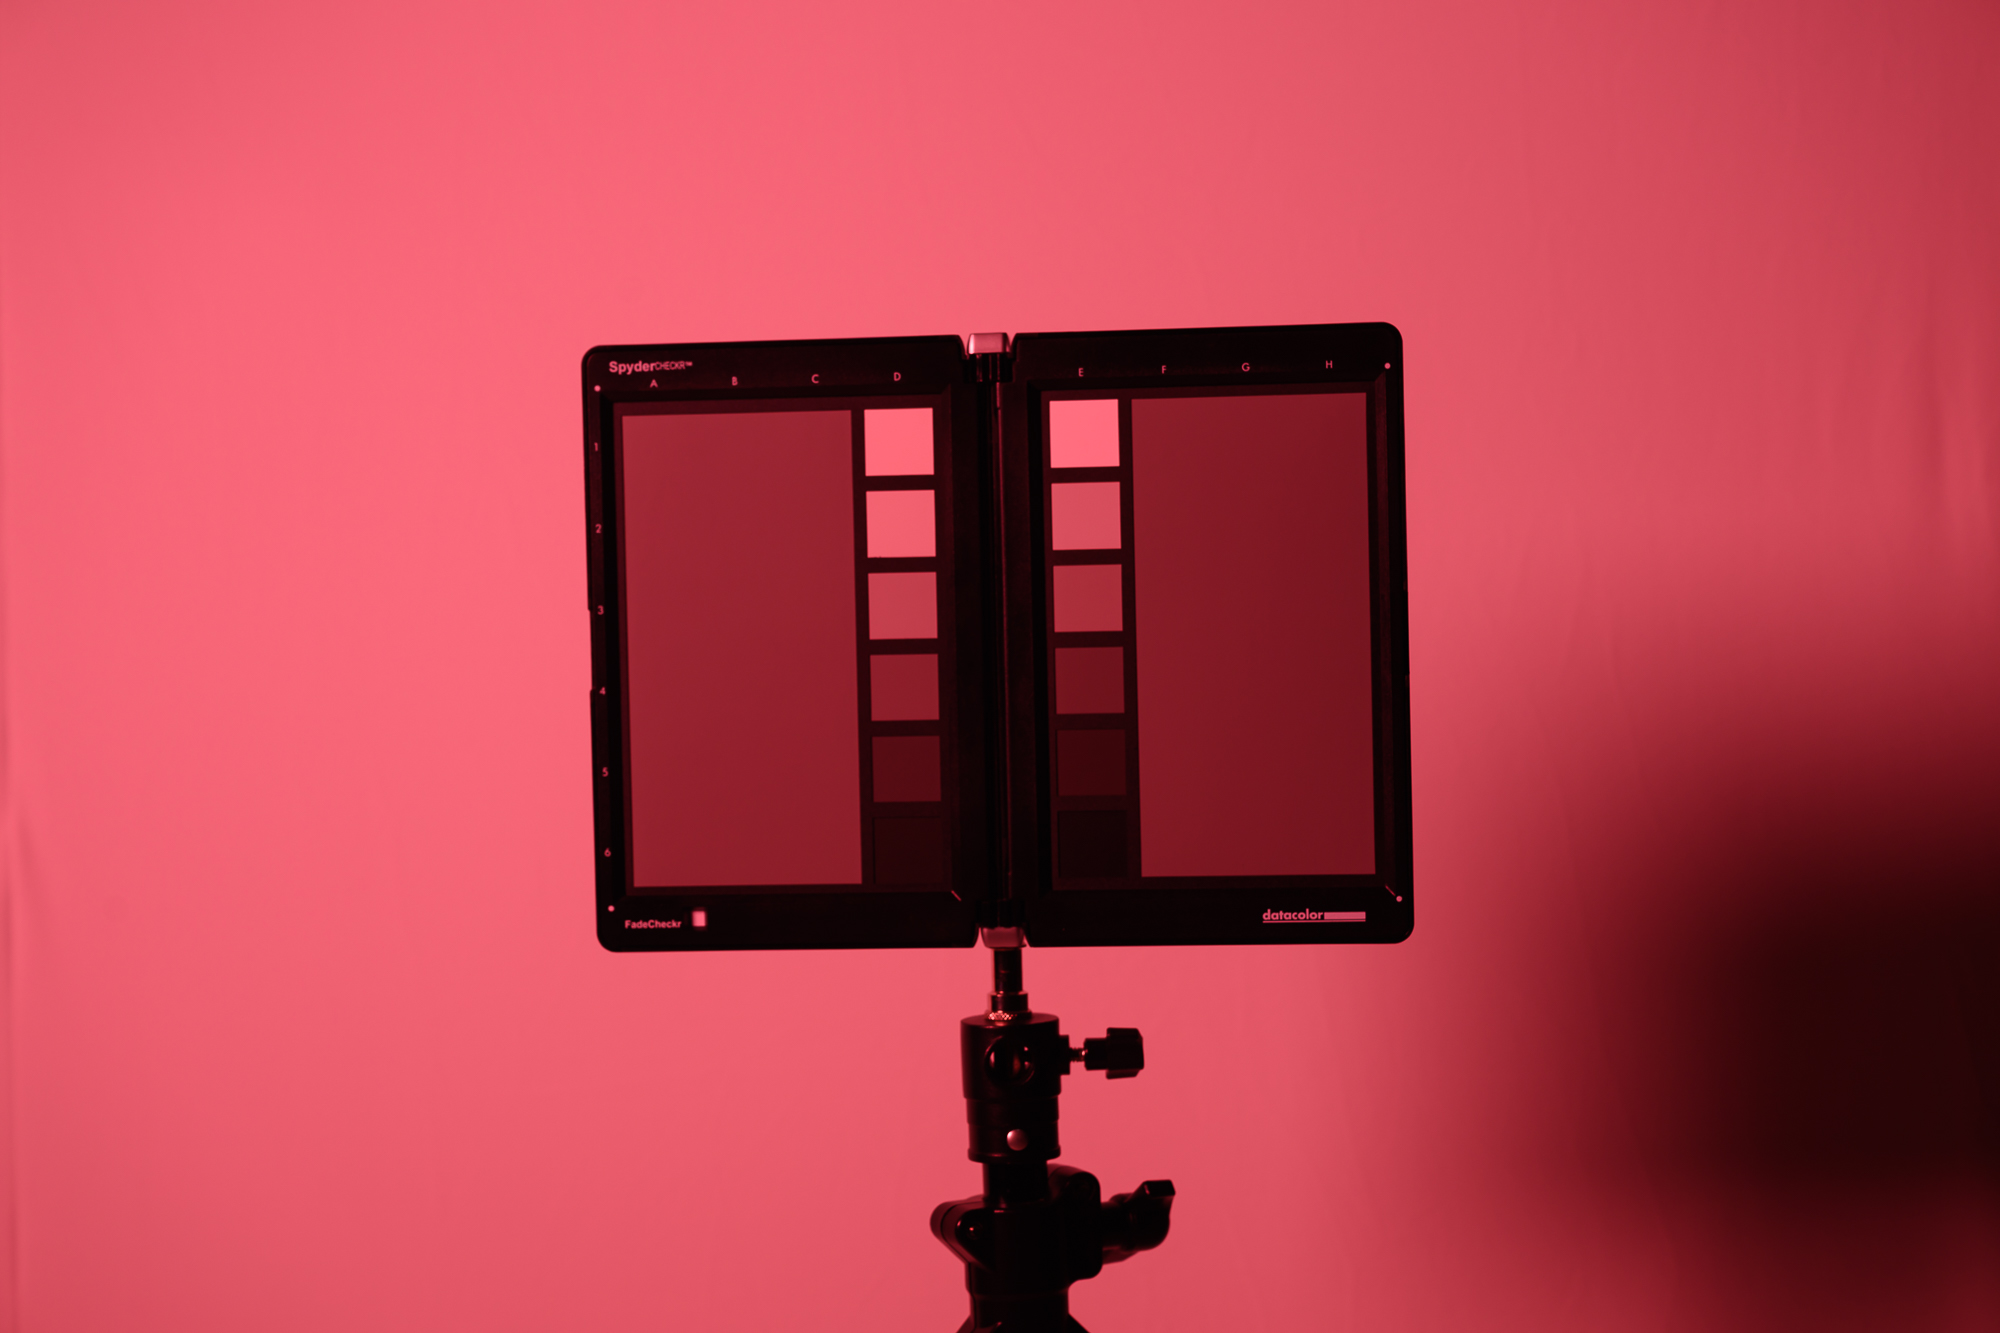 Vivid Red - 2 Stops Vivid Red - 2 Stops | 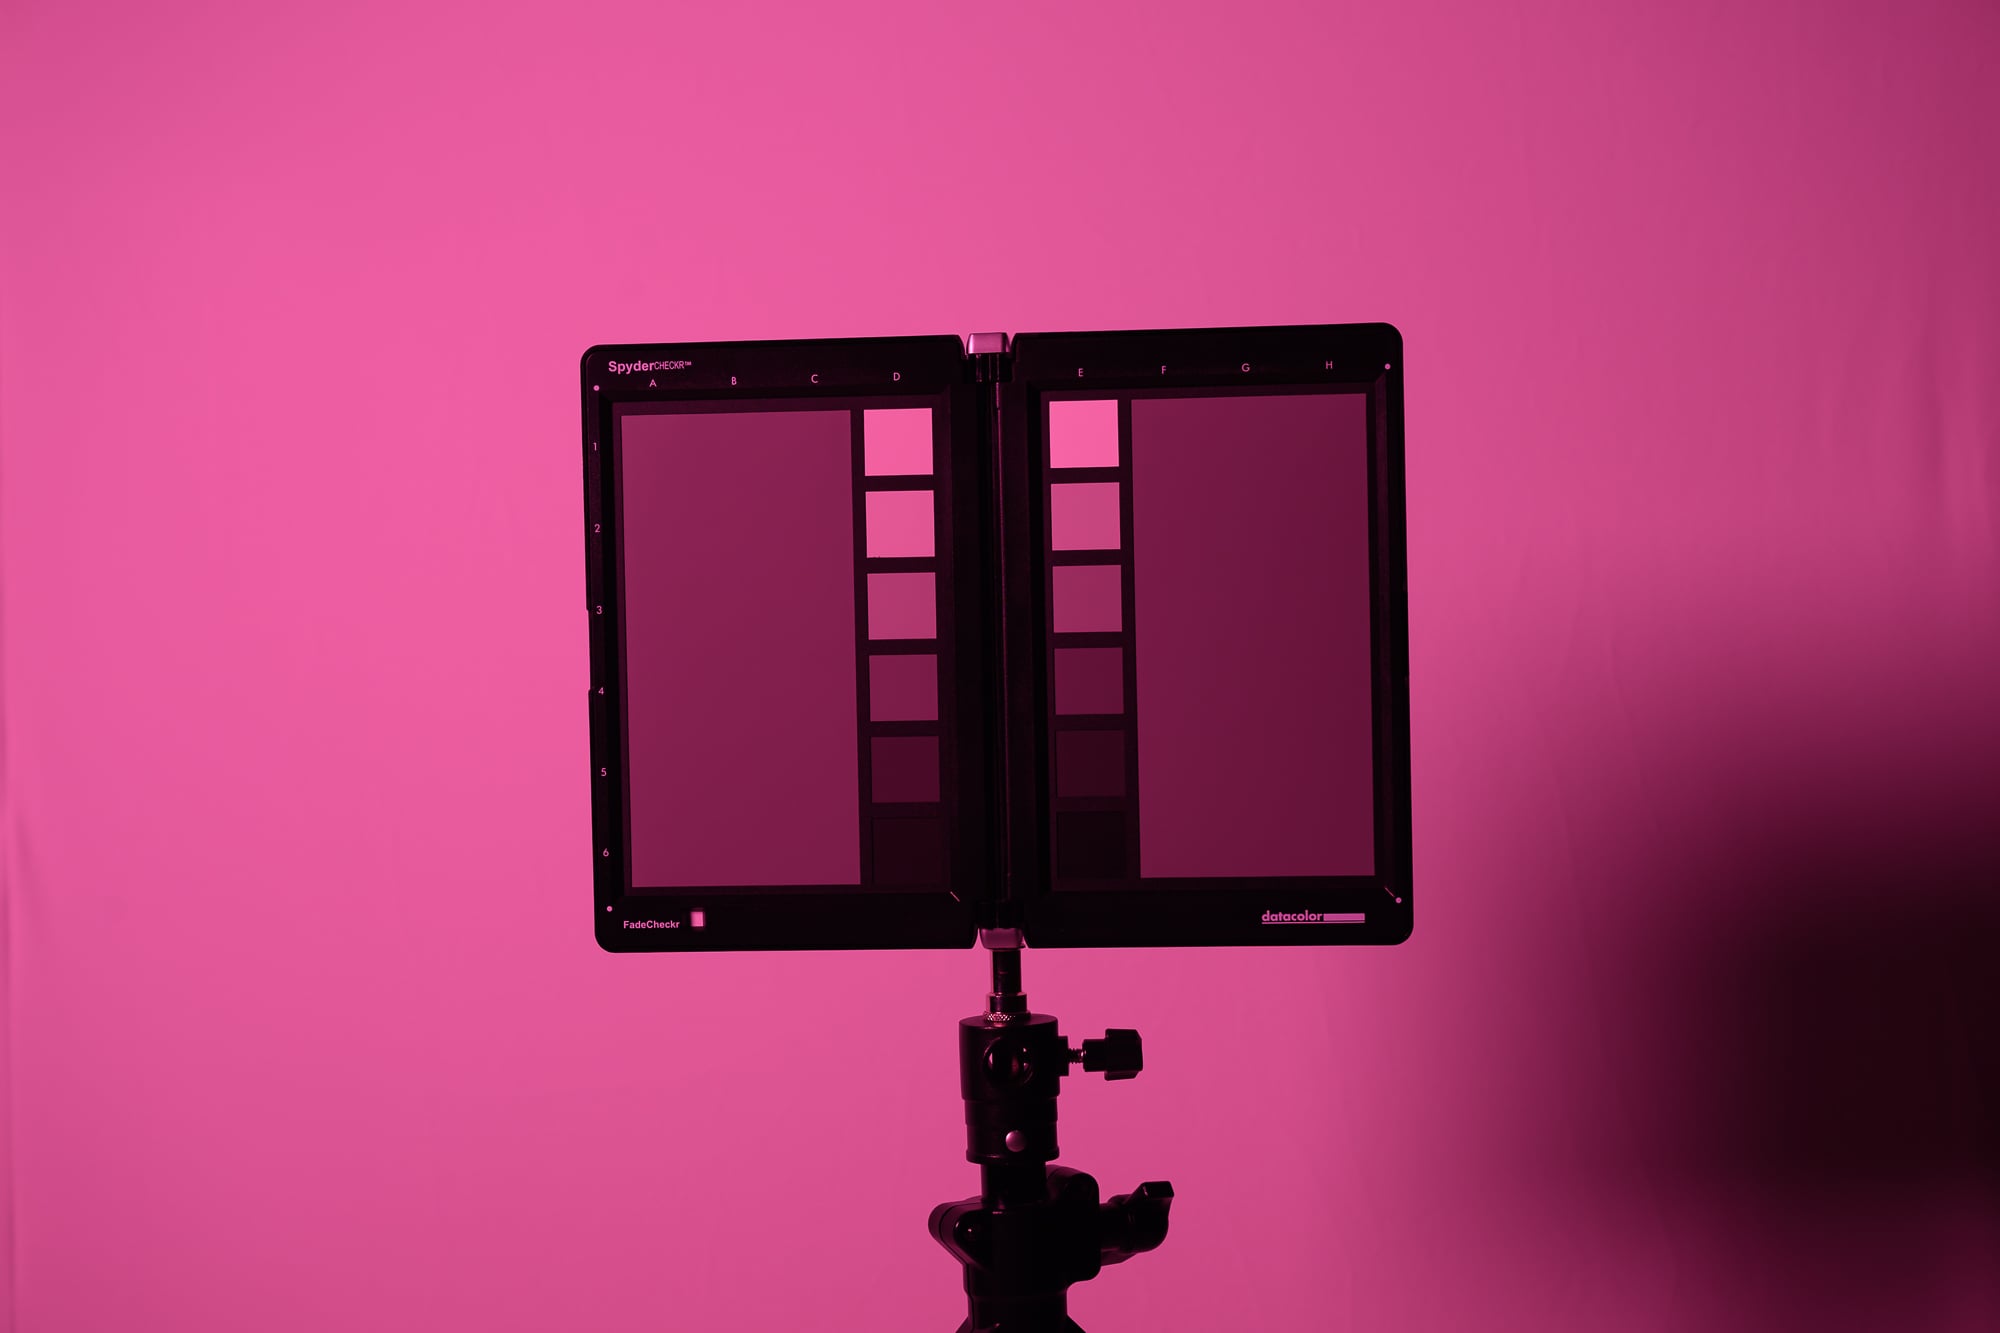 Vivid Pink - 2 Stops Vivid Pink - 2 Stops |
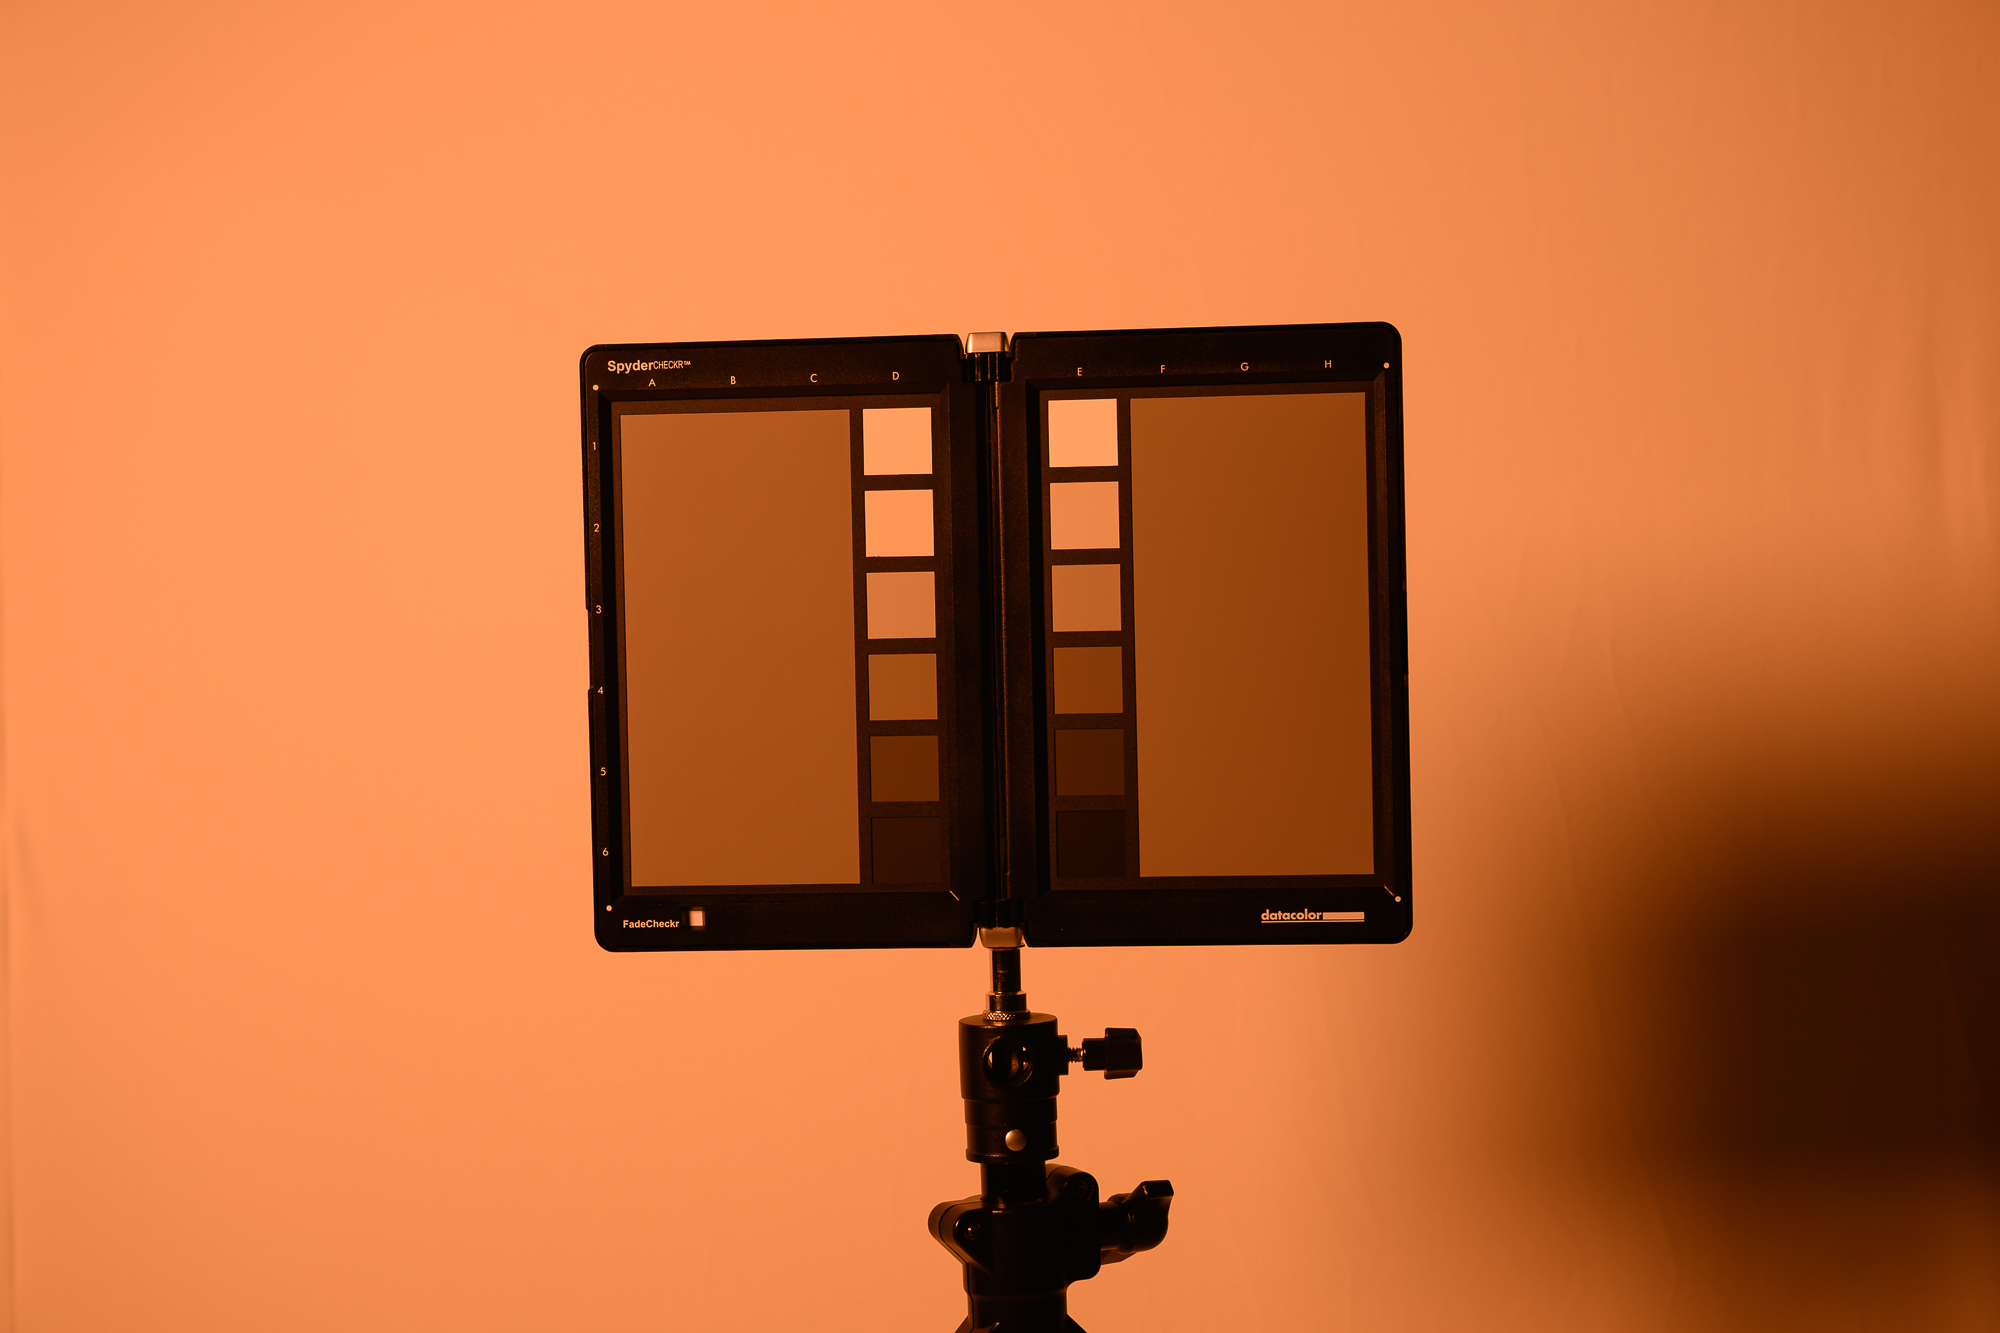 Vivid Orange - 1.5 Stops Vivid Orange - 1.5 Stops | 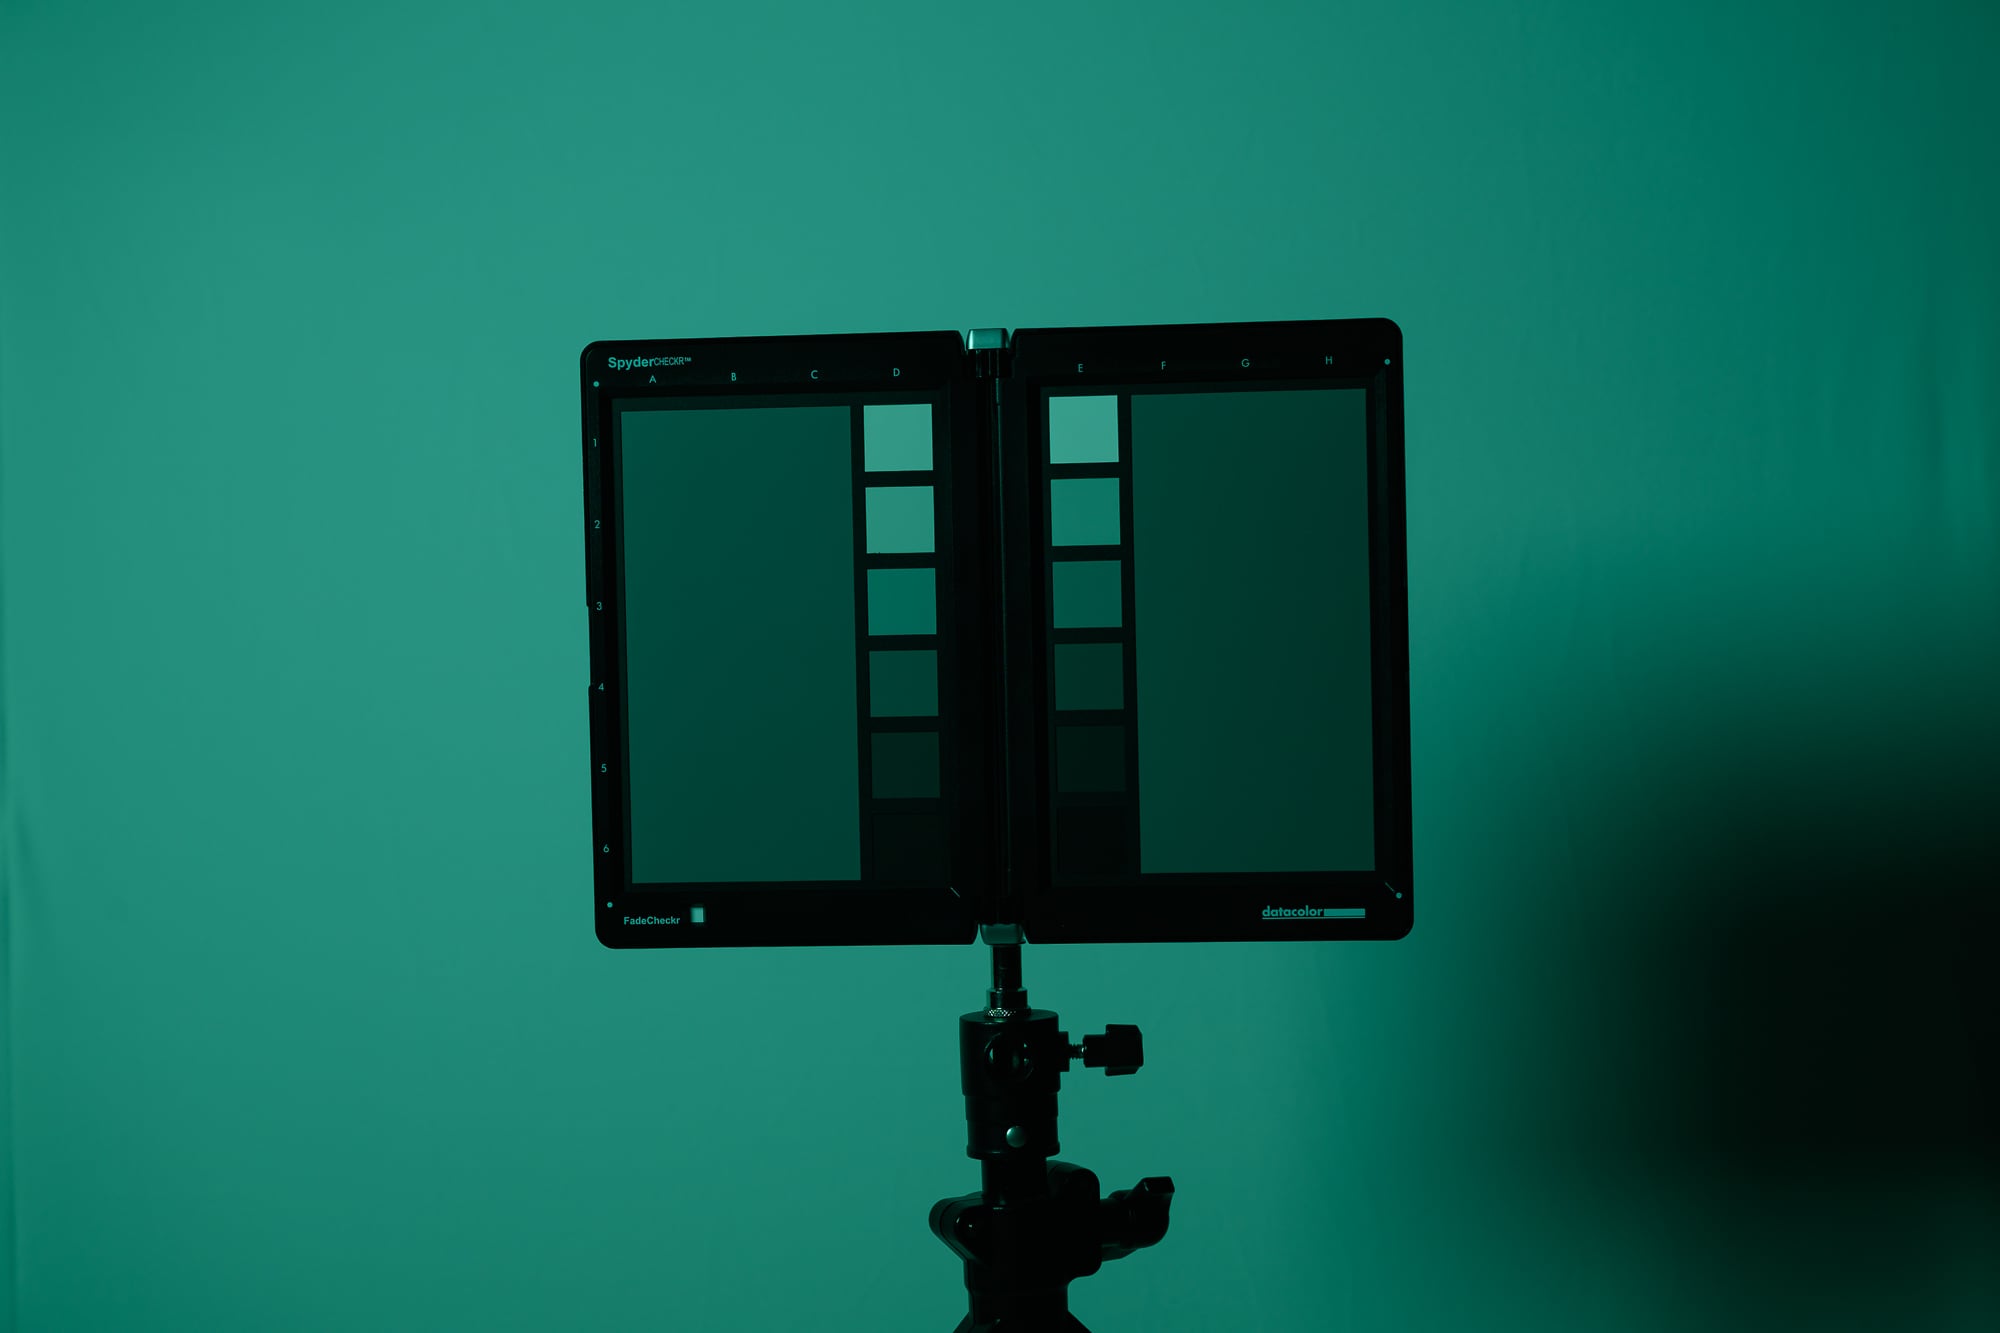 Vivid Teal - 2 Stops Vivid Teal - 2 Stops | 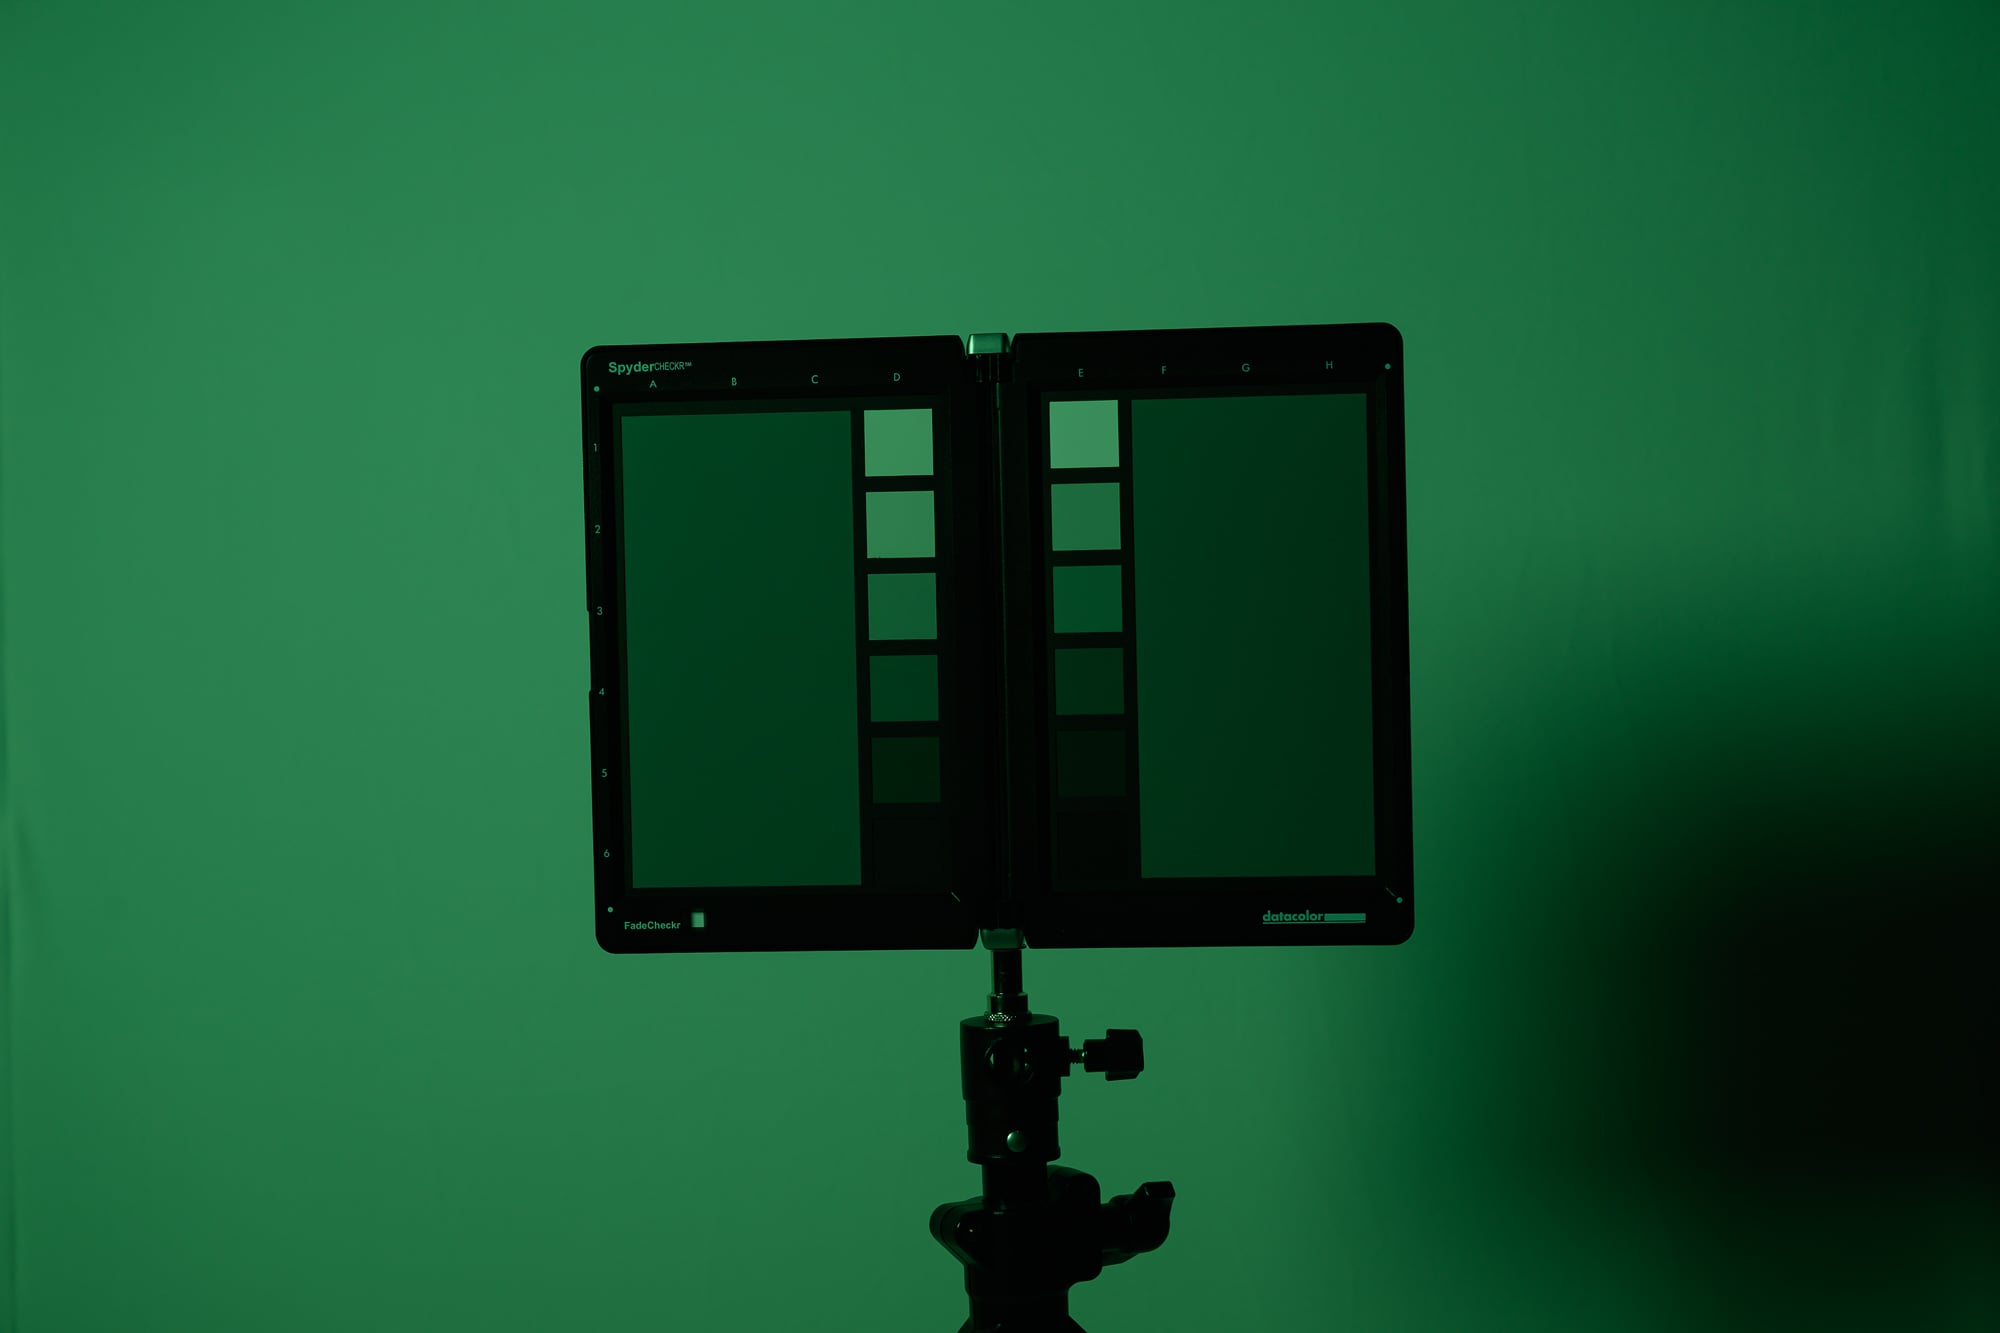 Vivid Green - 2.5 Stops Vivid Green - 2.5 Stops |
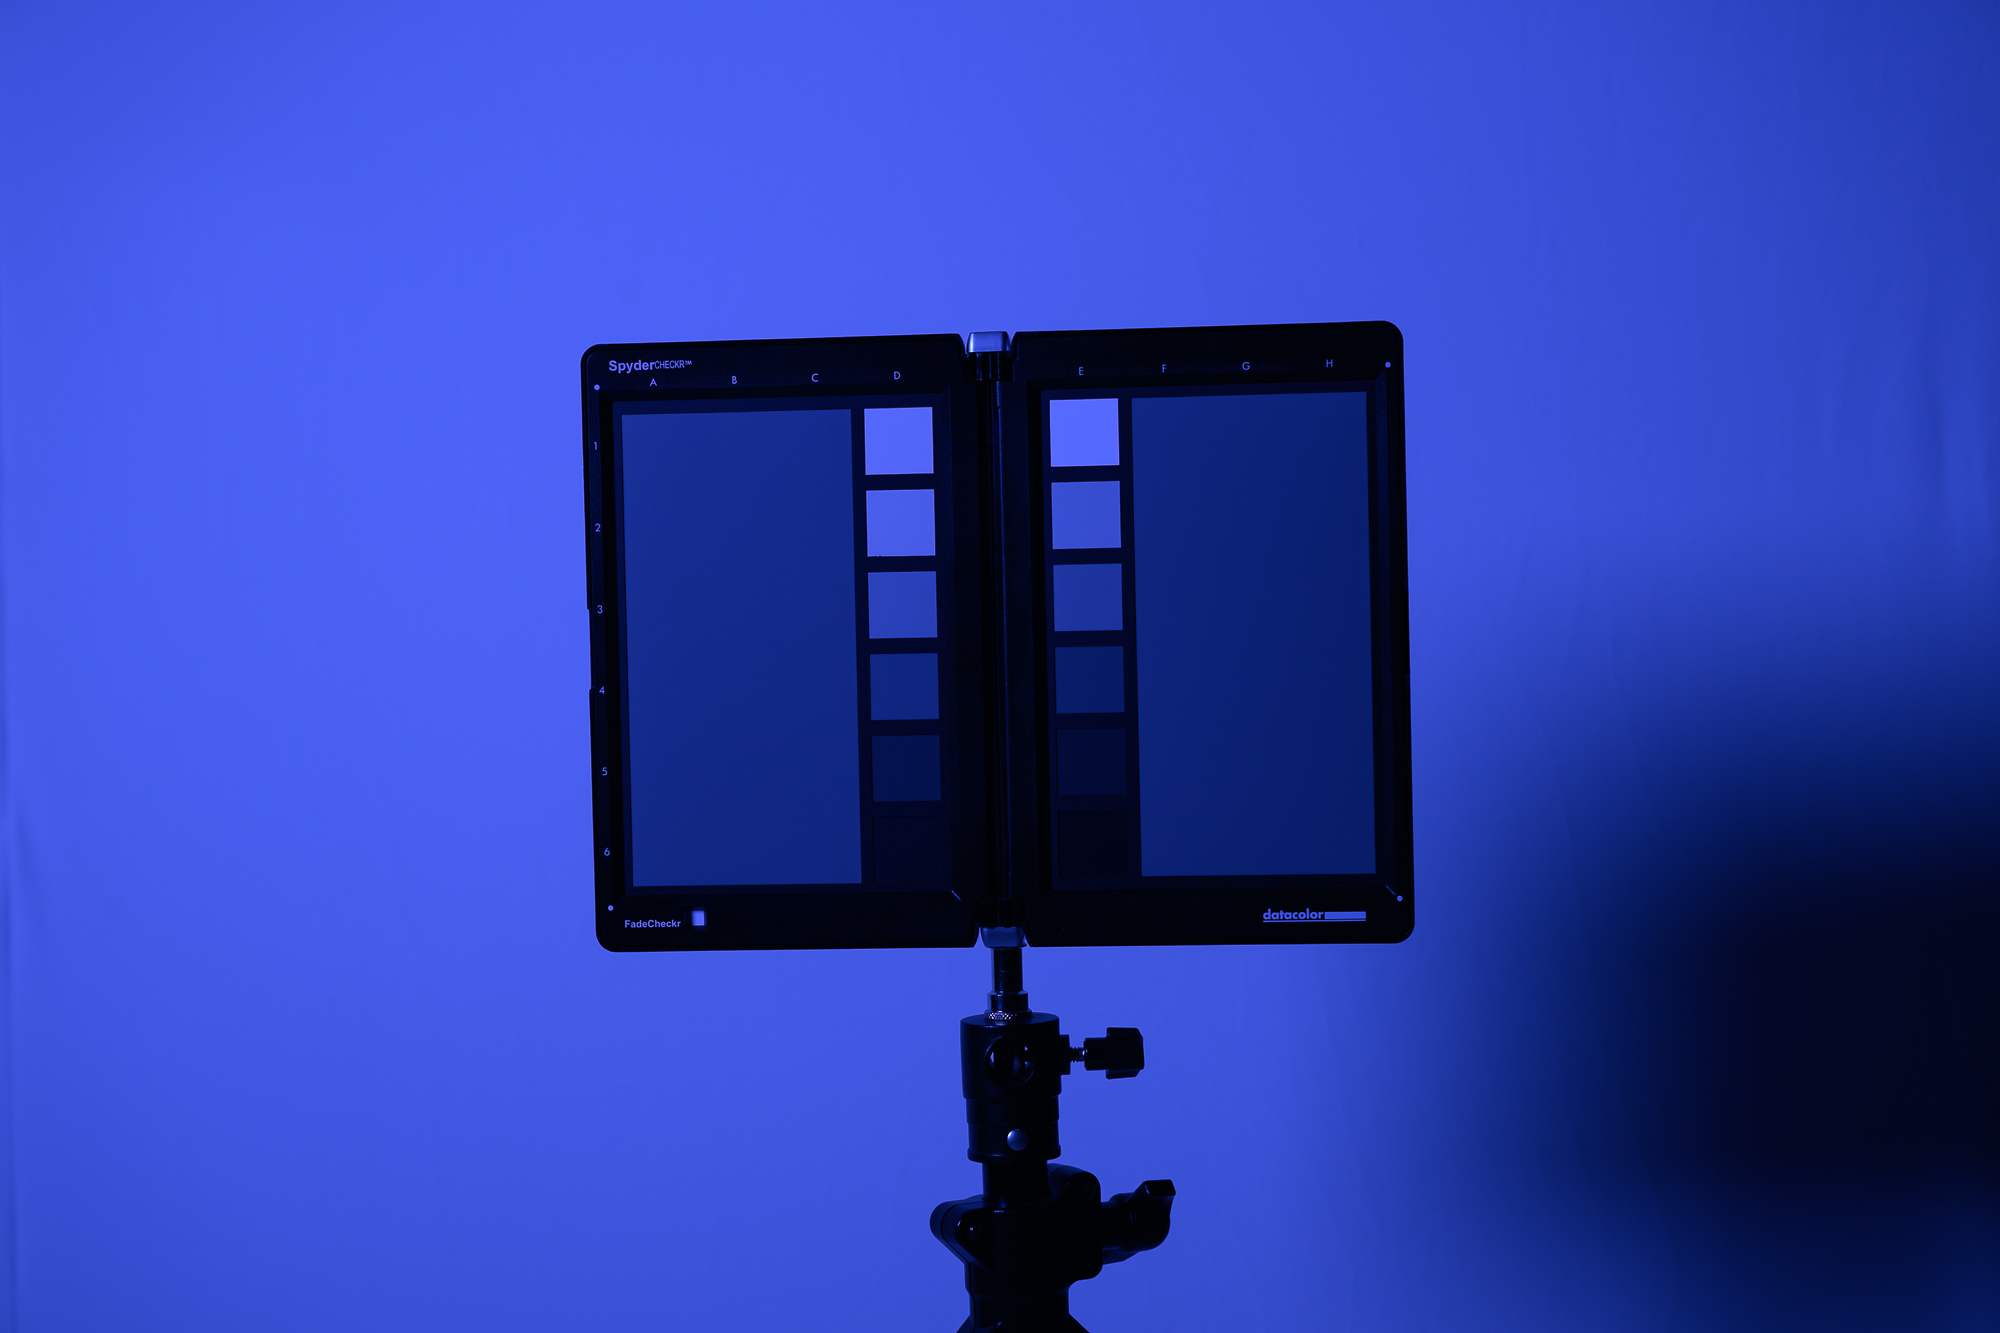 Vivid Blue - 2.5 Stops Vivid Blue - 2.5 Stops | 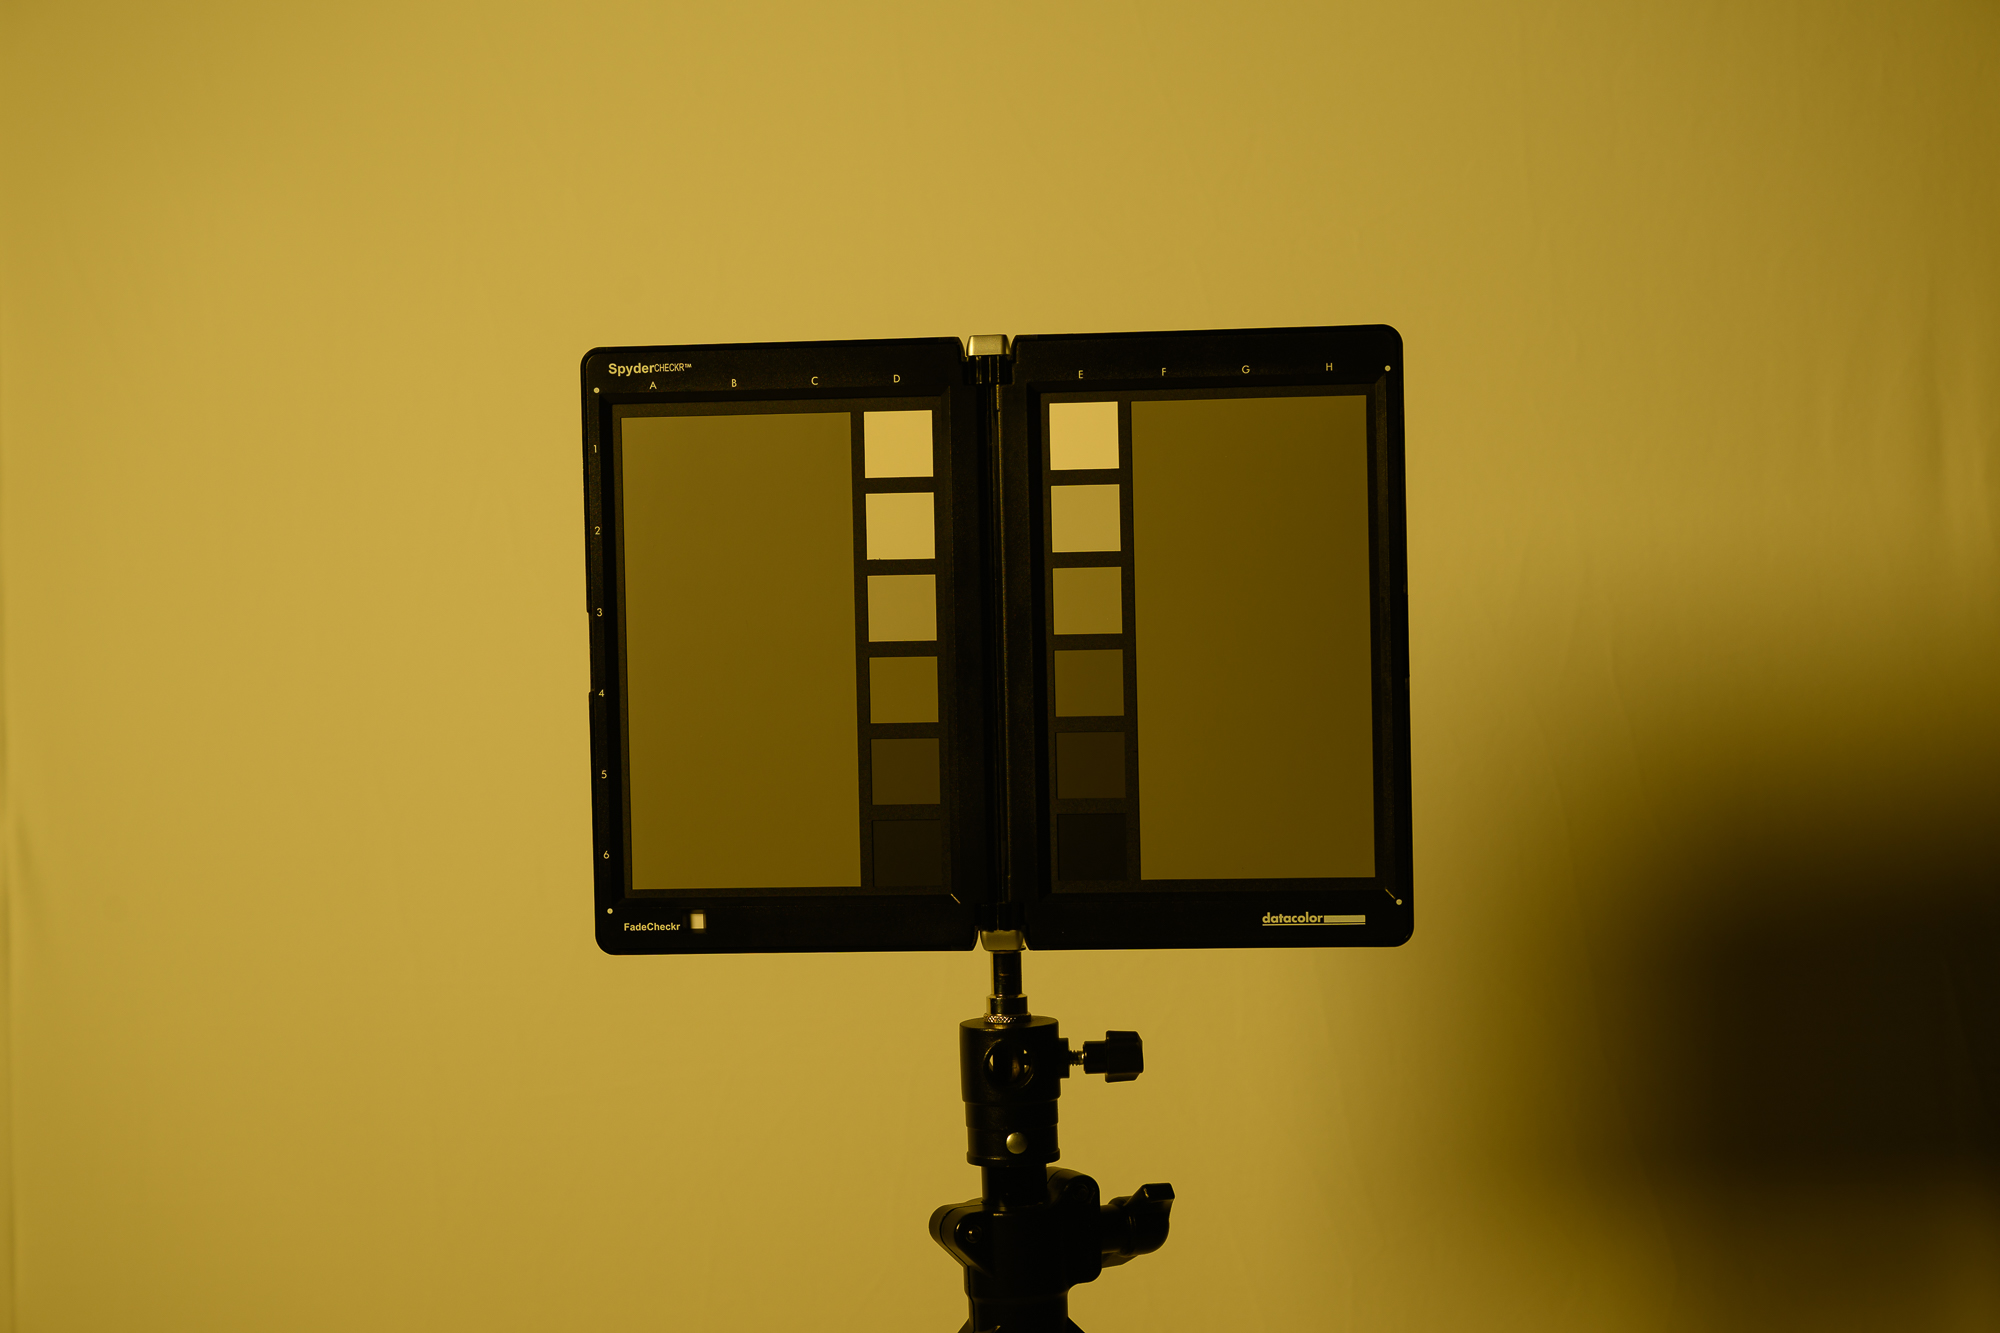 Vivid Yellow - 1.5 Stops Vivid Yellow - 1.5 Stops | 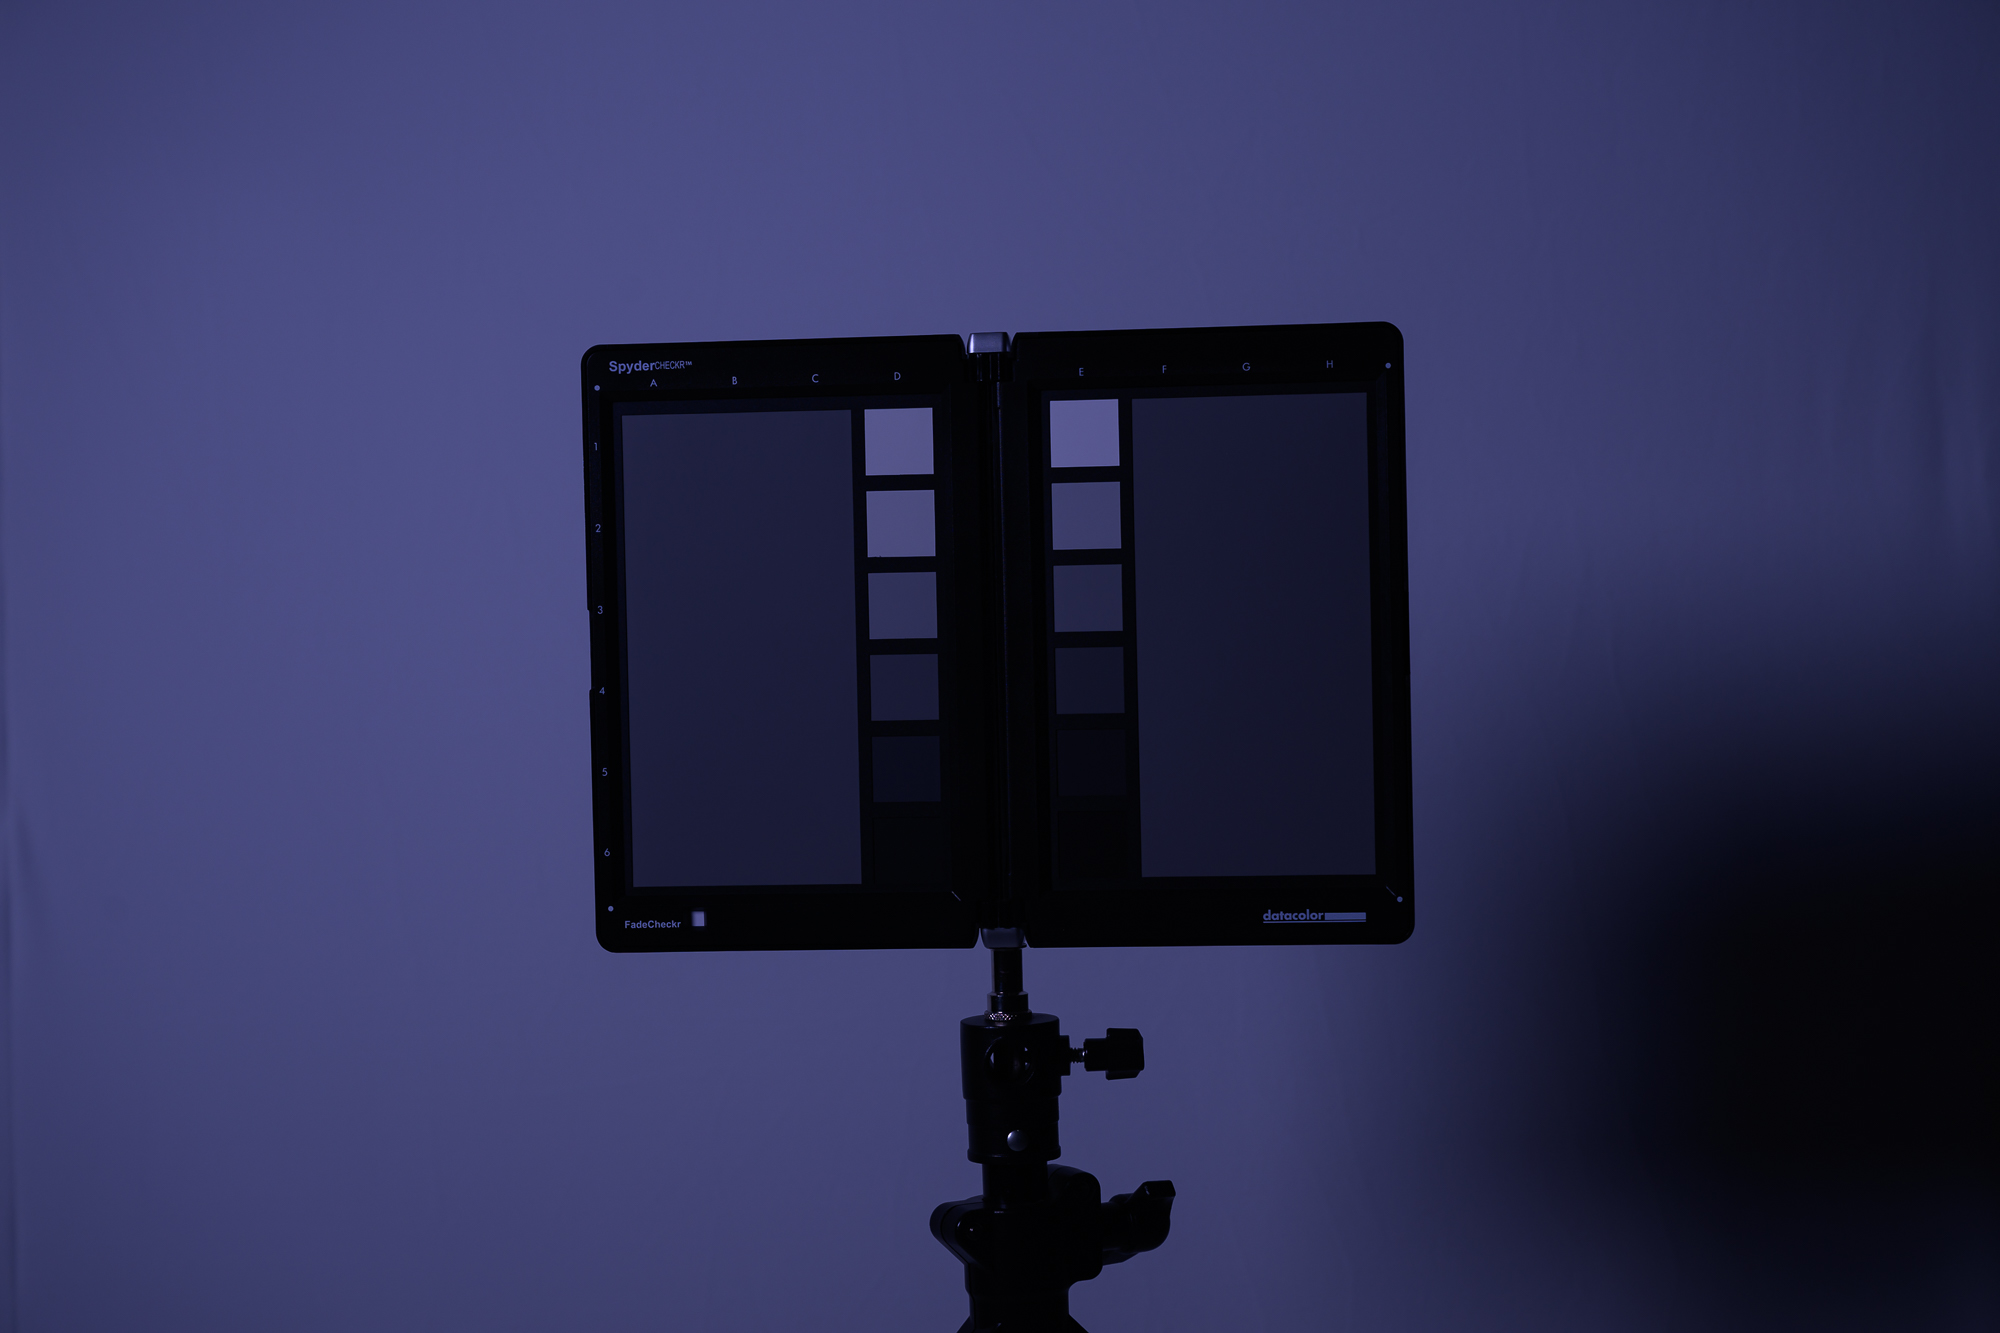 Vivid Purple - 3 Stops Vivid Purple - 3 Stops |
Getting Good Color With The FlexiGels
When coloring light, 3 major factors will affect FlexiGel color in your image:
- Other light sources in your scene
- Distance from light to the subject
- Over or underexposure in-camera
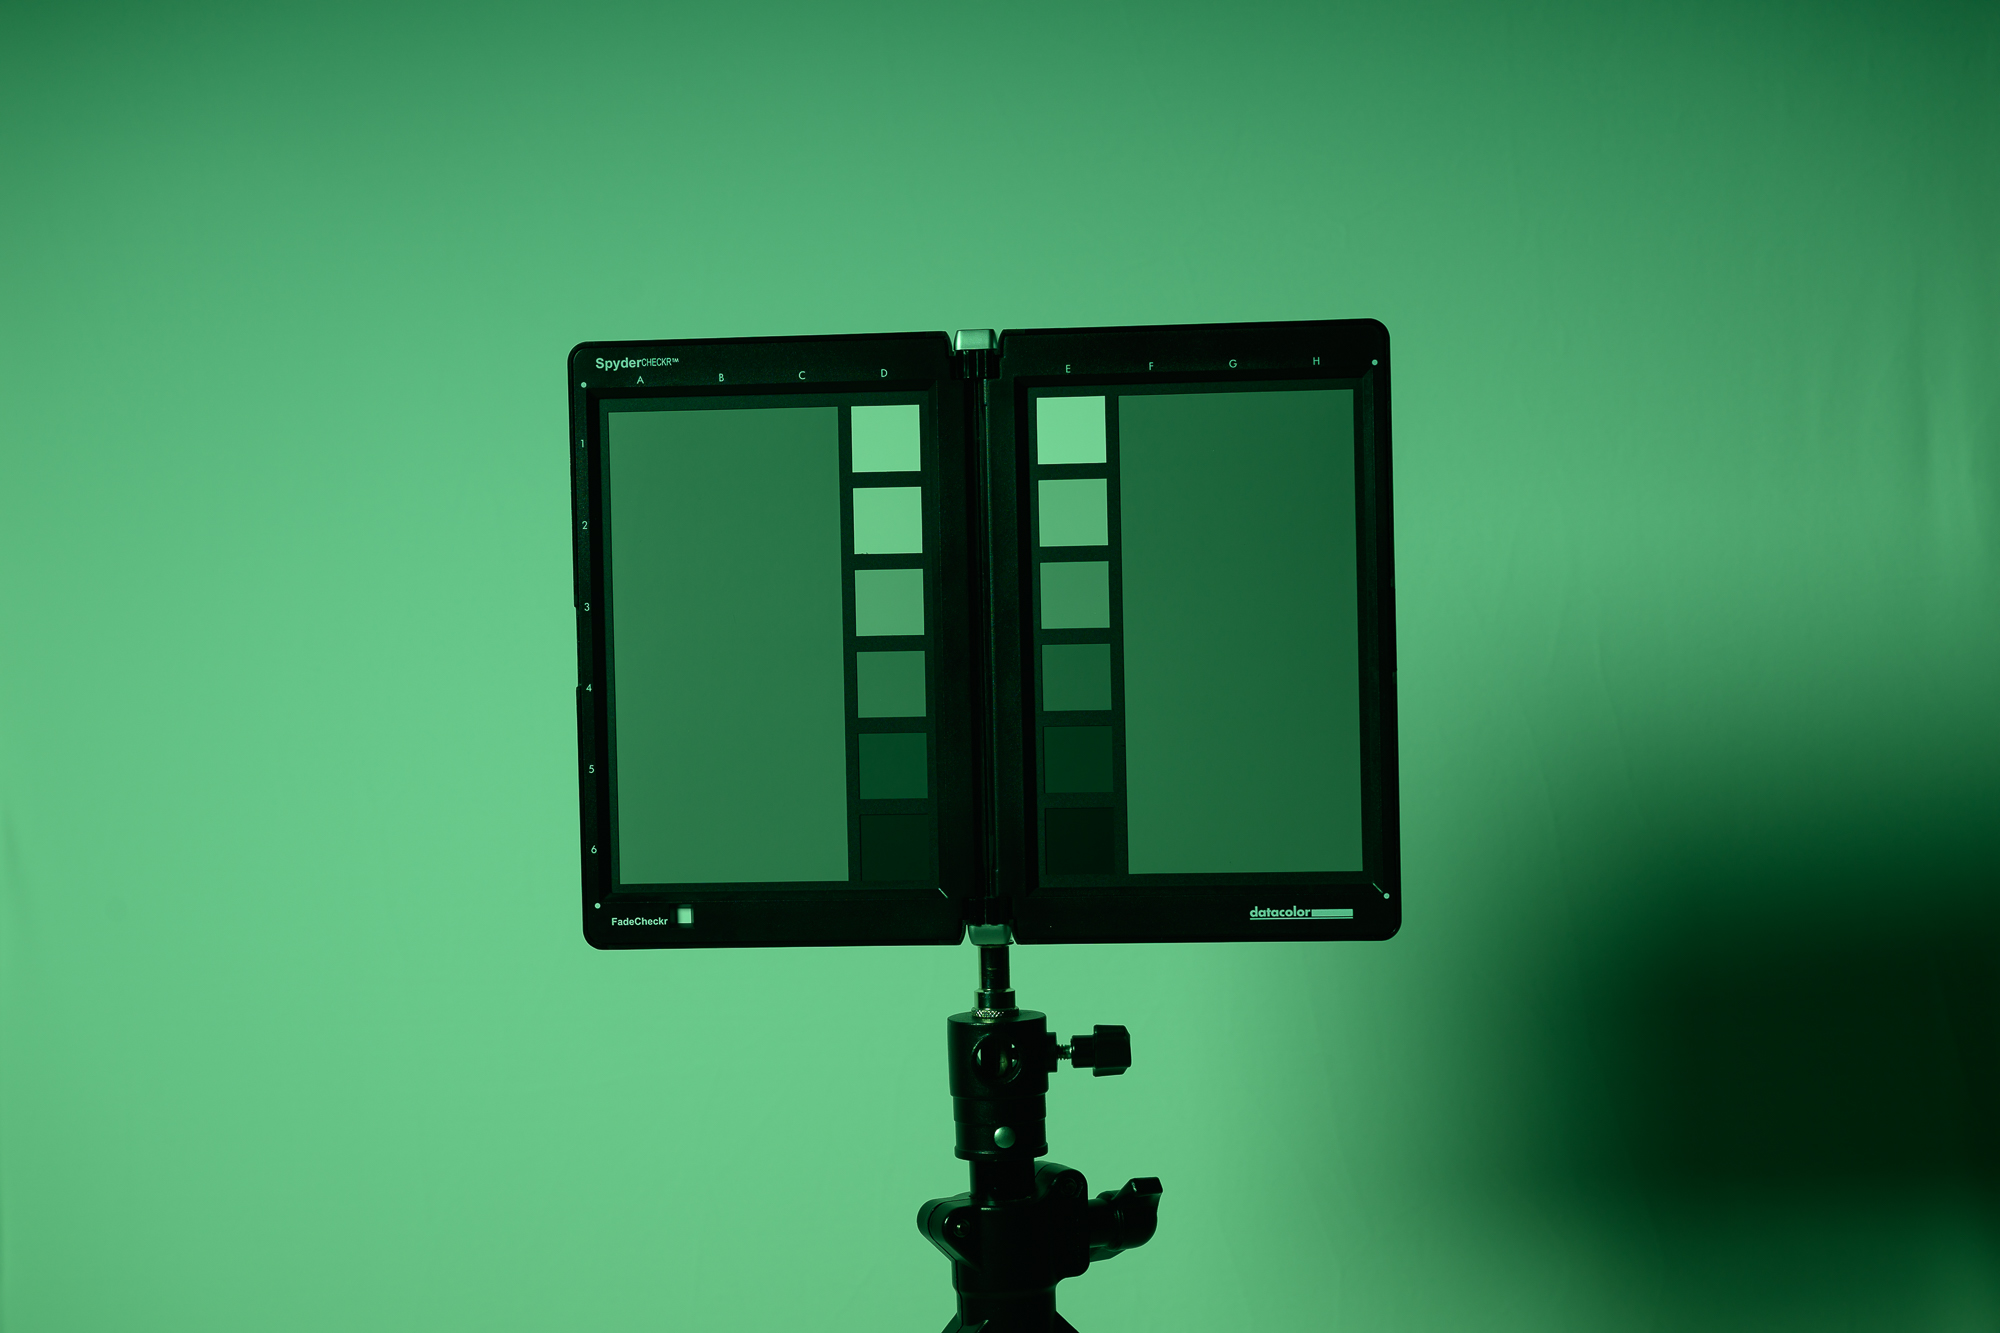
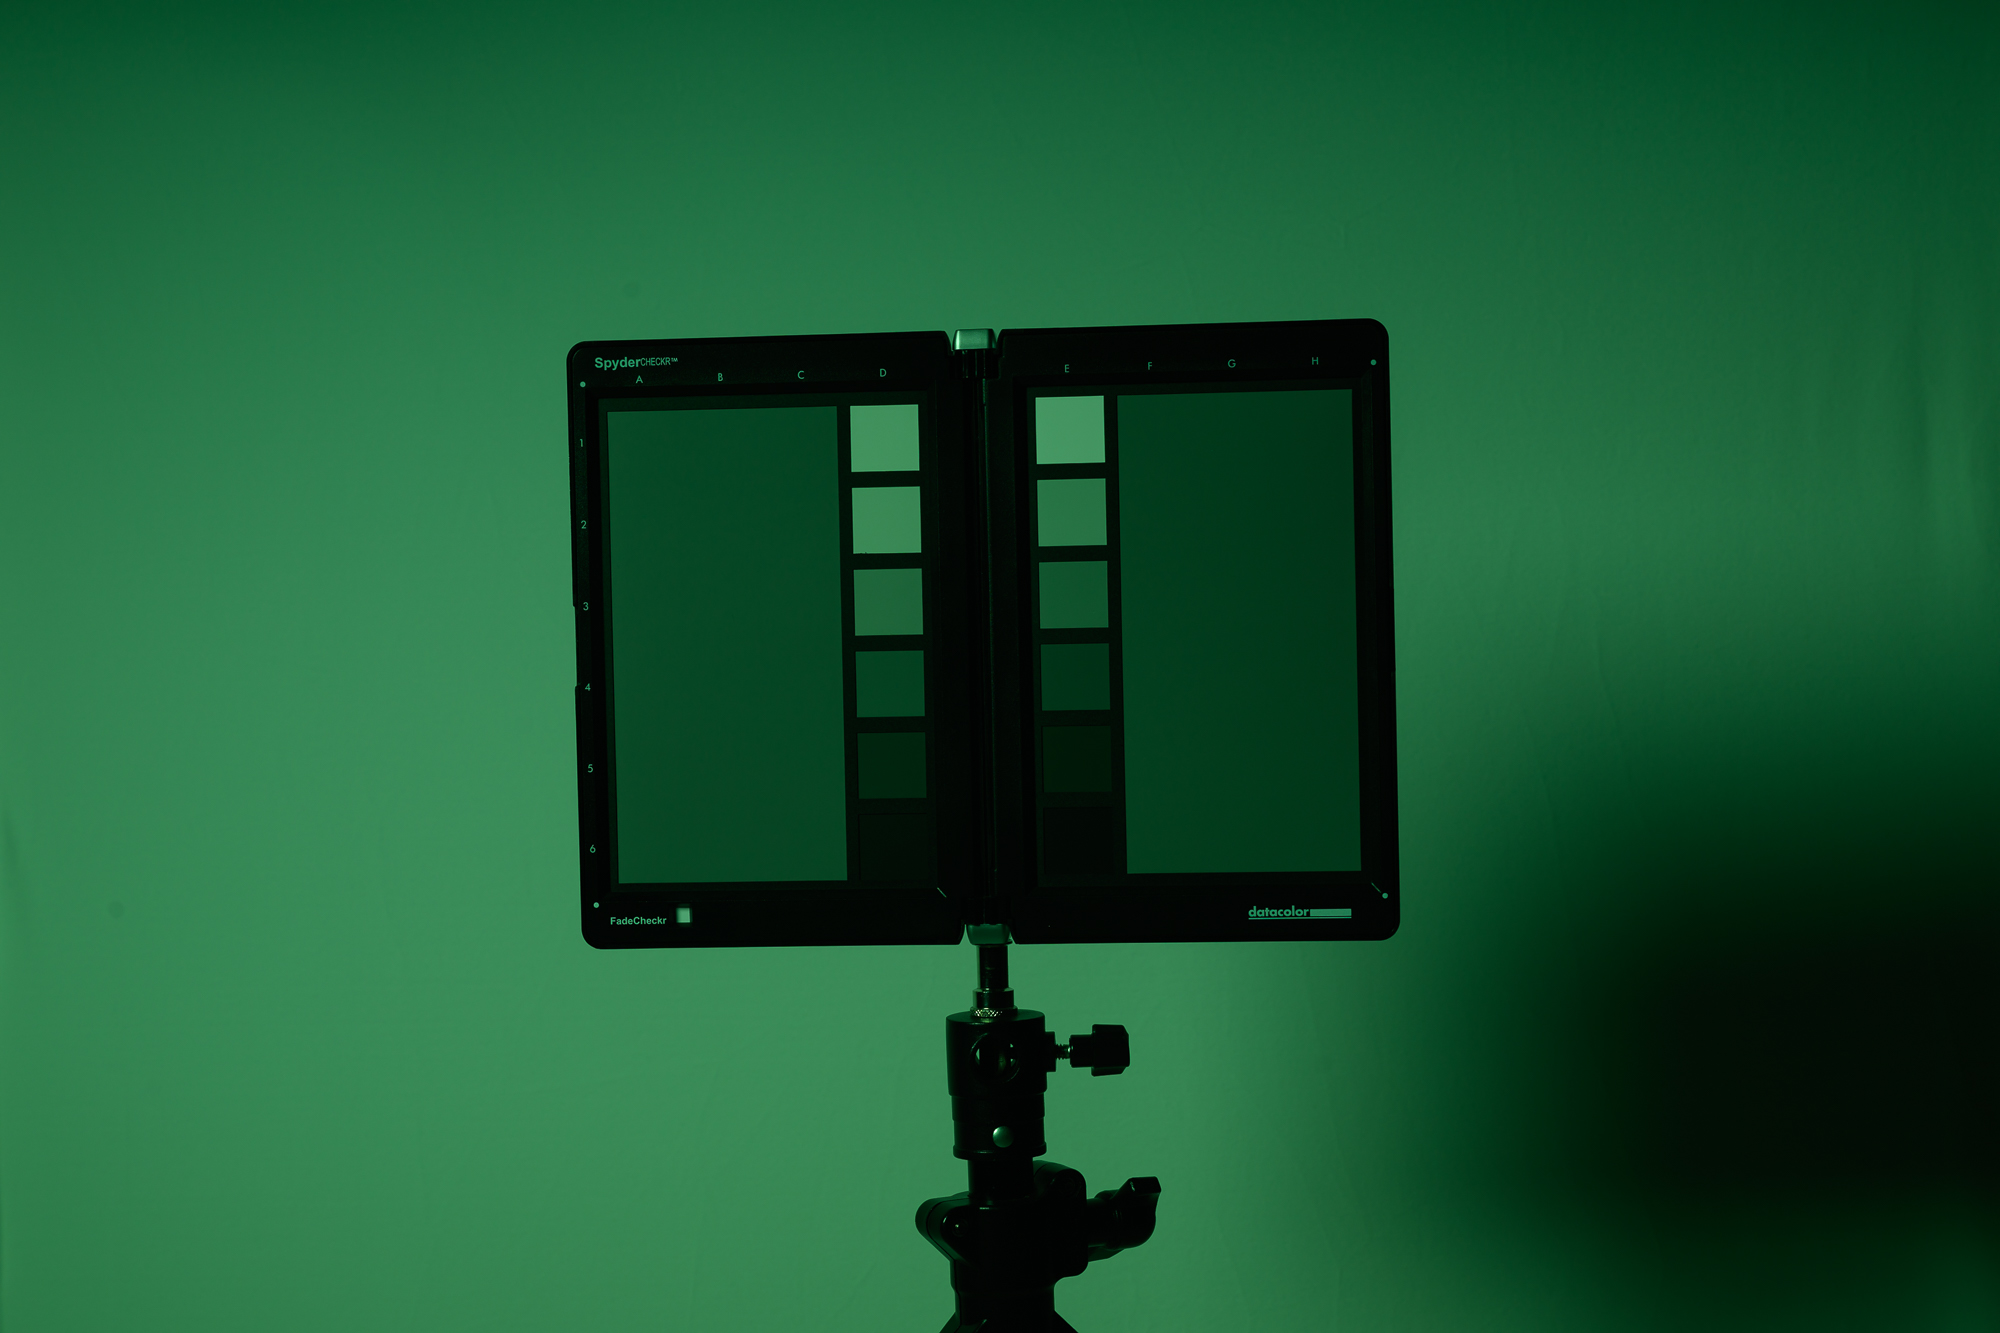
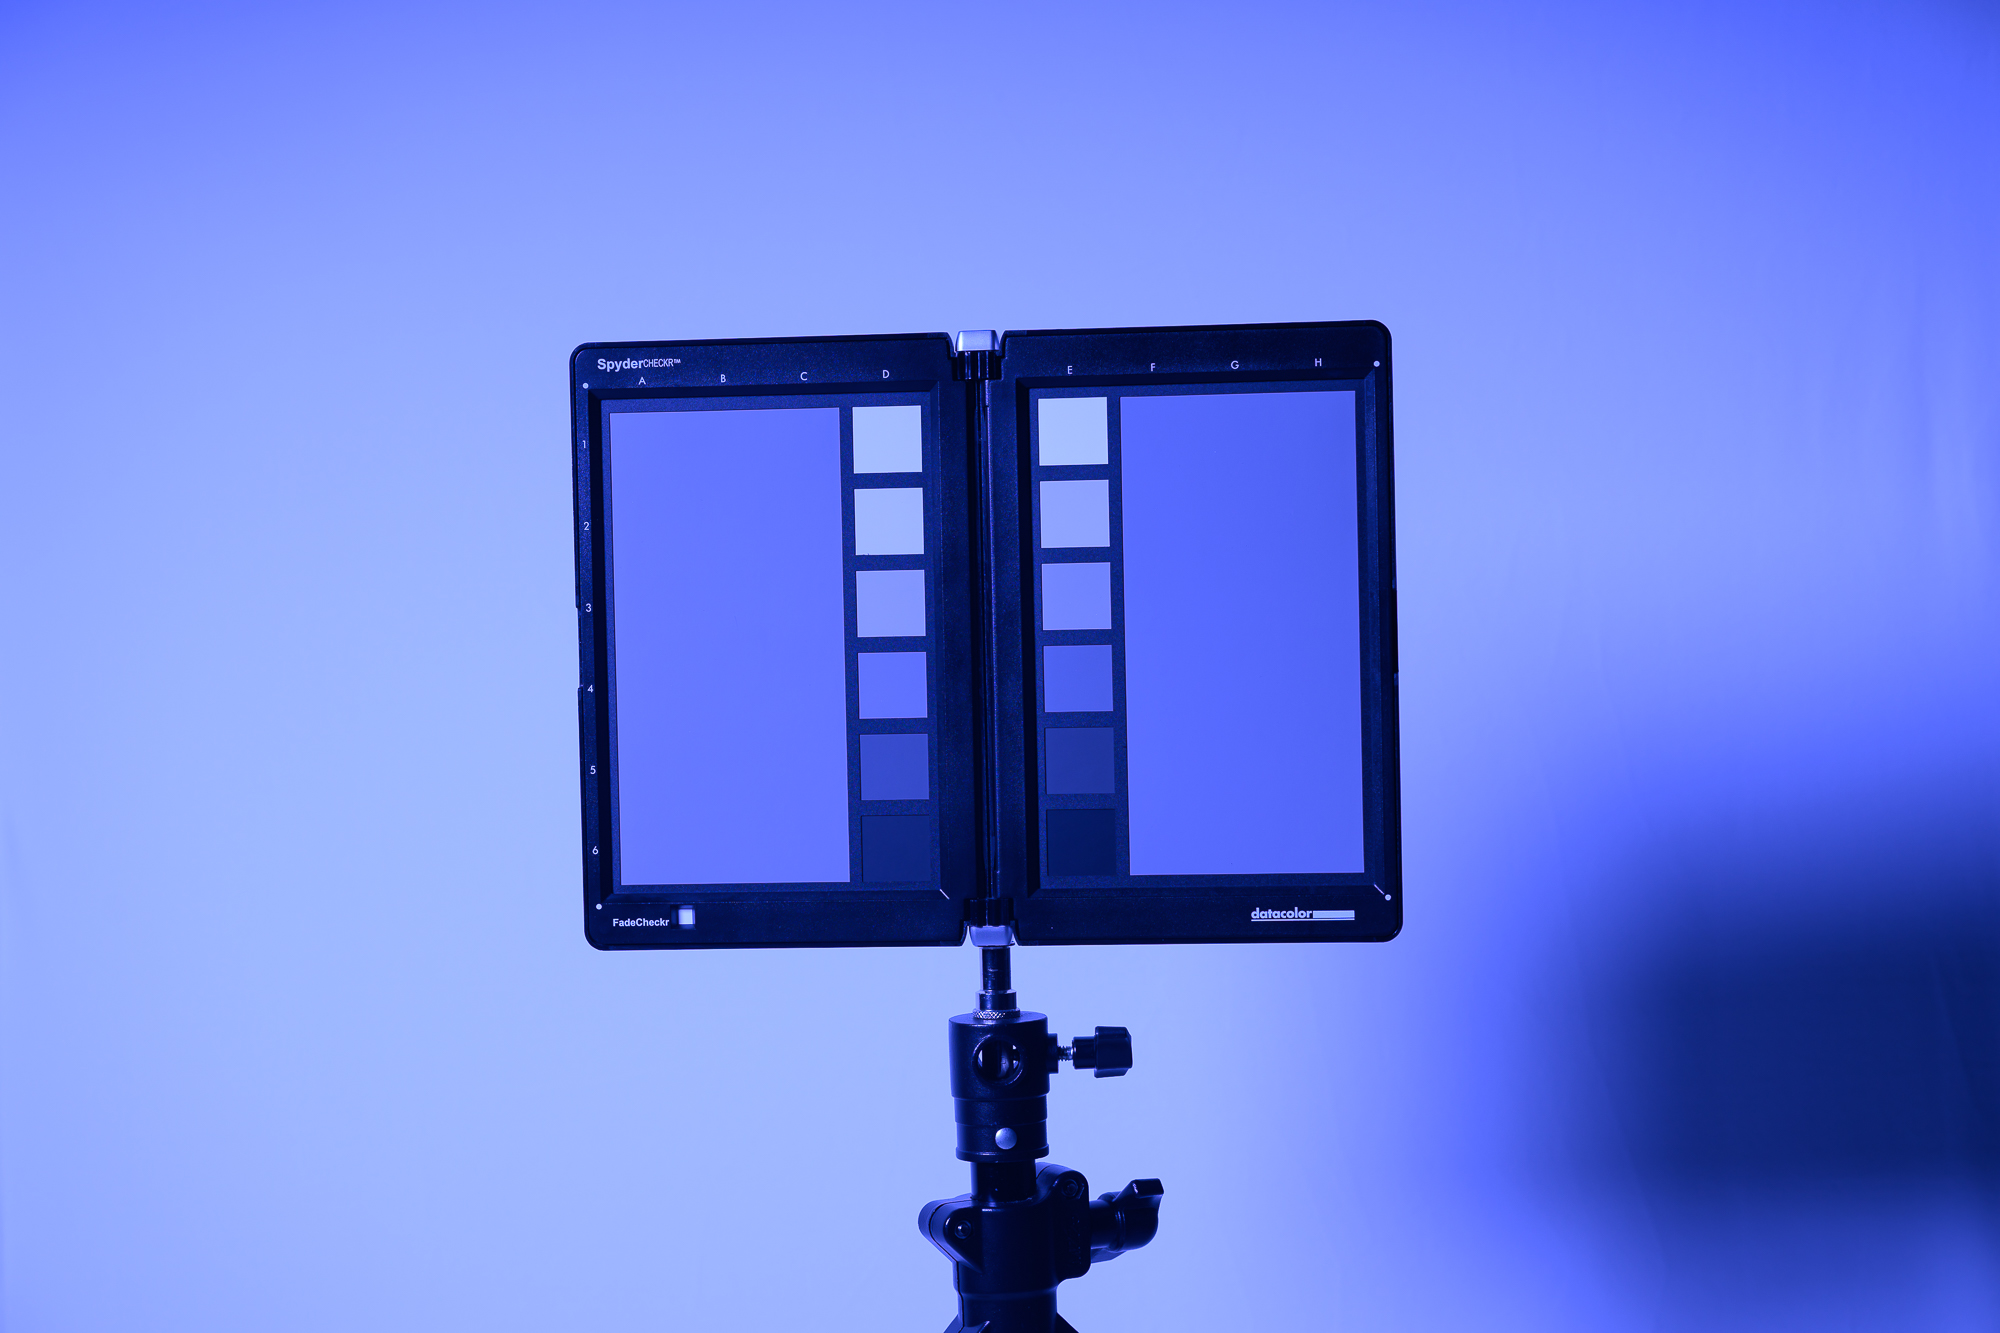
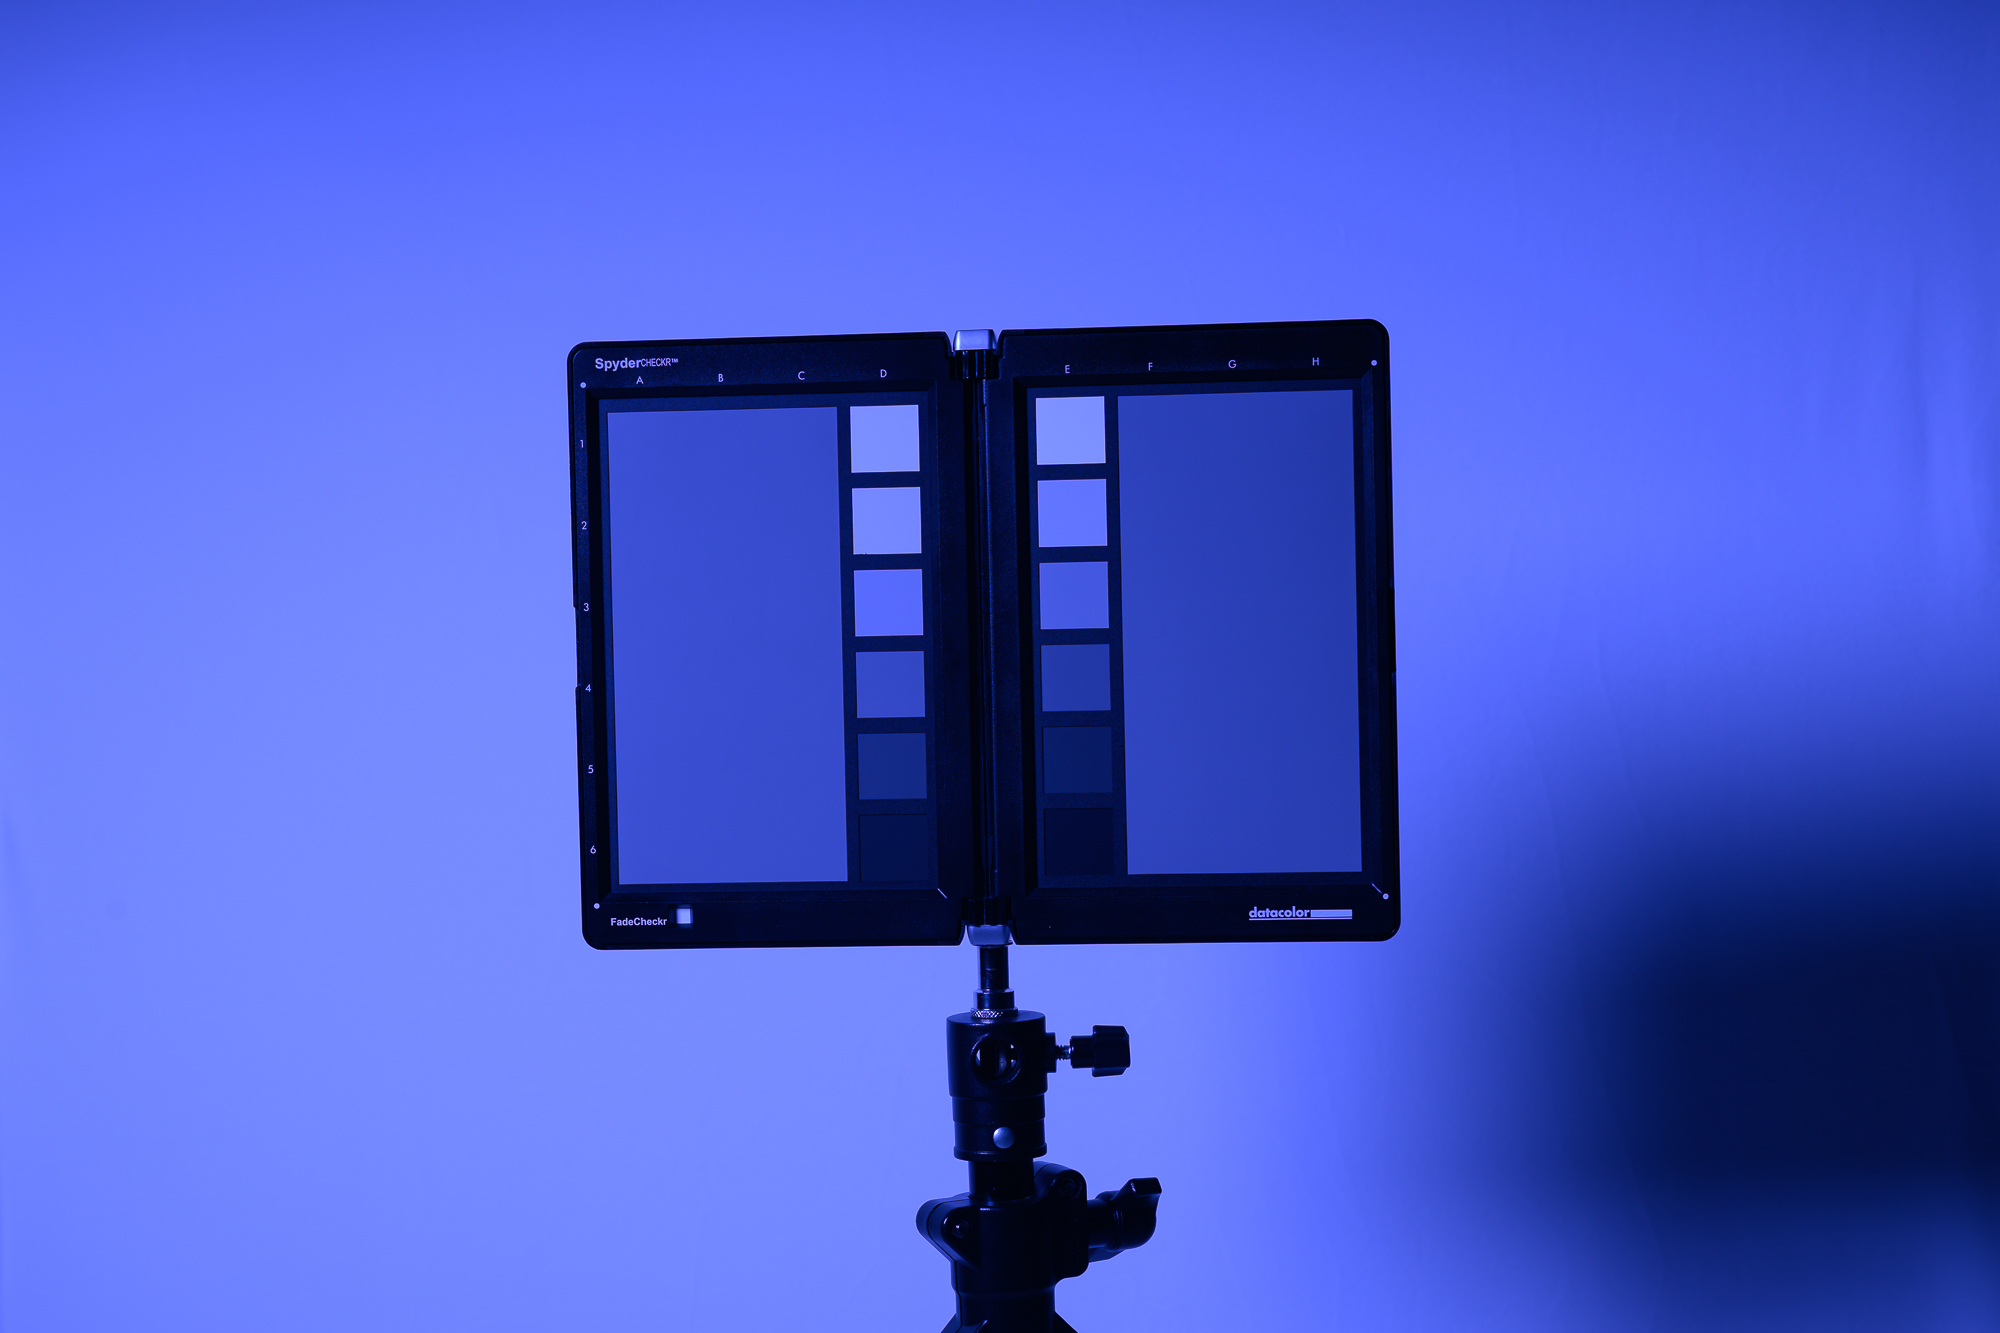
Other Light Sources
Be sure the other lights in your setup are angled and controlled so they do not spill onto the gelled area. Non-gelled light contamination will reduce the apparent saturation of your color. You can control spill with feathering, grids, or flags.
It is also helpful to limit ambient light in the scene. Start by exposing for little to no ambient contribution, then add your gelled light.
Distance of Light Source to Subject
If your lights are too close to the subject, the highlights may start to lose color saturation.
You can reduce power or change your camera settings to bring those highlights back under control, but then the midtones and shadows may become too dark or too contrasty.
This happens because of the inverse square law: when a light is very close, illumination falls off very quickly with distance. As a result, parts of the subject that are slightly closer to the light can be much brighter than parts that are slightly farther away.
Moving the light farther from the subject makes that falloff more gradual across the scene. The light becomes more even from highlight to shadow, which helps produce more consistent color across your subject.
Note: This principle applies to any light, not just lights using FlexiGels Vivids.
Over or Underexposure In Camera
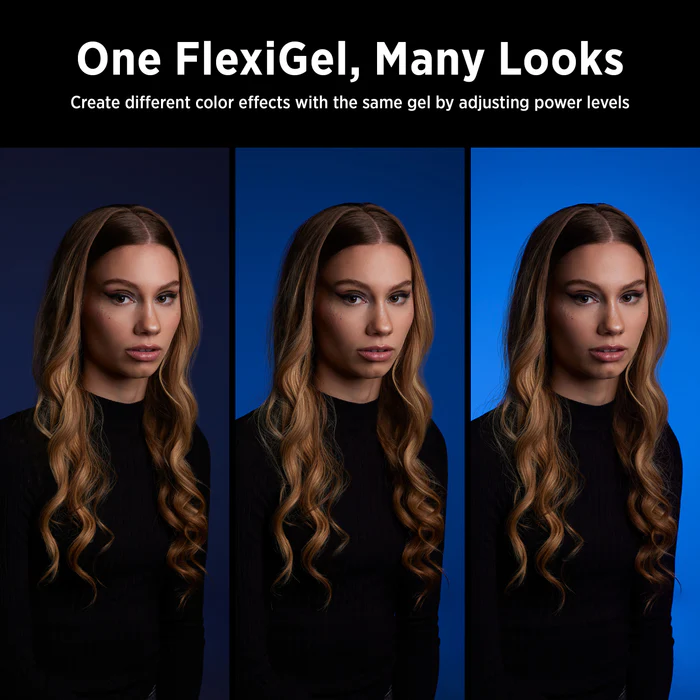
You can use flash power and camera exposure settings to control how rich or subtle your gel color appears.
A light meter is useful for establishing a baseline, but the most saturated result is often achieved by exposing the gelled light darker than that baseline.
As a starting point, try reducing the gelled exposure by about 1 stop for a richer color, or 2 stops for a deeper, more dramatic look. The exact amount will vary depending on the gel color, the subject, and how much other light is present in the scene.
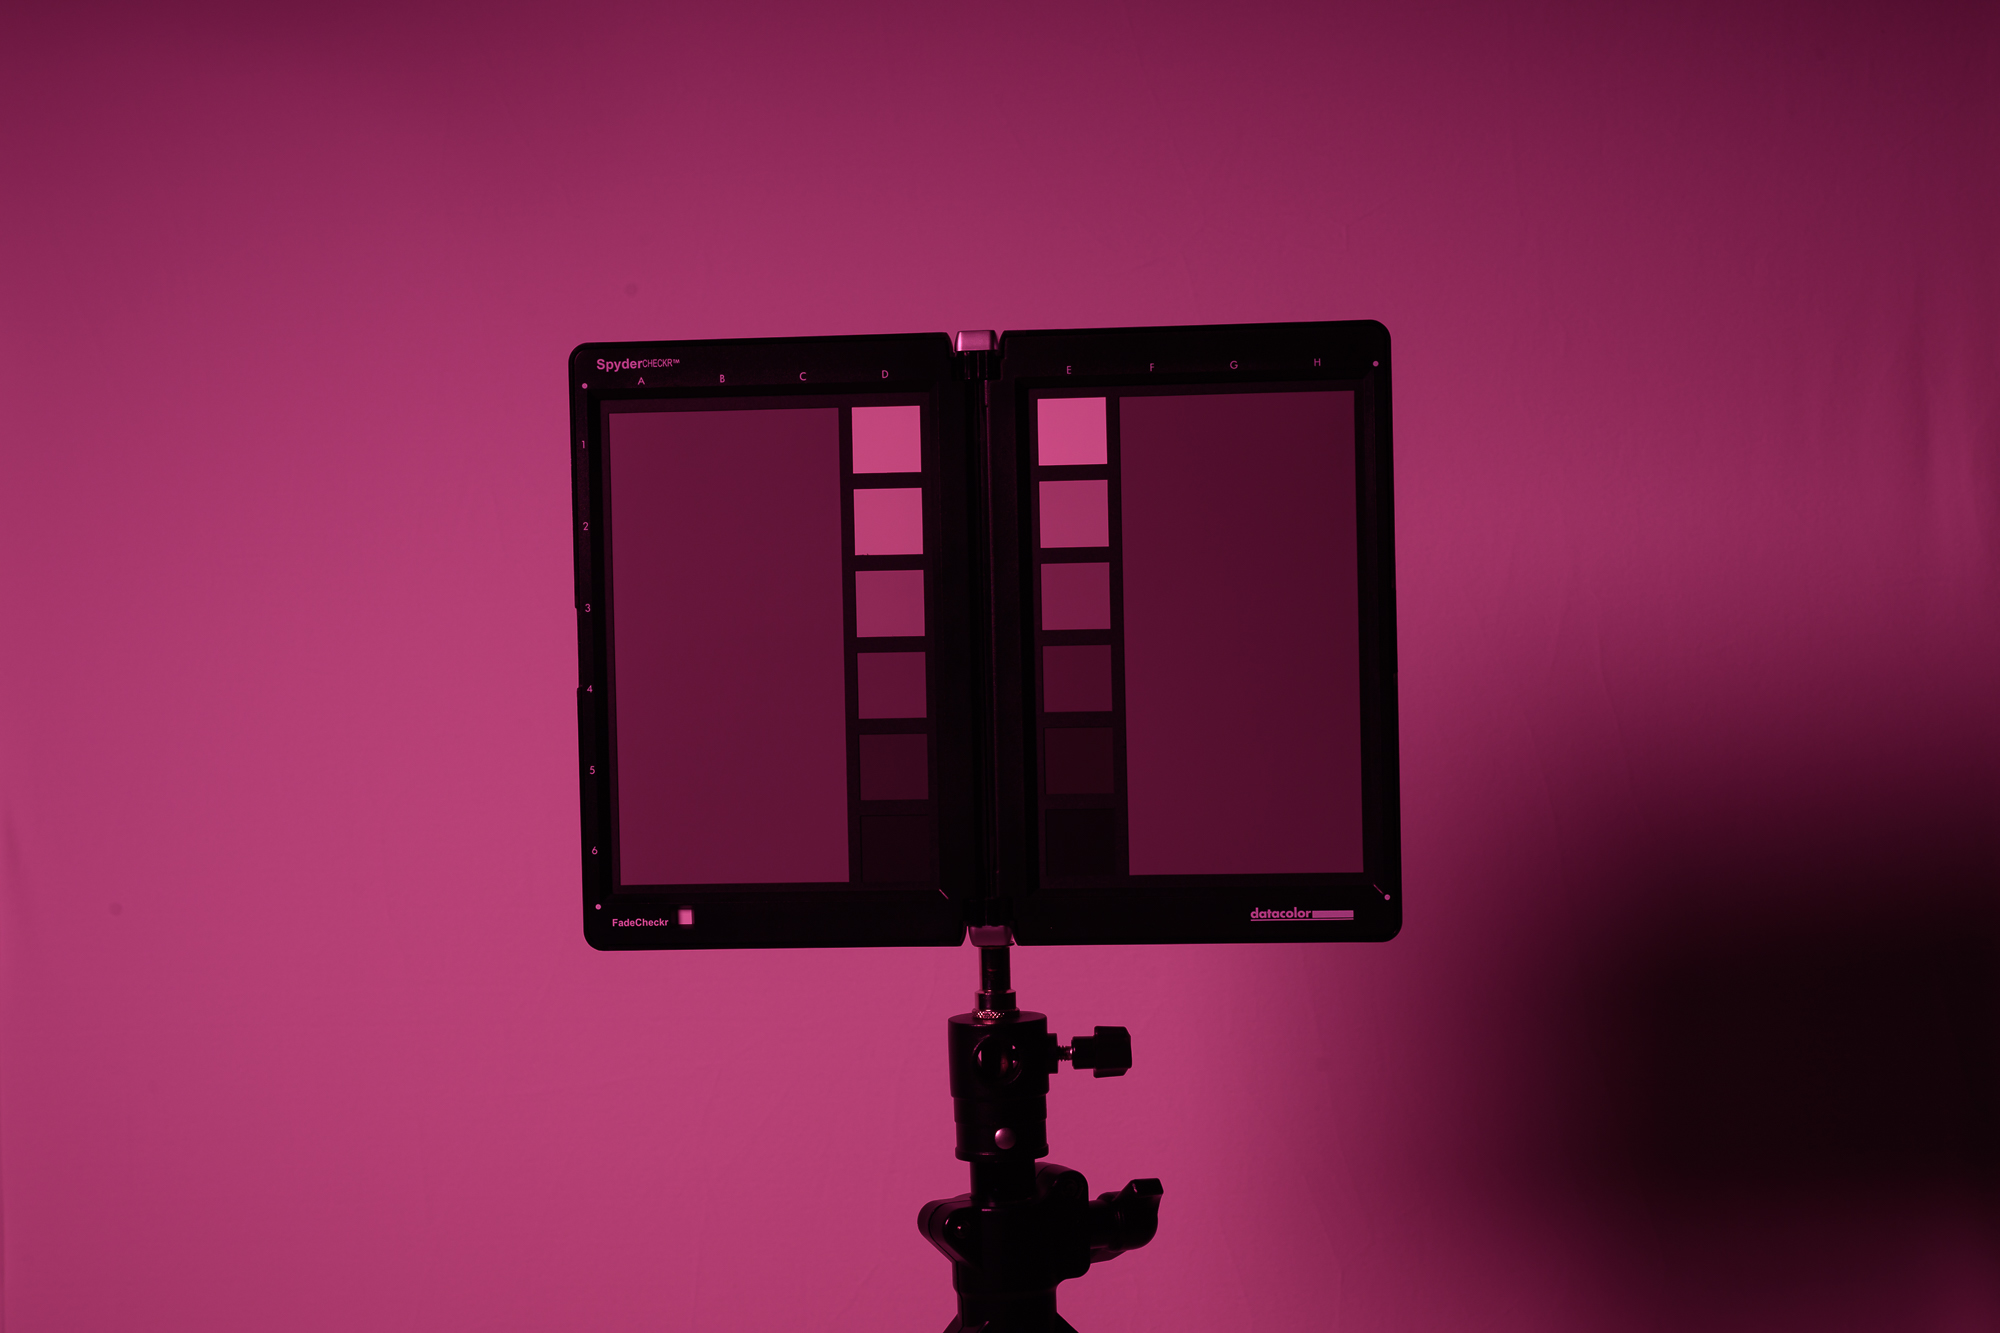
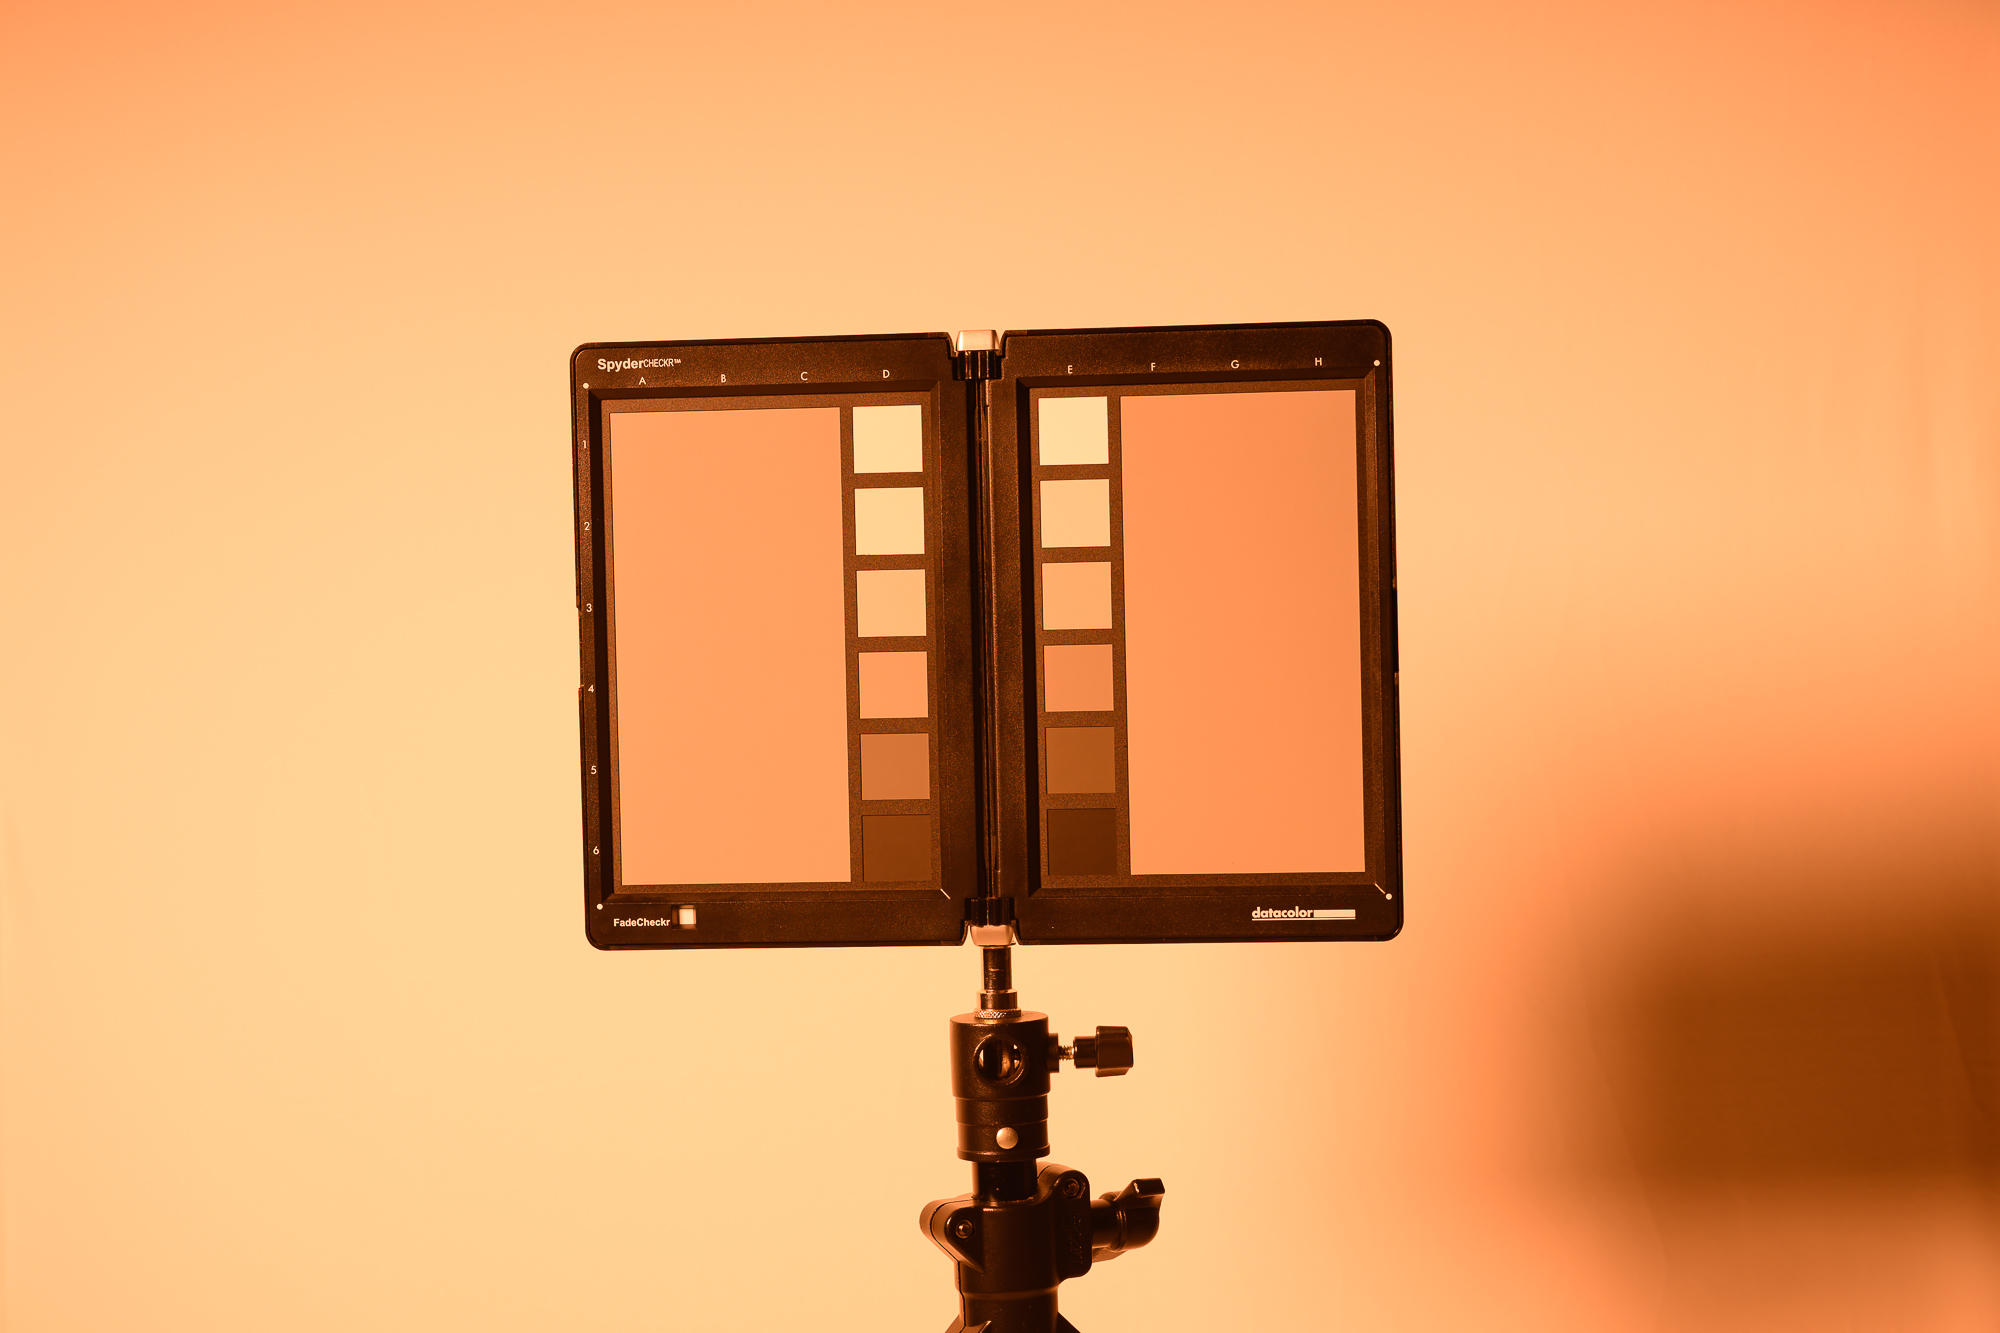
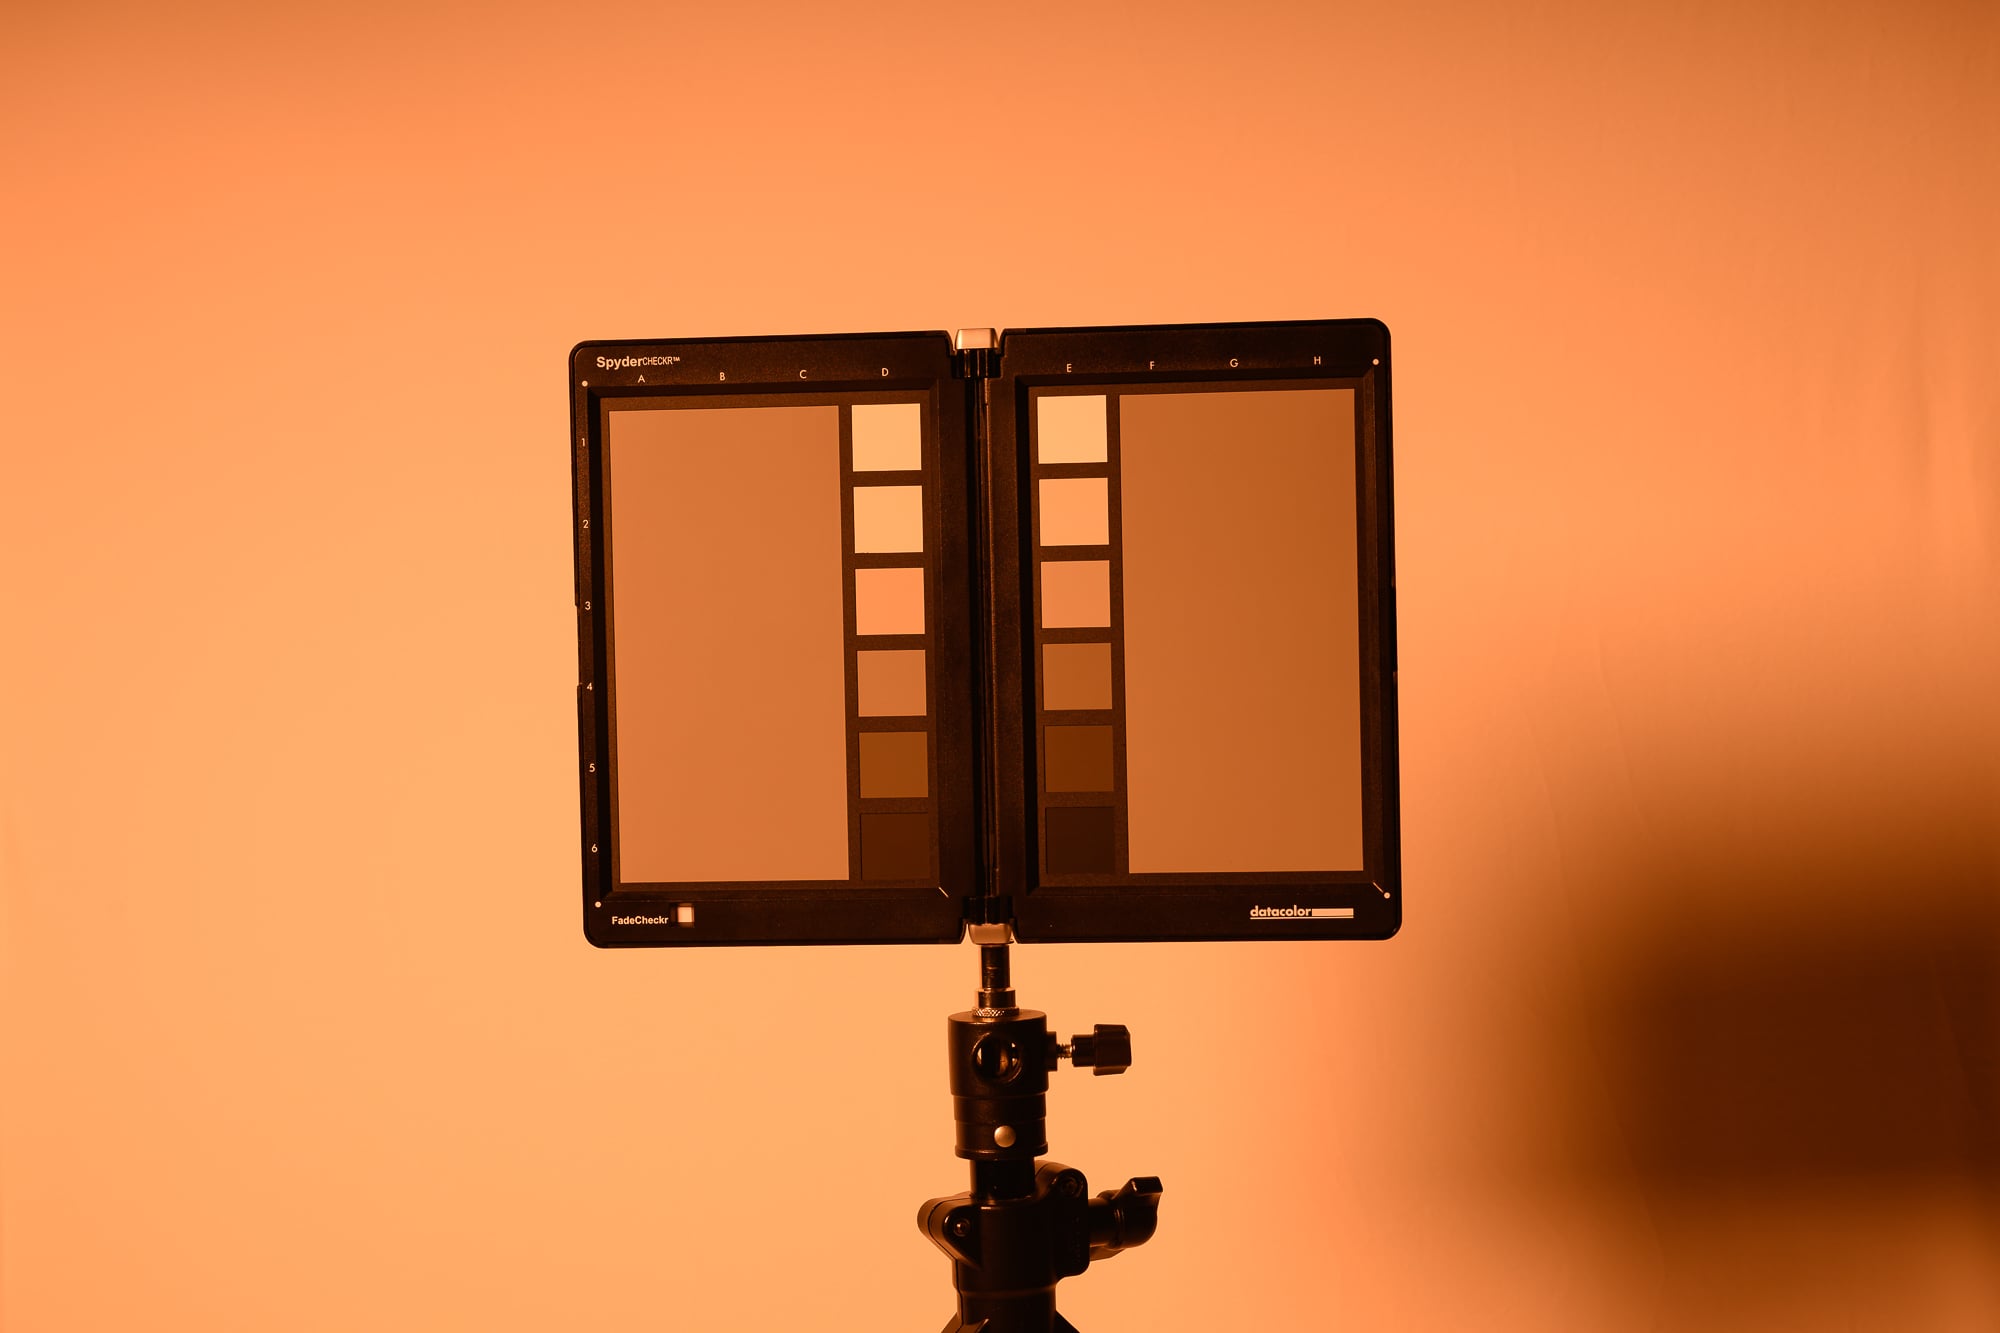
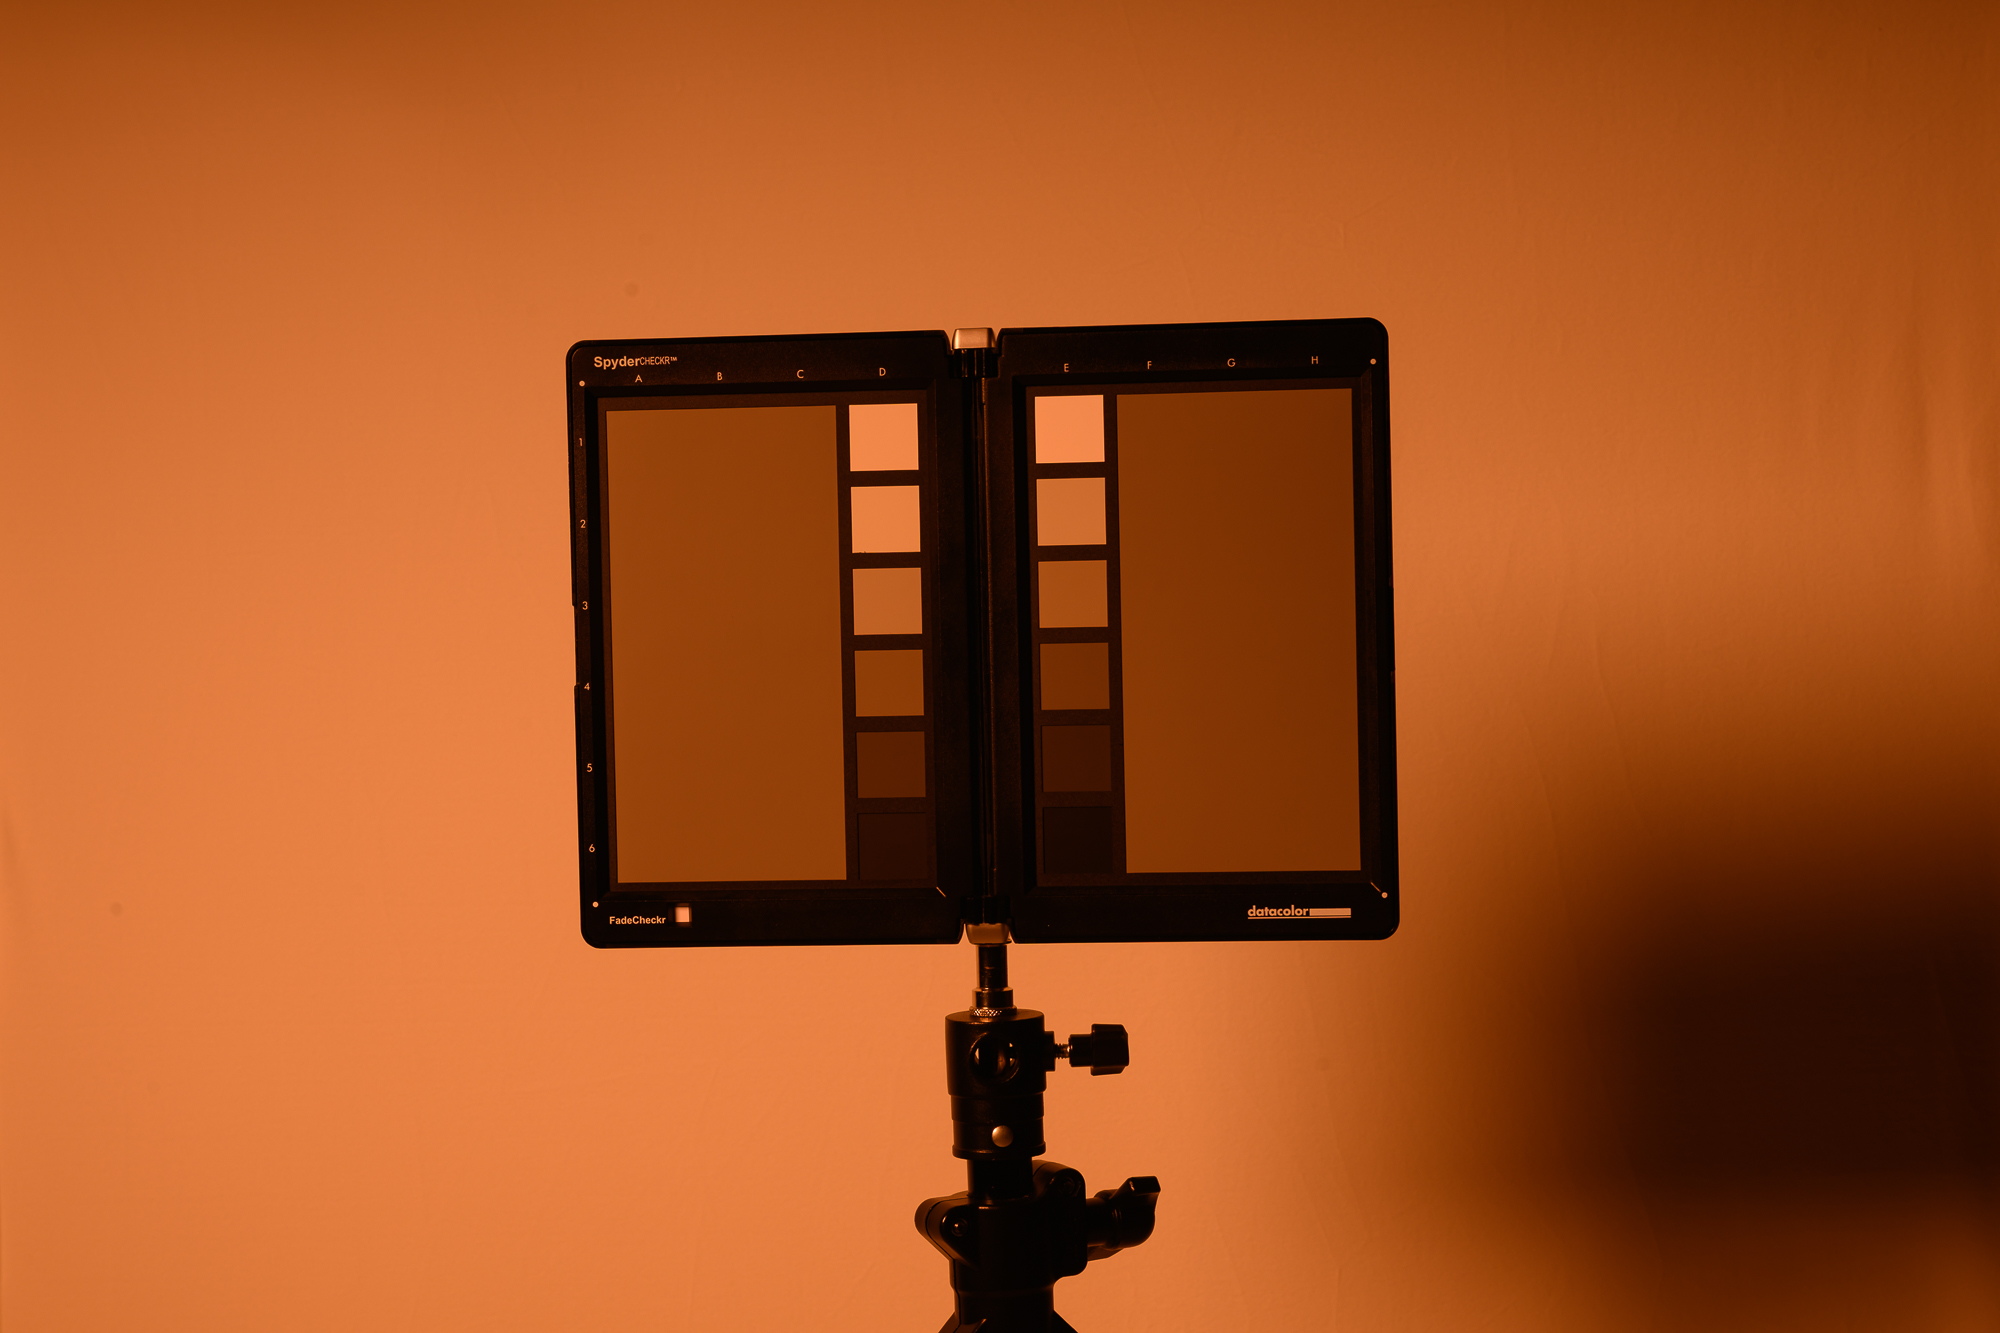
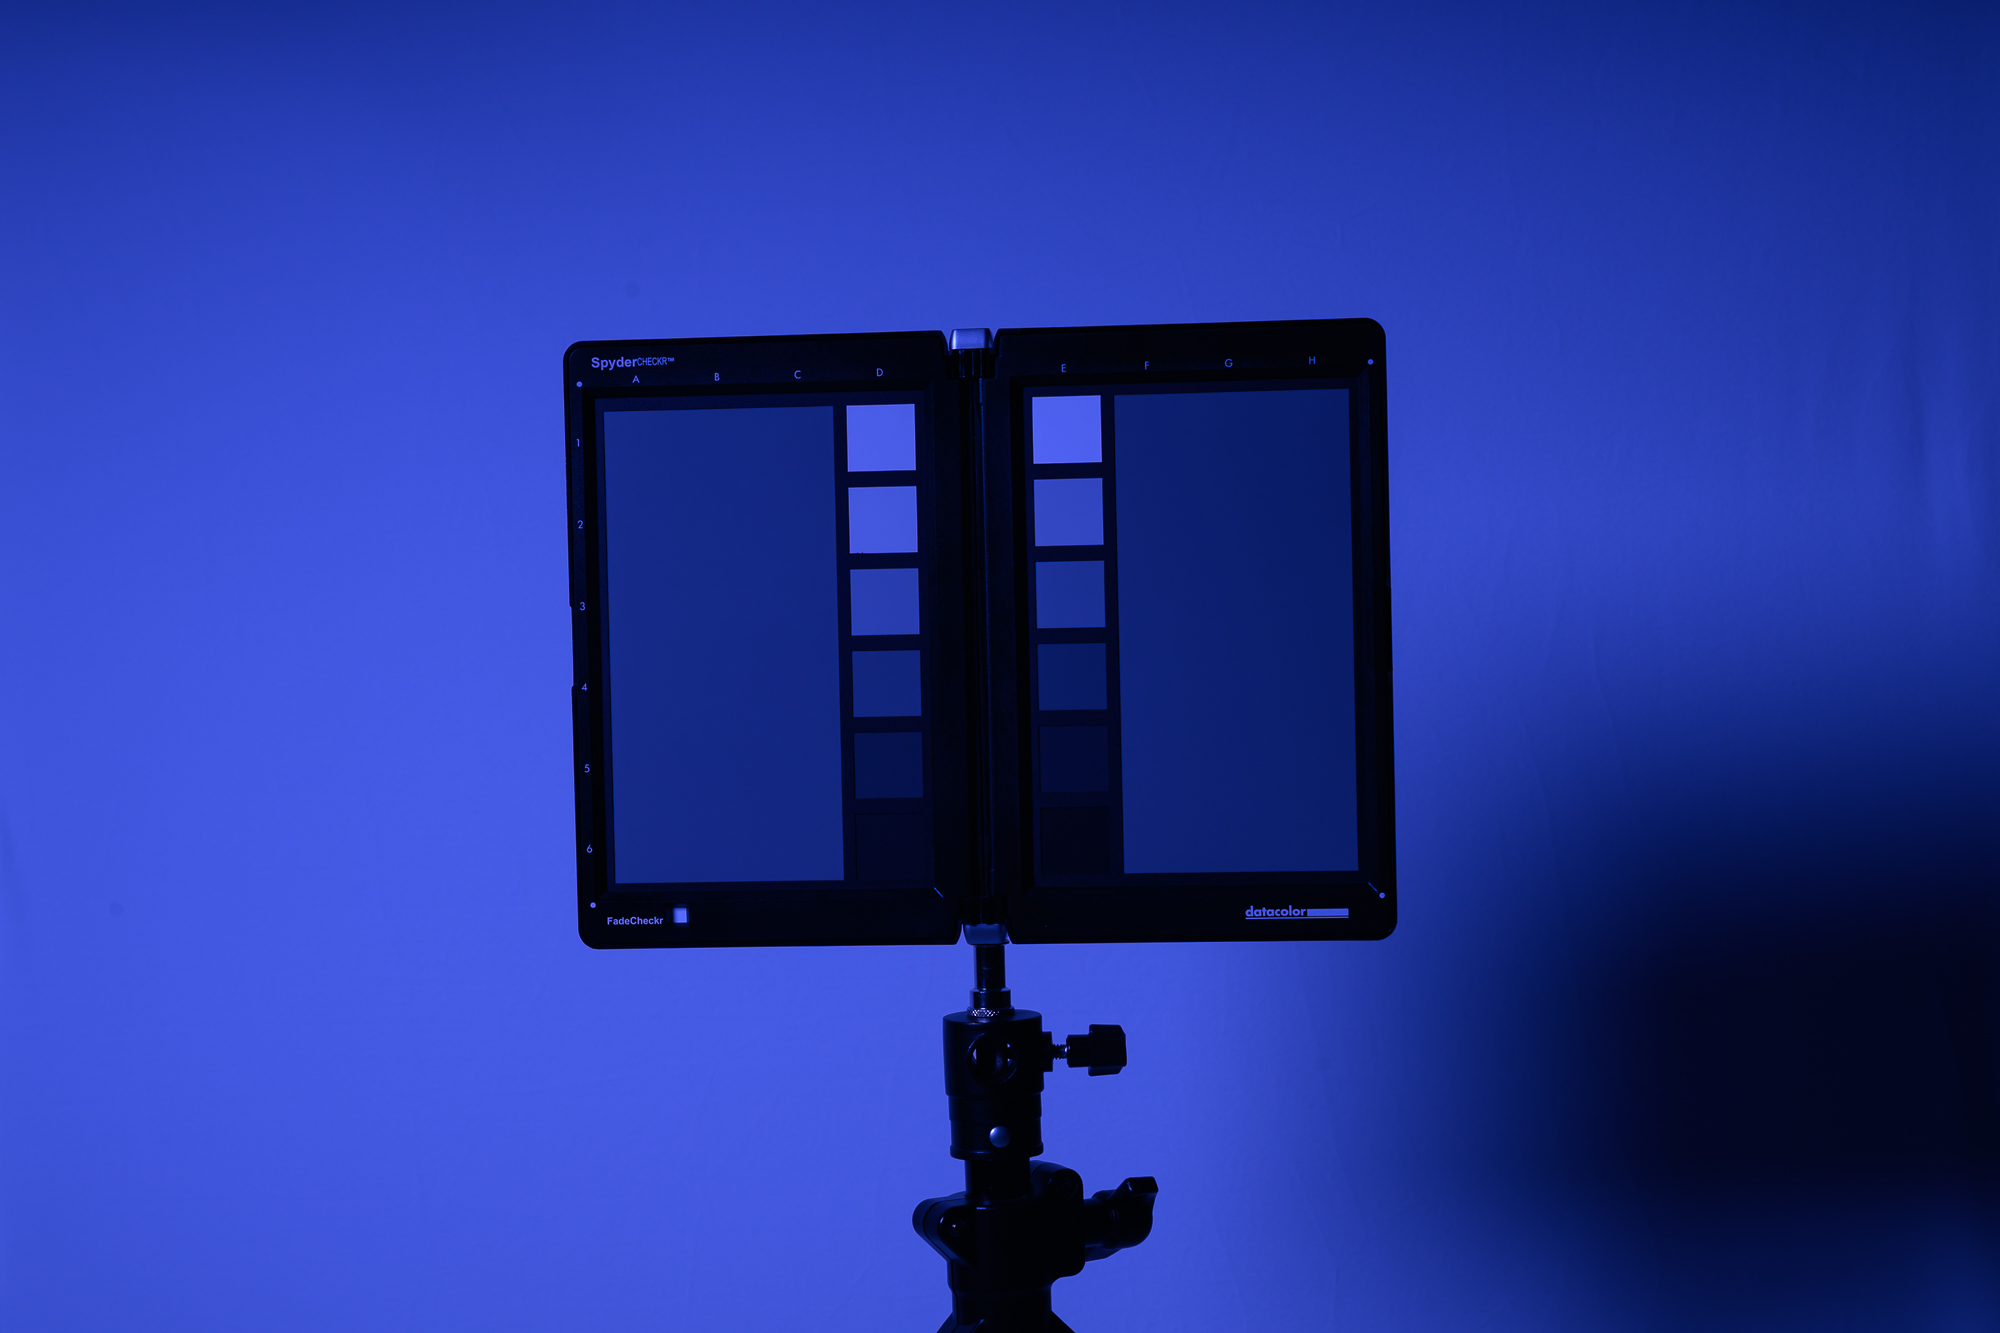
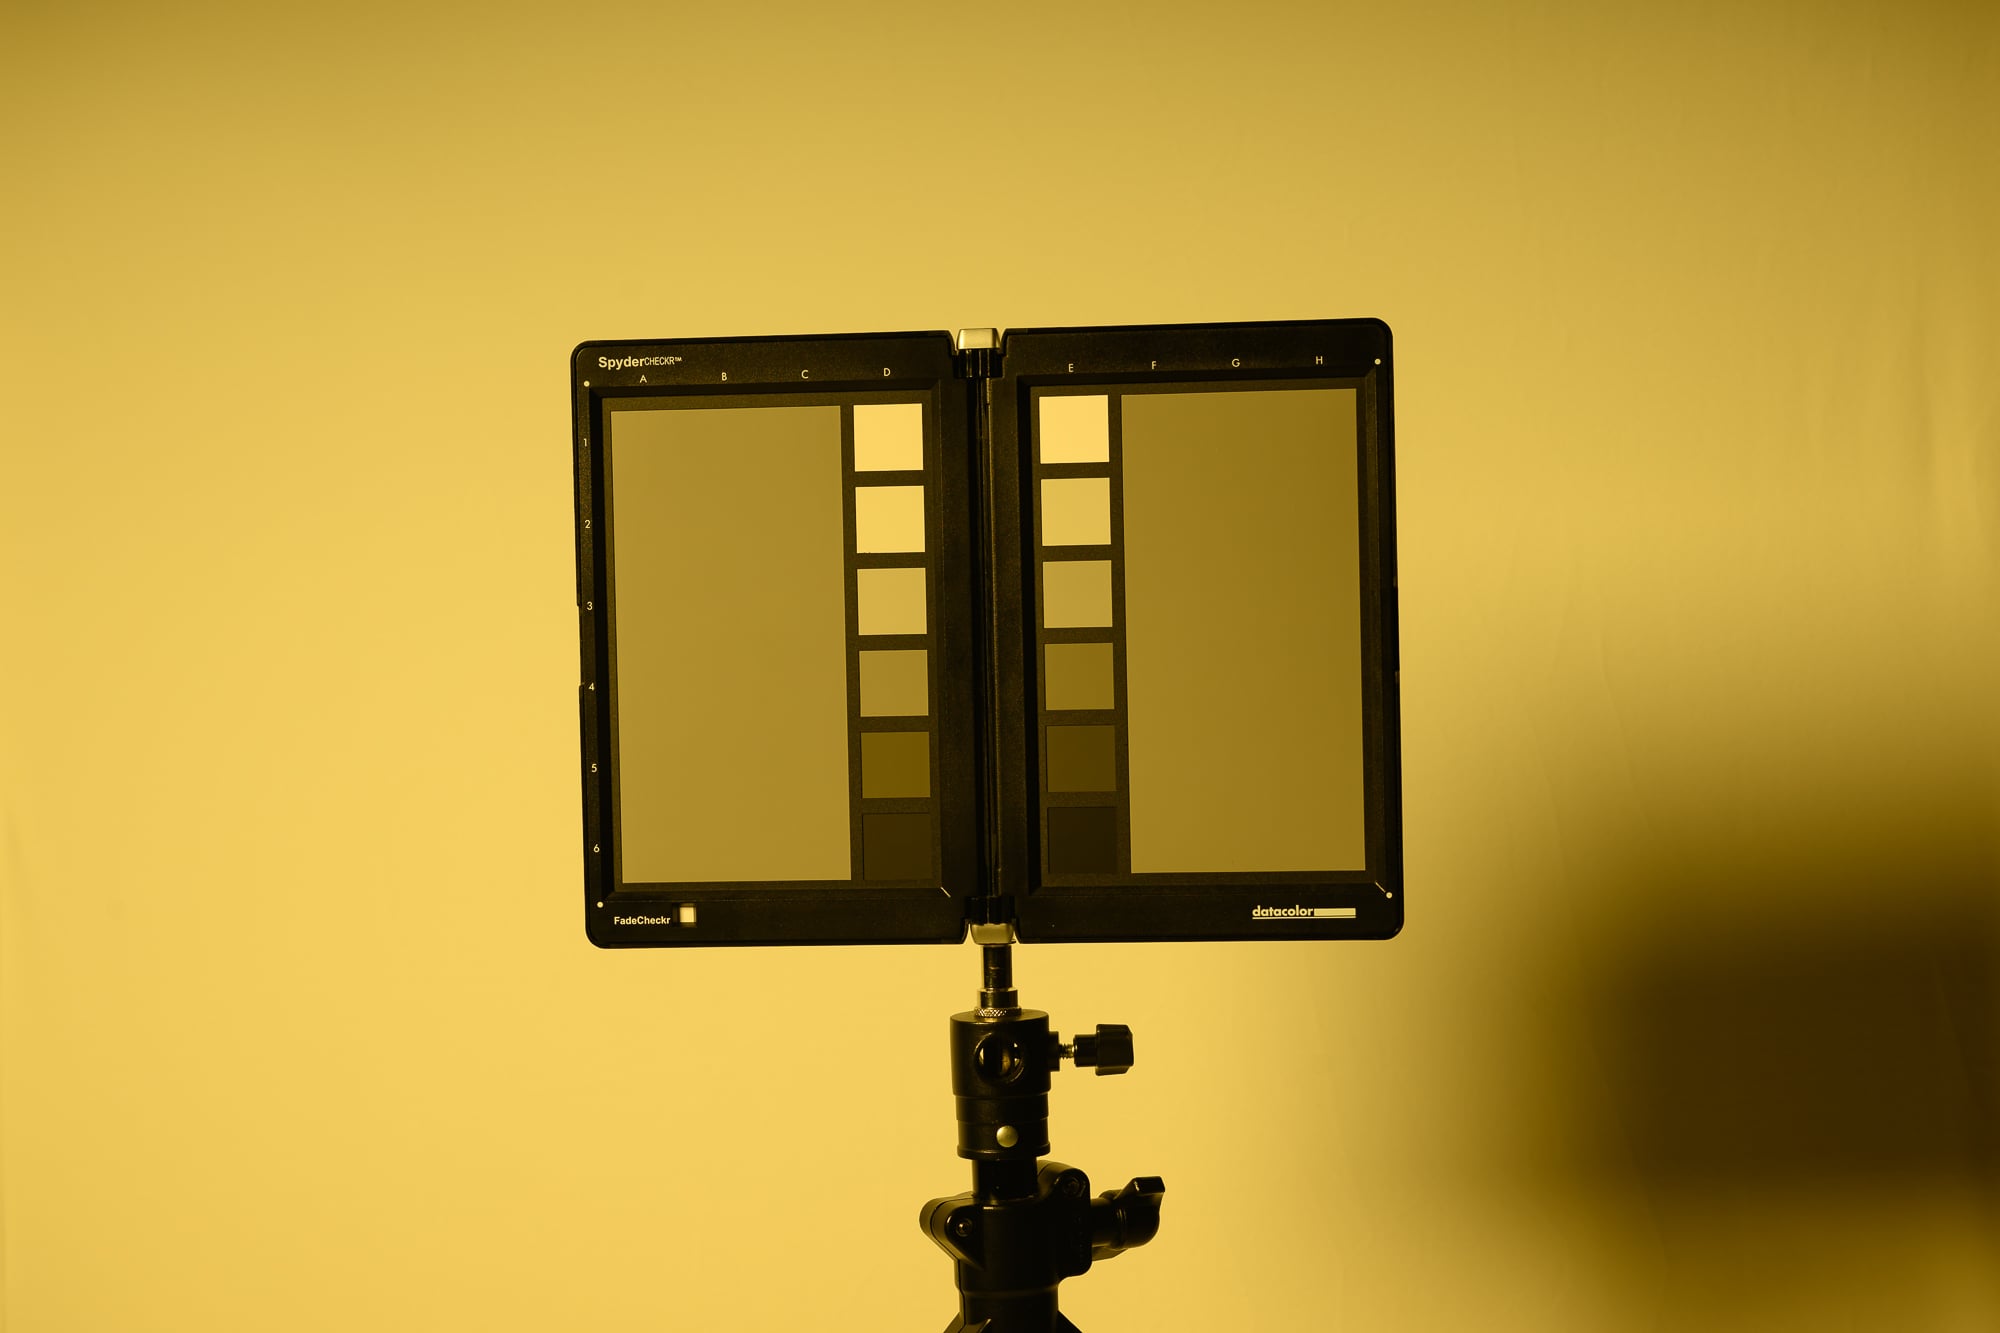
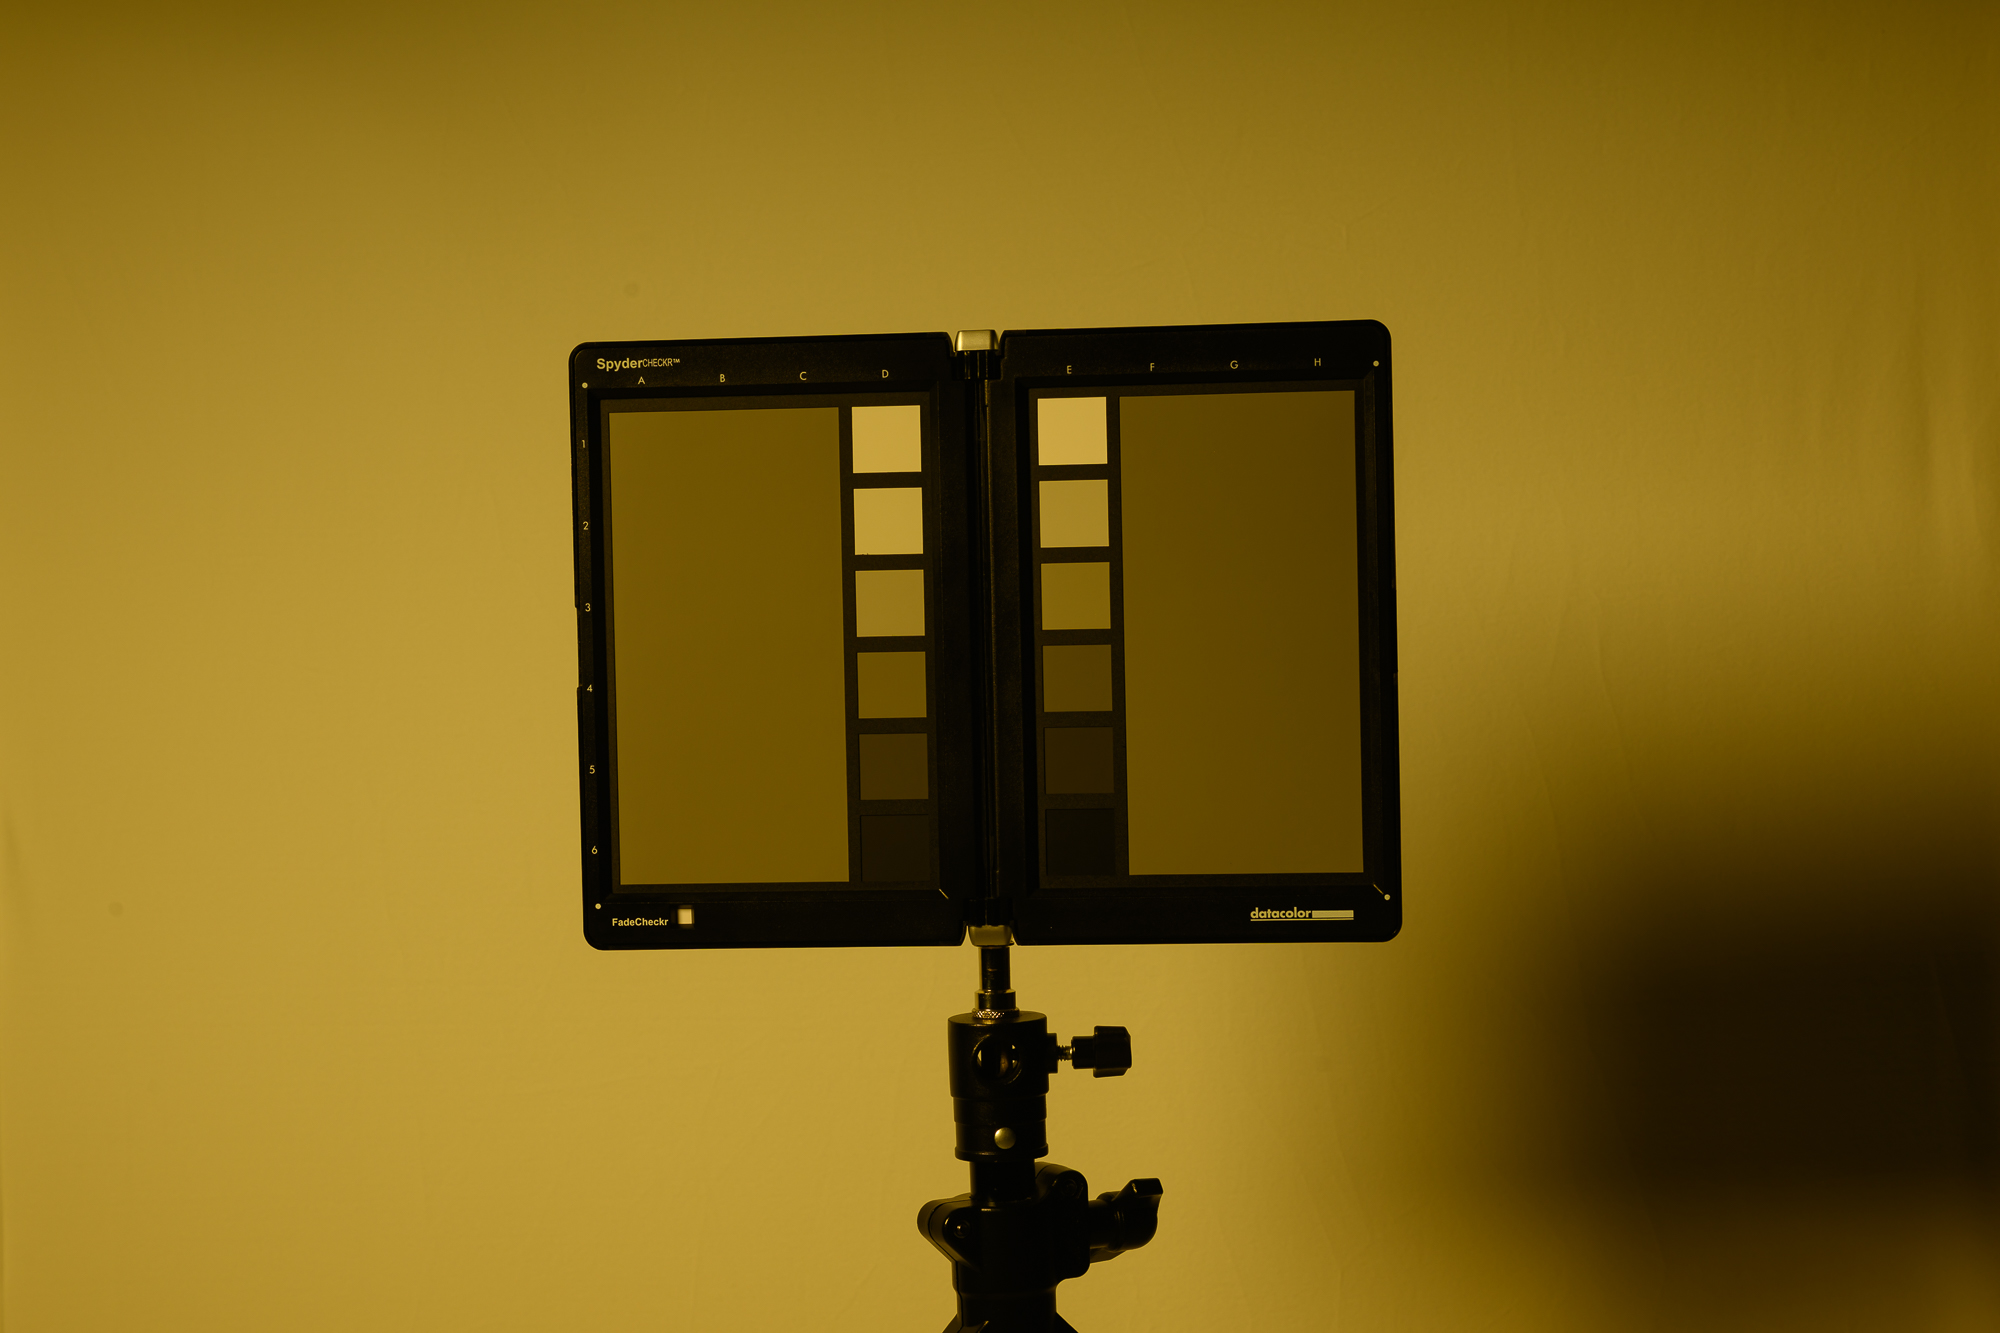
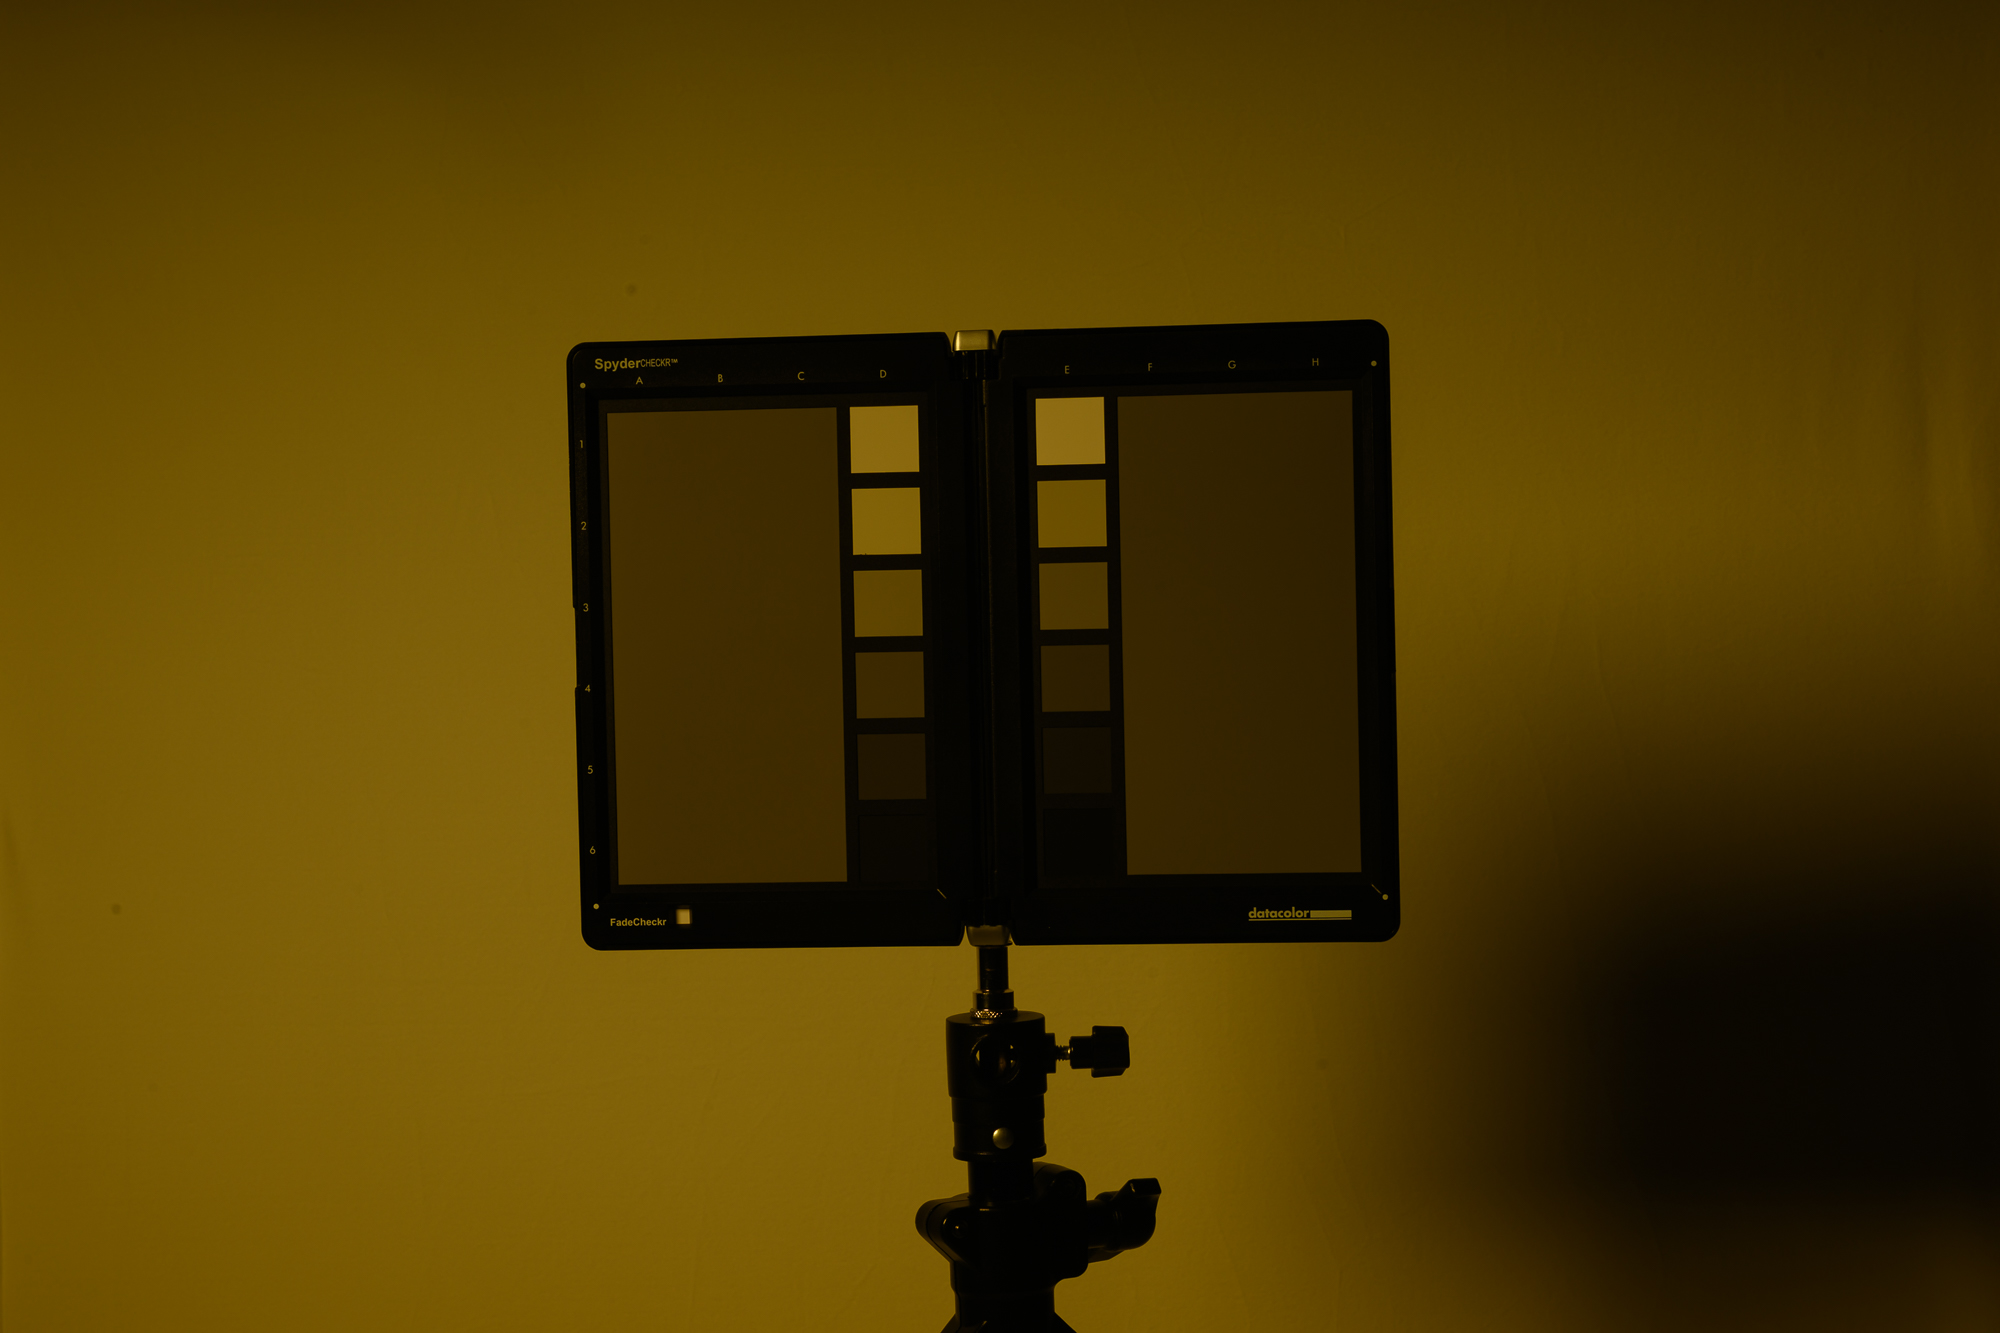
Below are some color examples, first being exposed using a light meter, second being 1 stop under, and third being 2 stops under, showing how you can control color in the camera. You can get this look by either adjusting the power of your strobe or the aperture or ISO in camera.
Of course, you can take this to any extreme you like!
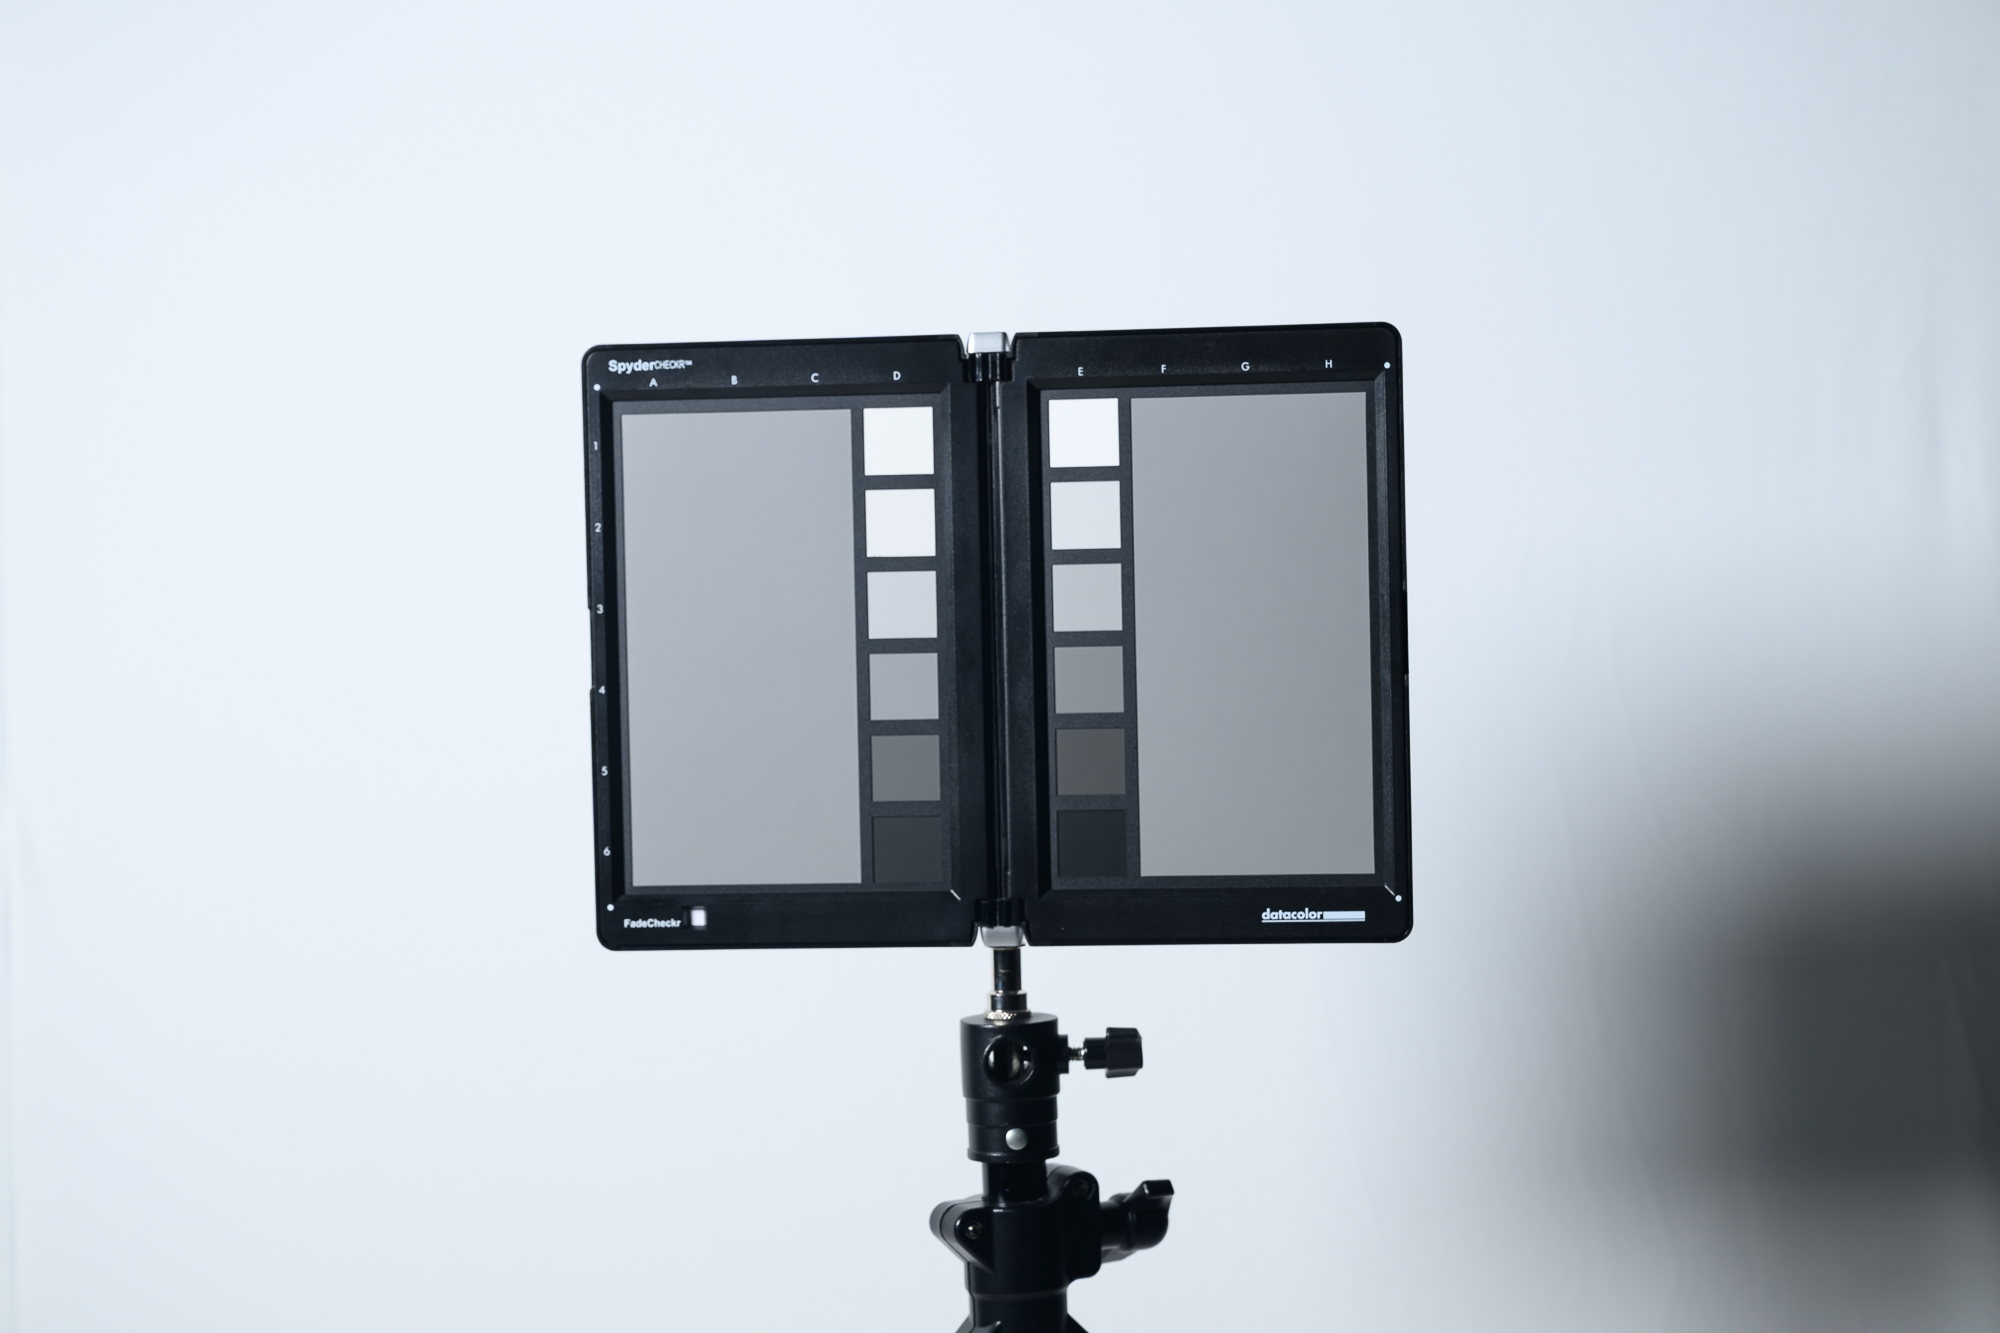
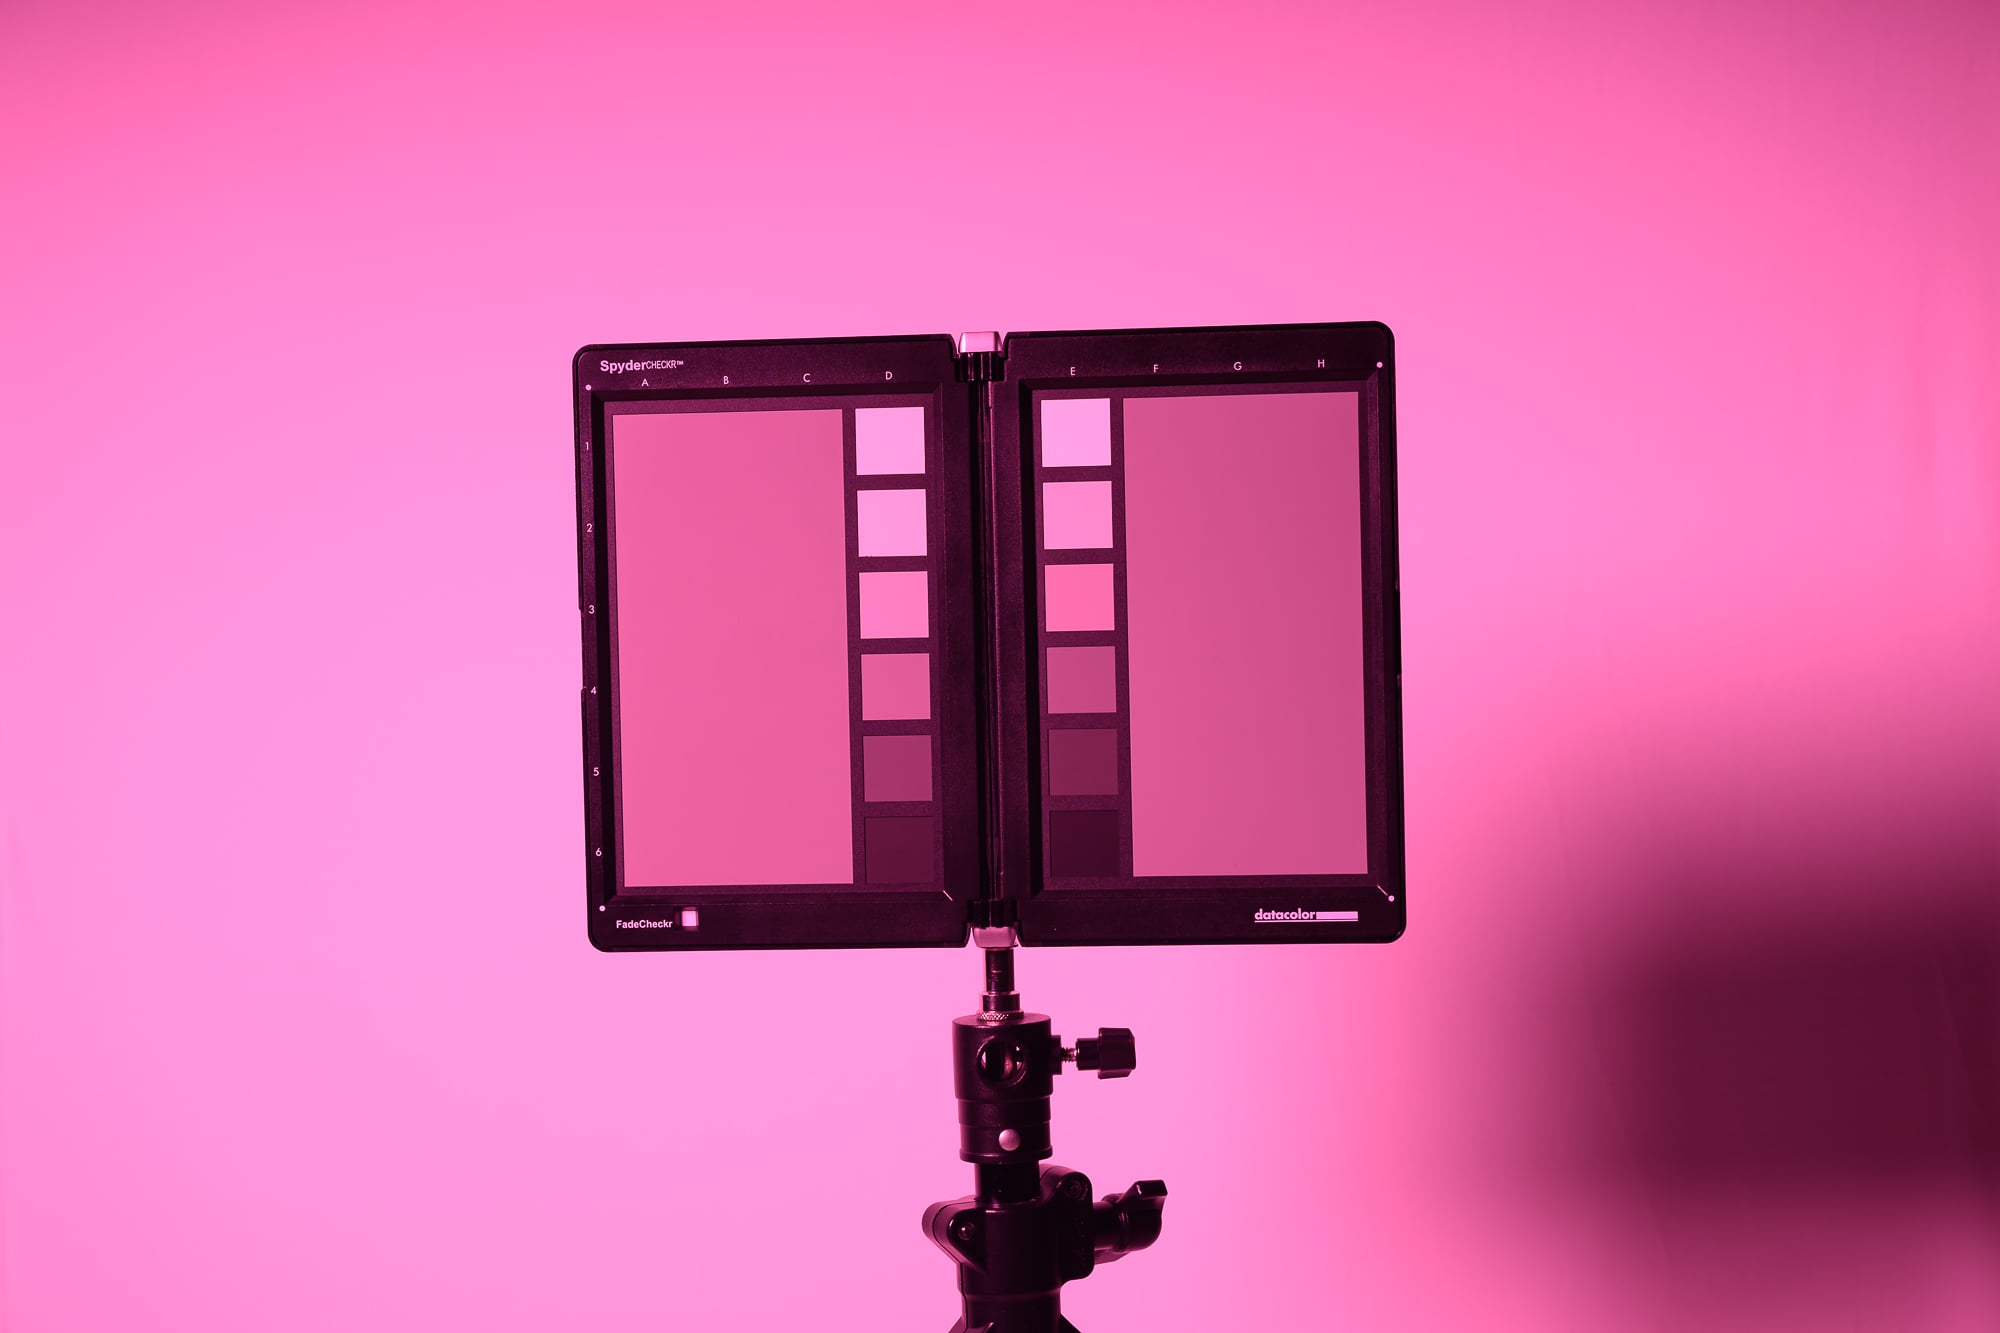
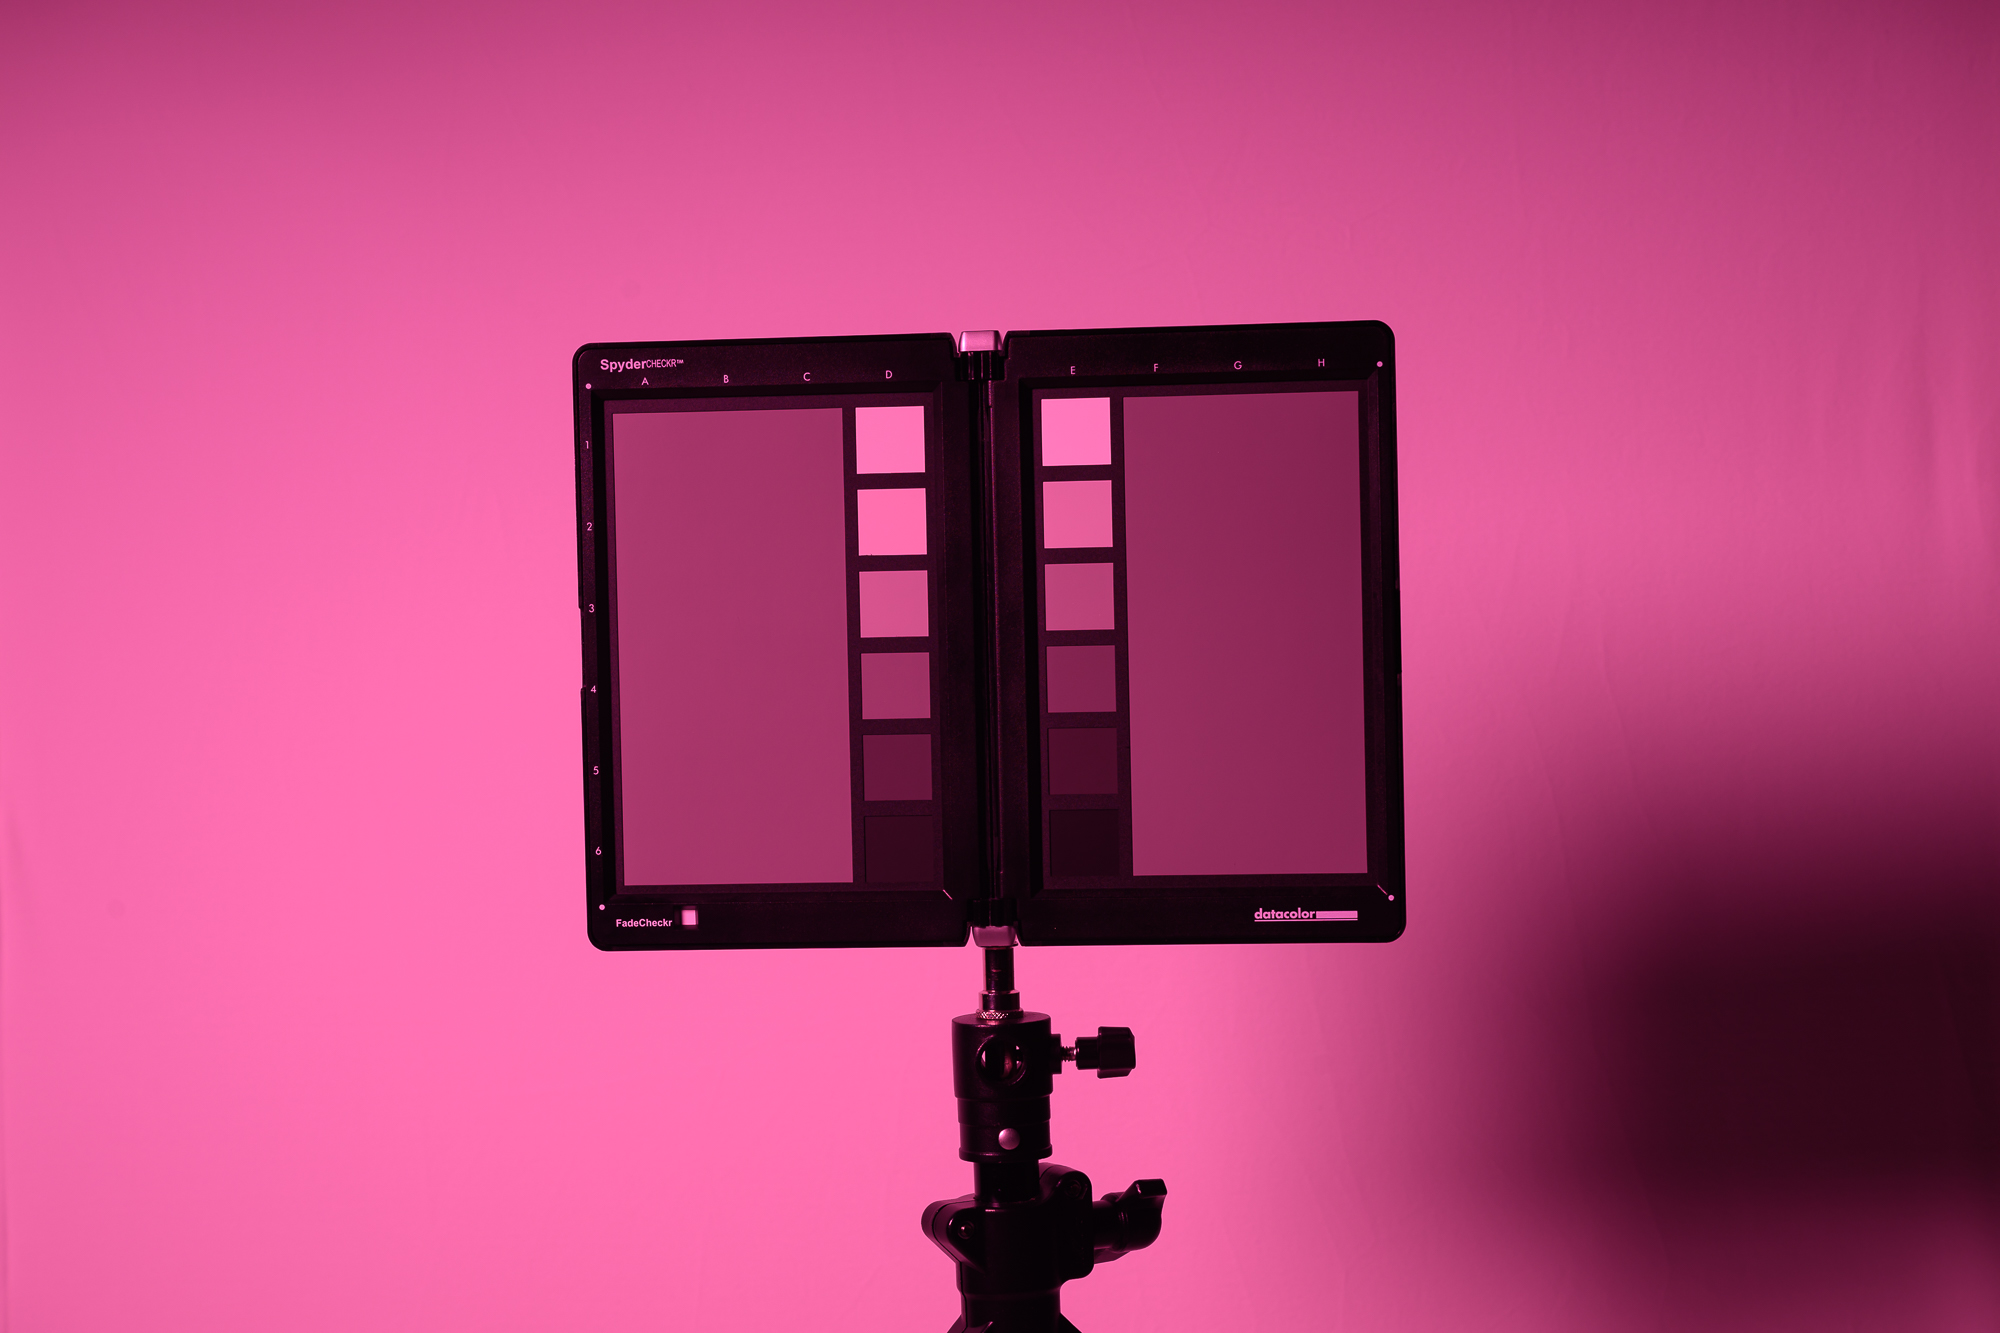
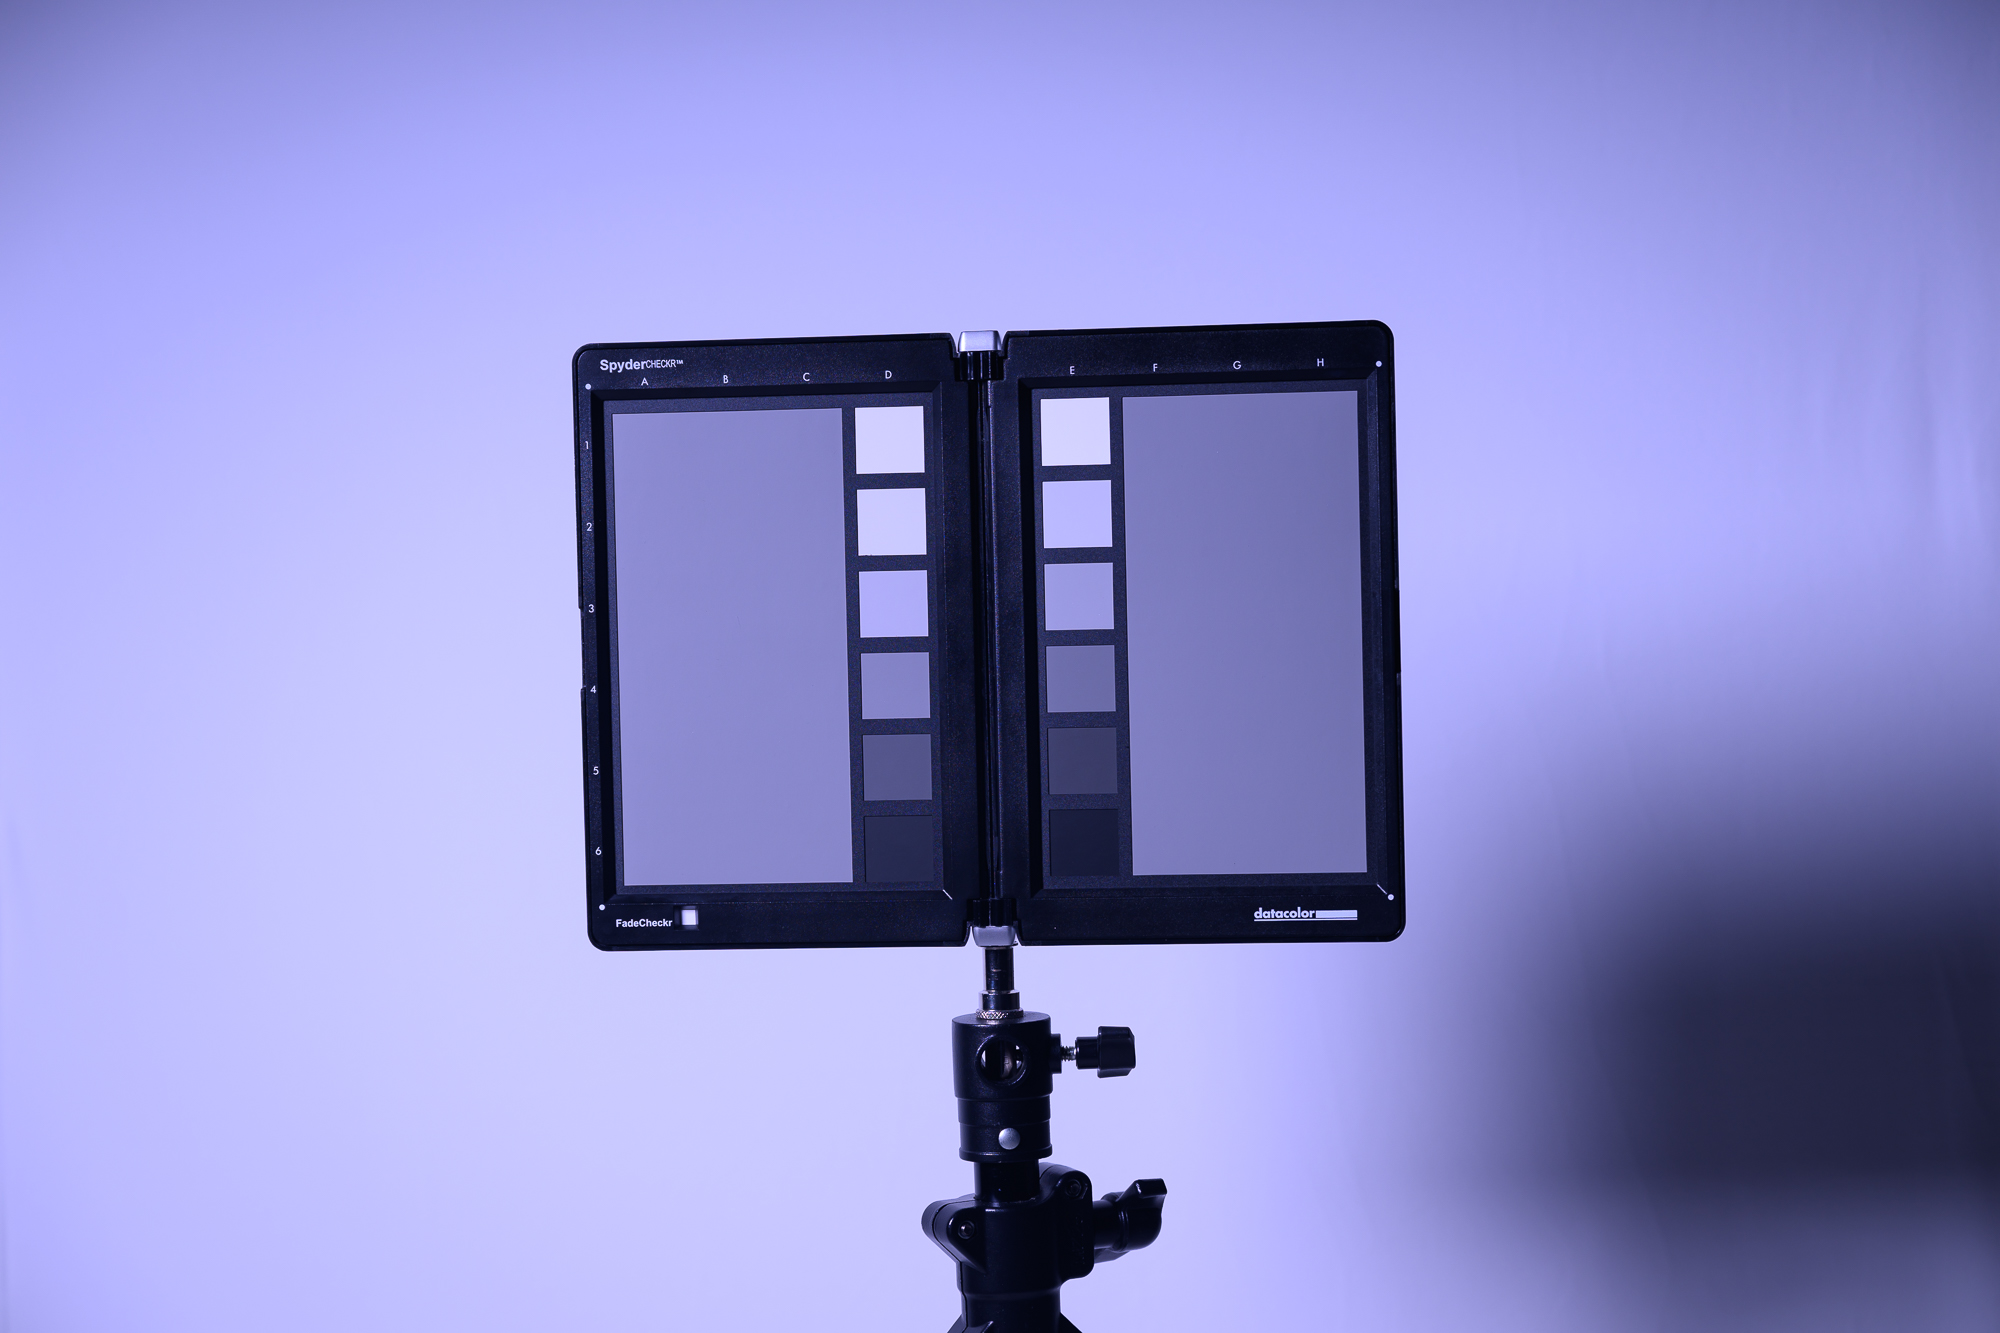
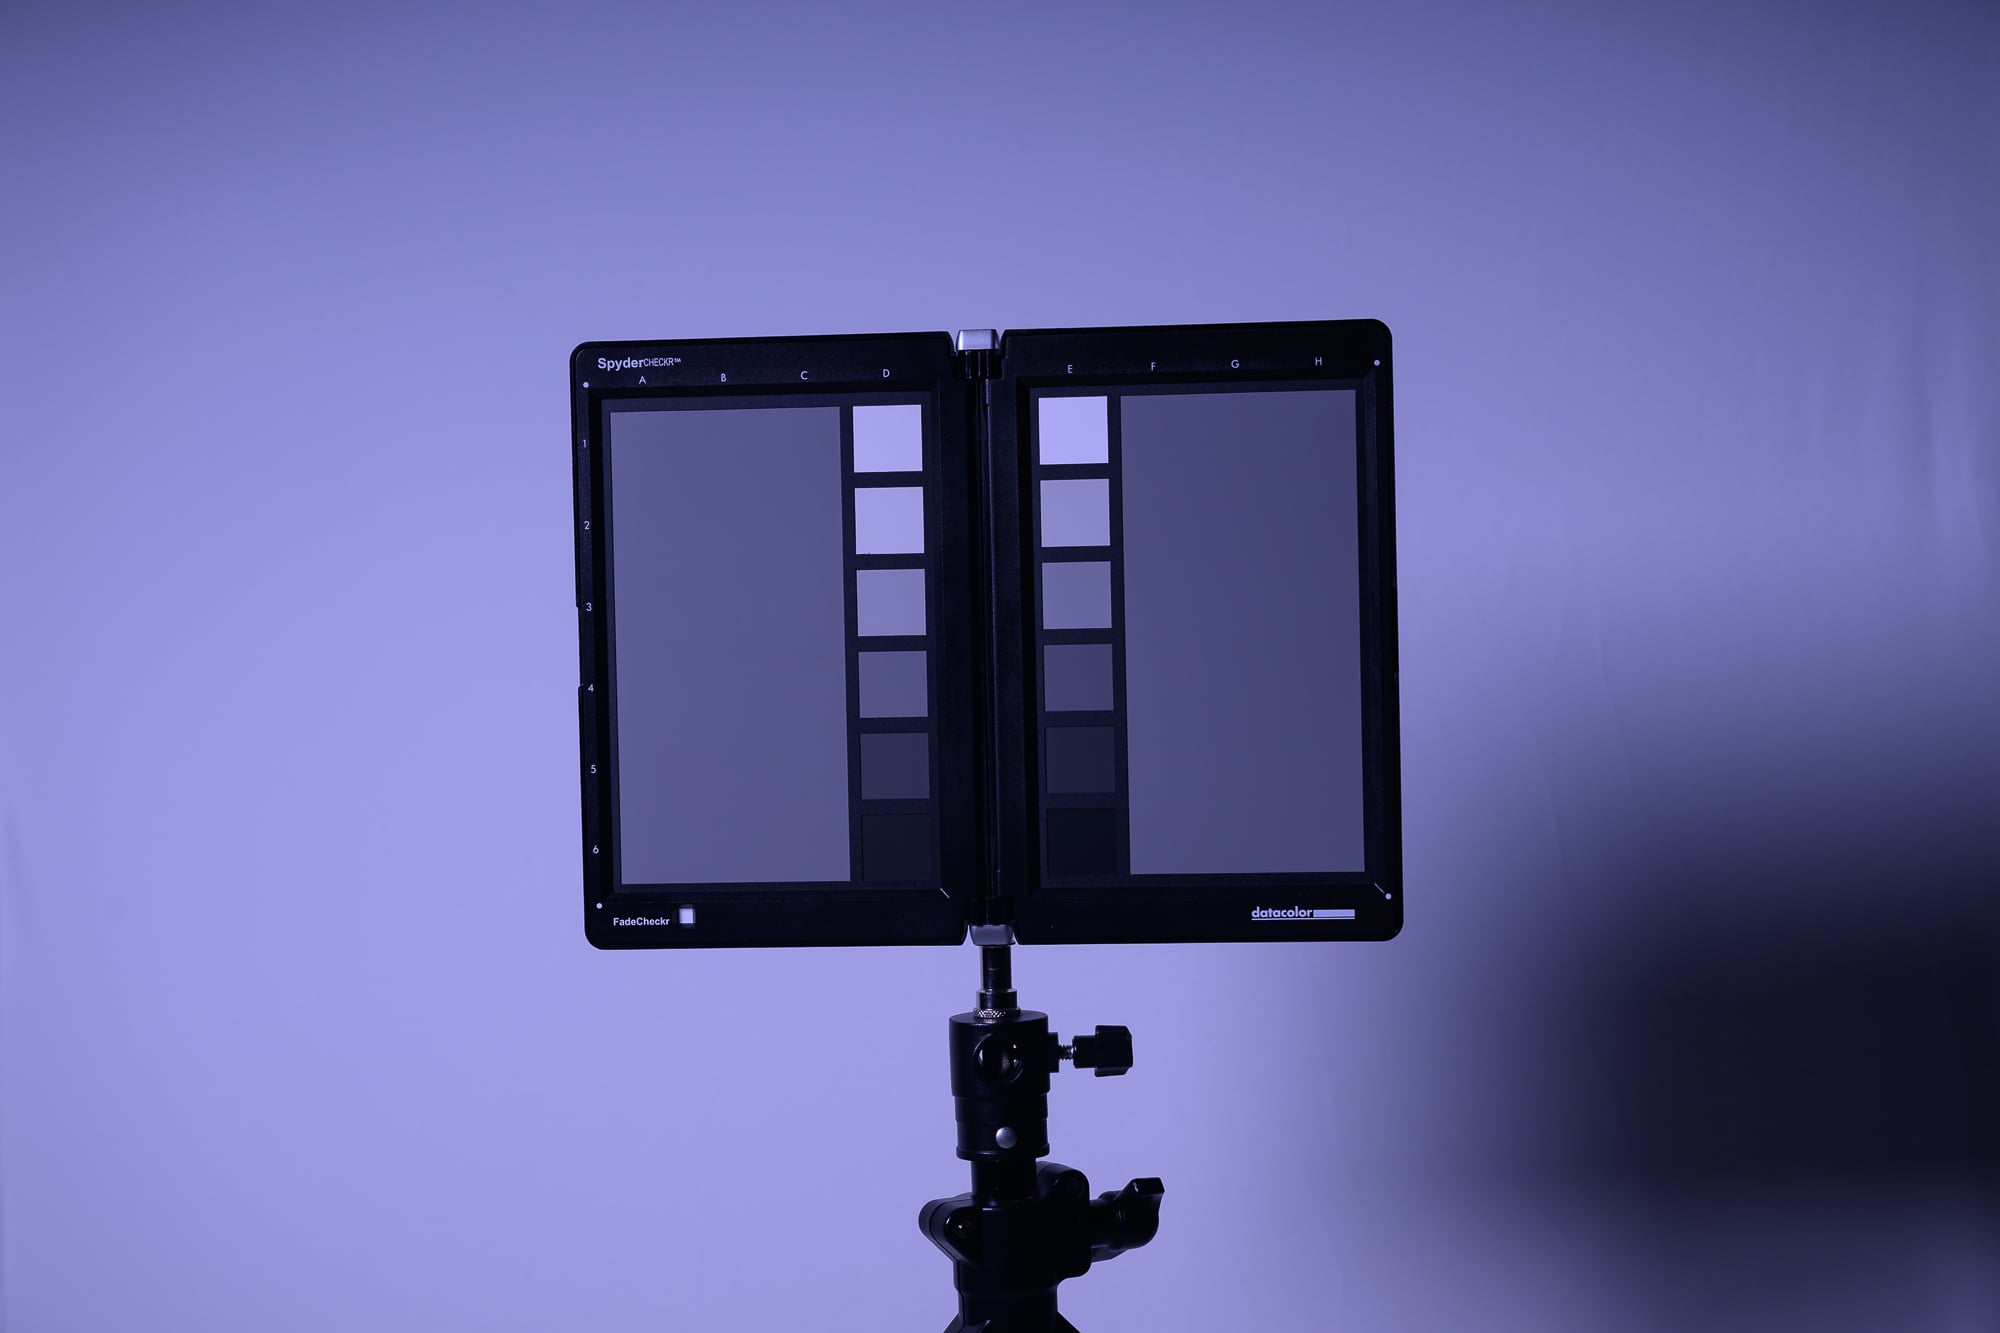
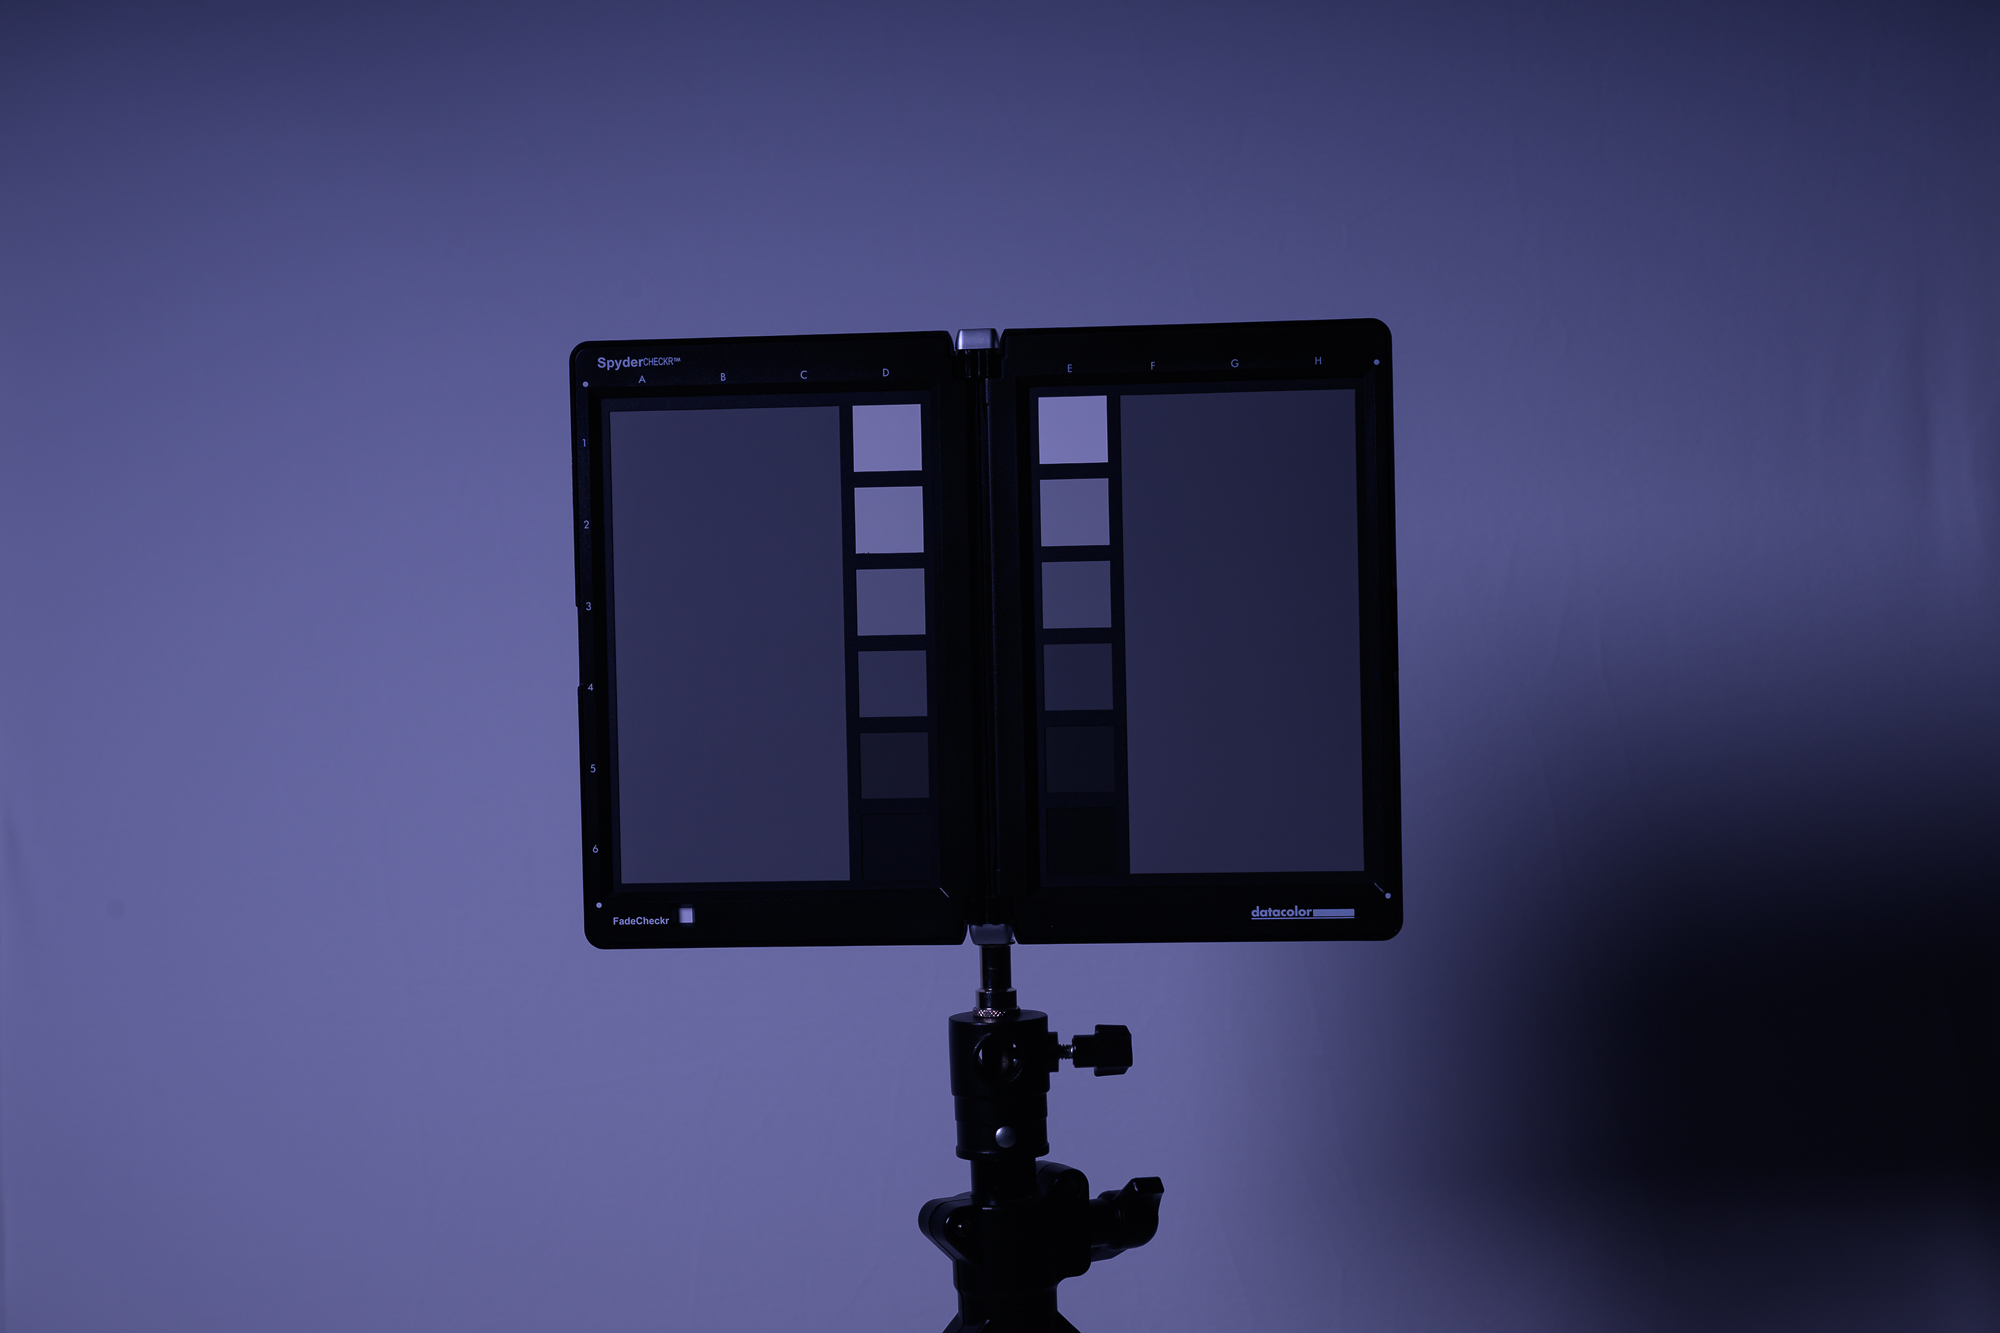
Using an FJ400 II at full power and the Beauty Dish Switch by Joel Grimes (24”) about 5 feet away.
Metered Exposure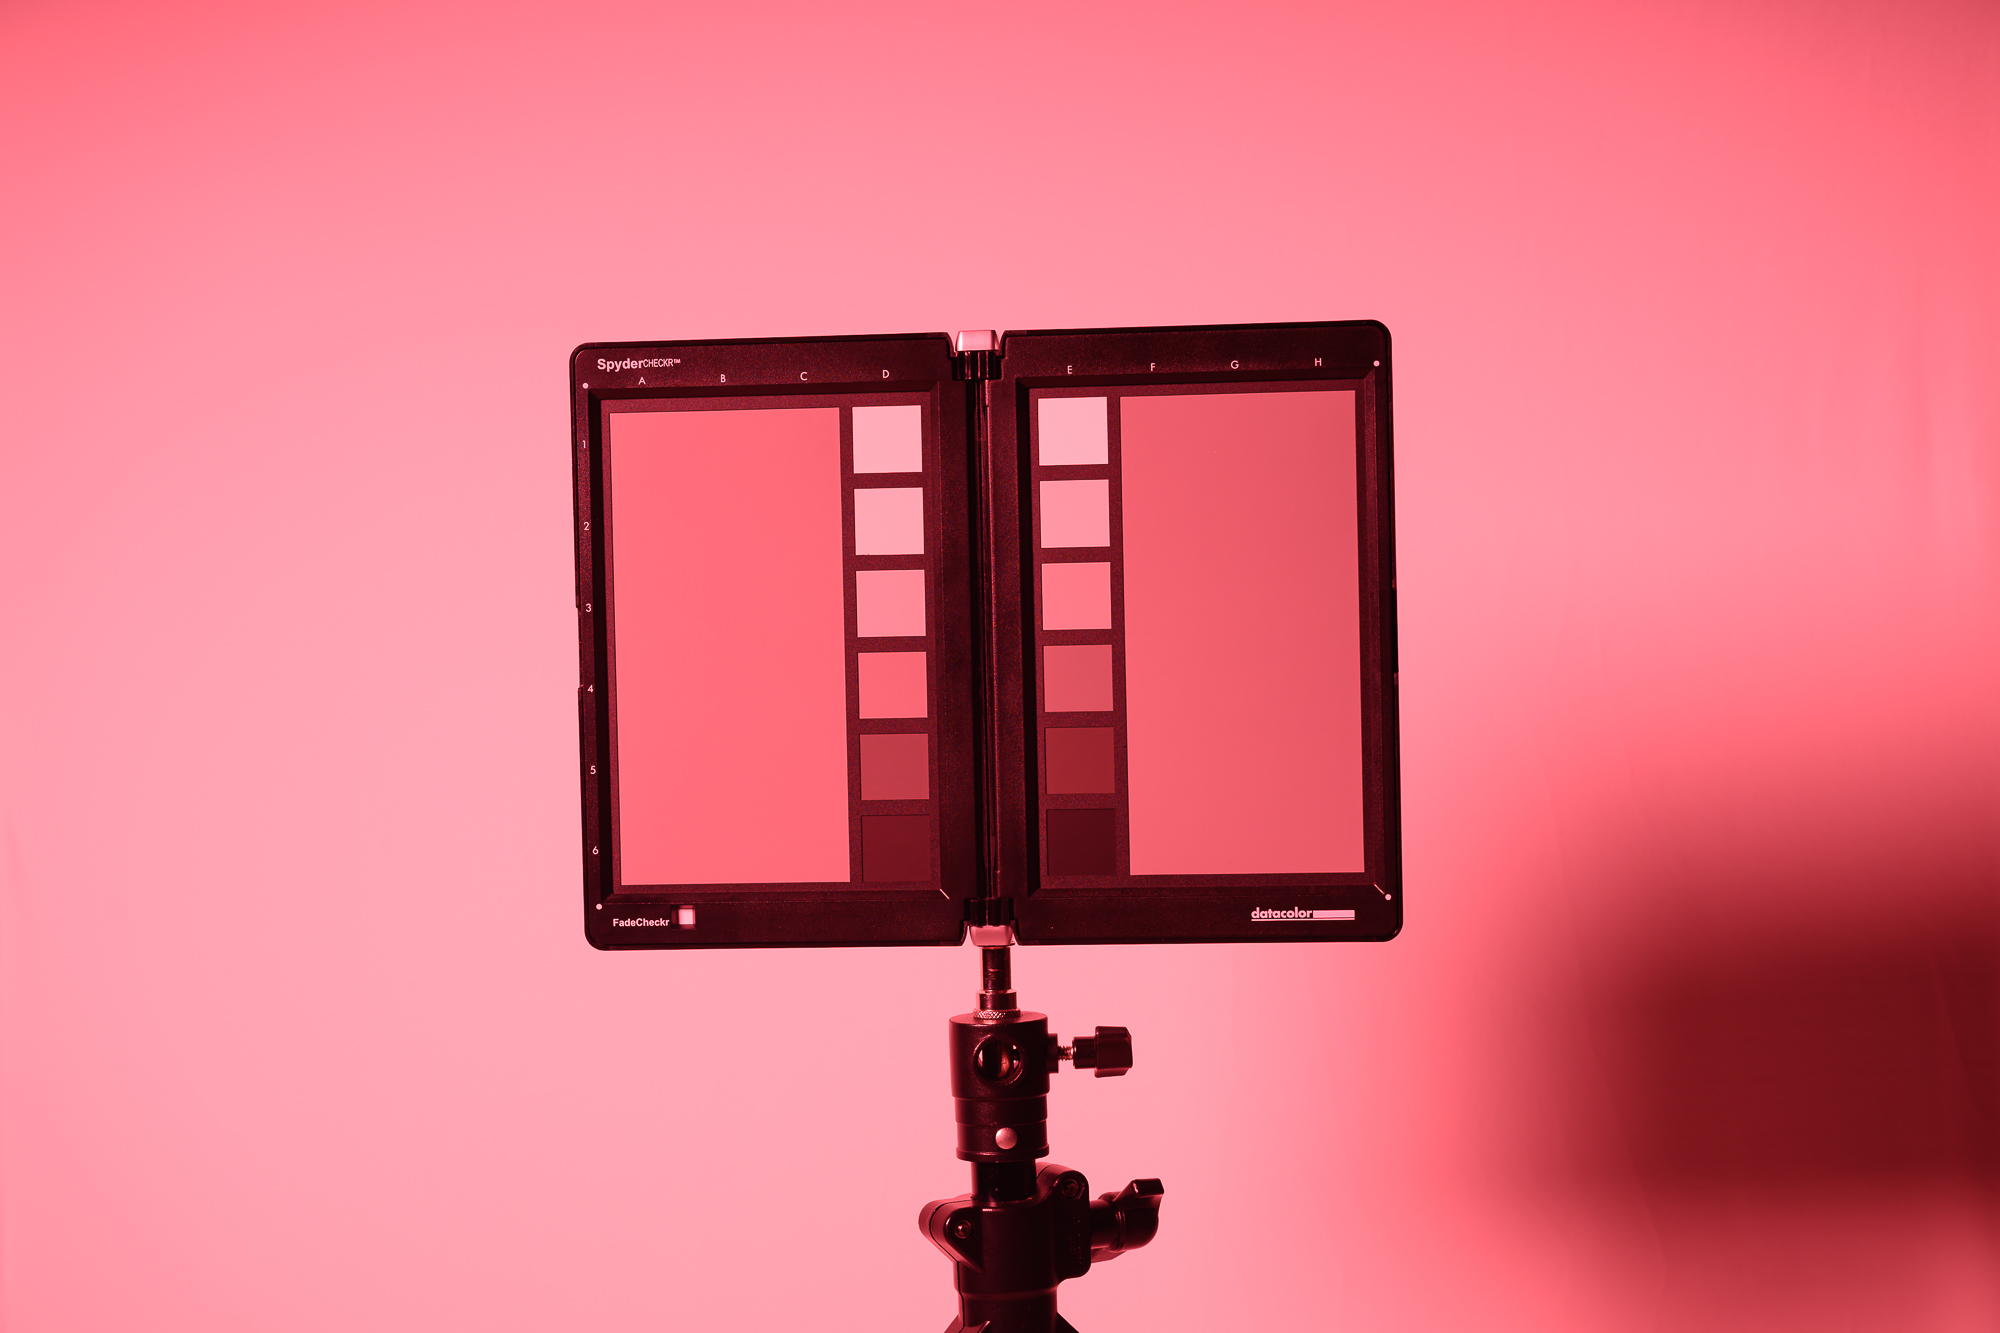 | 1 - Stop Under 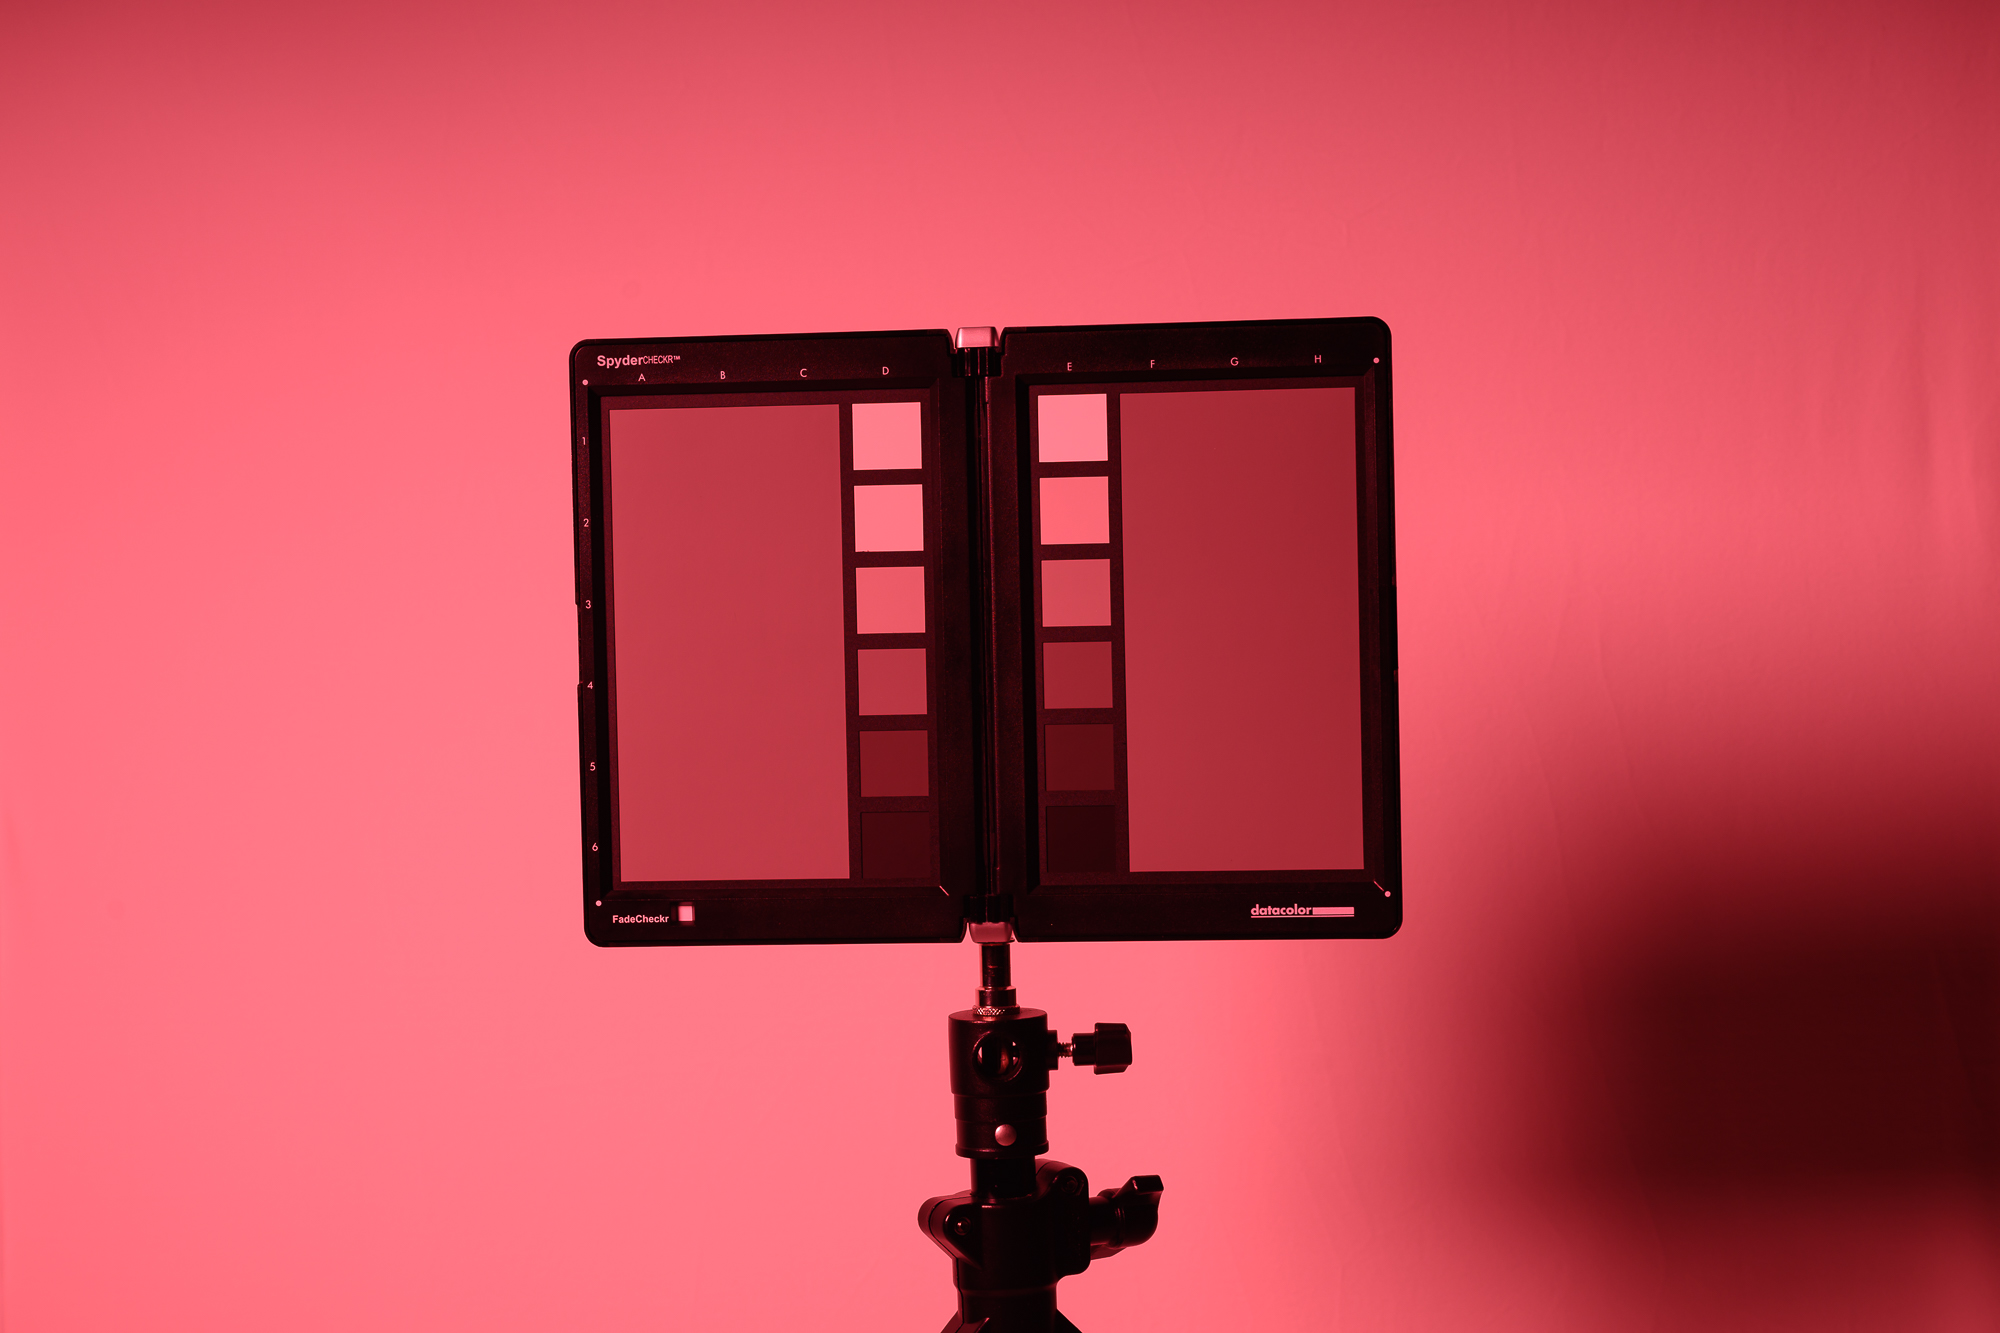 | 2 - Stops under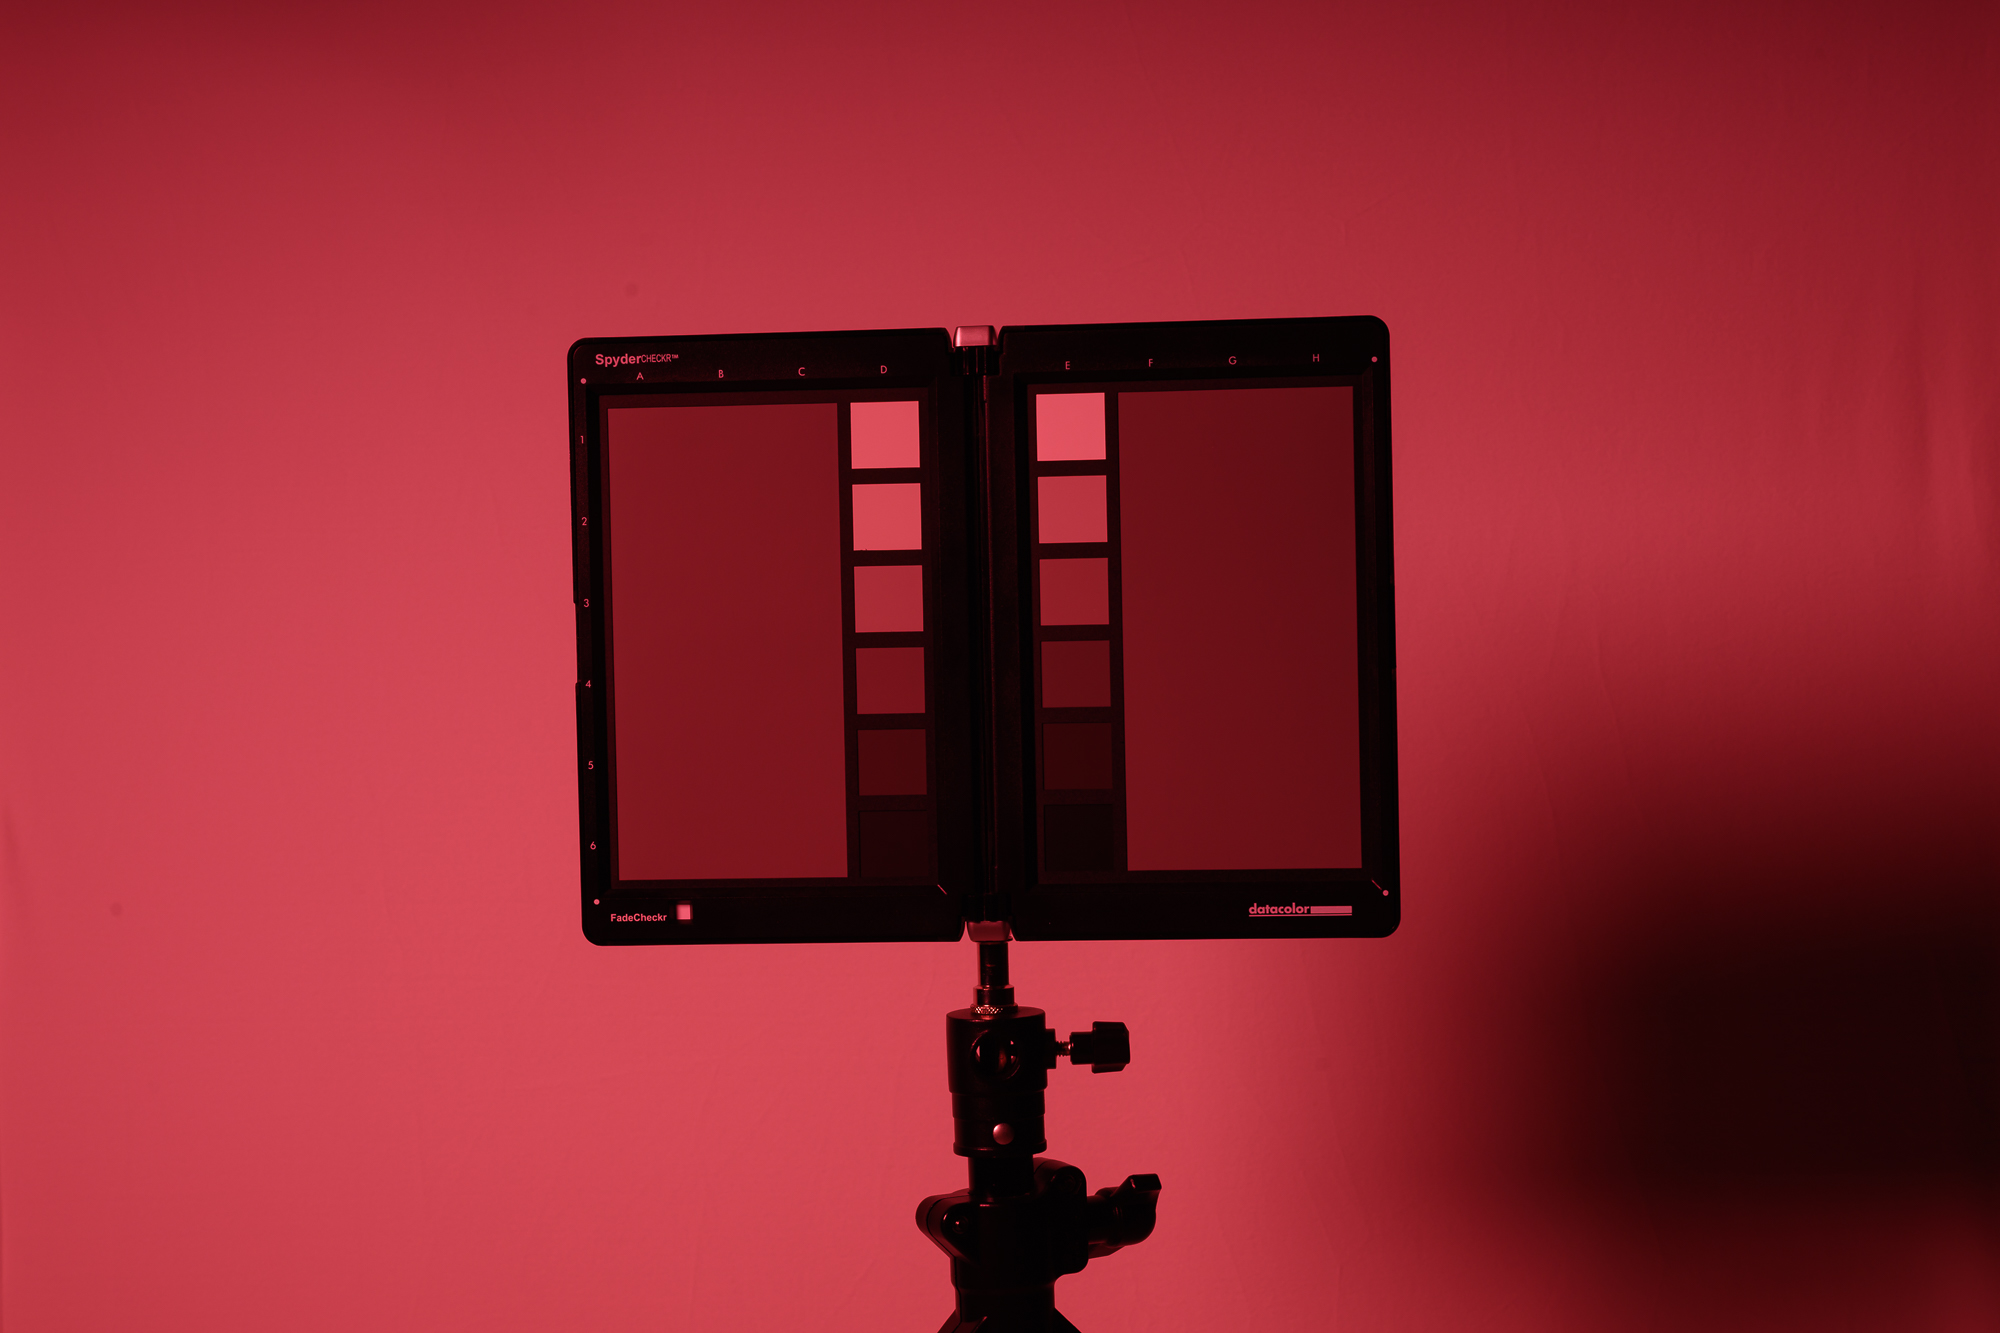 |
 |  |  |
 |  |  |
 |  |  |
 |  |  |
 |  |  |
 |  |  |
 |  |  |